This post may contain affiliate links. Please read our disclosure policy.
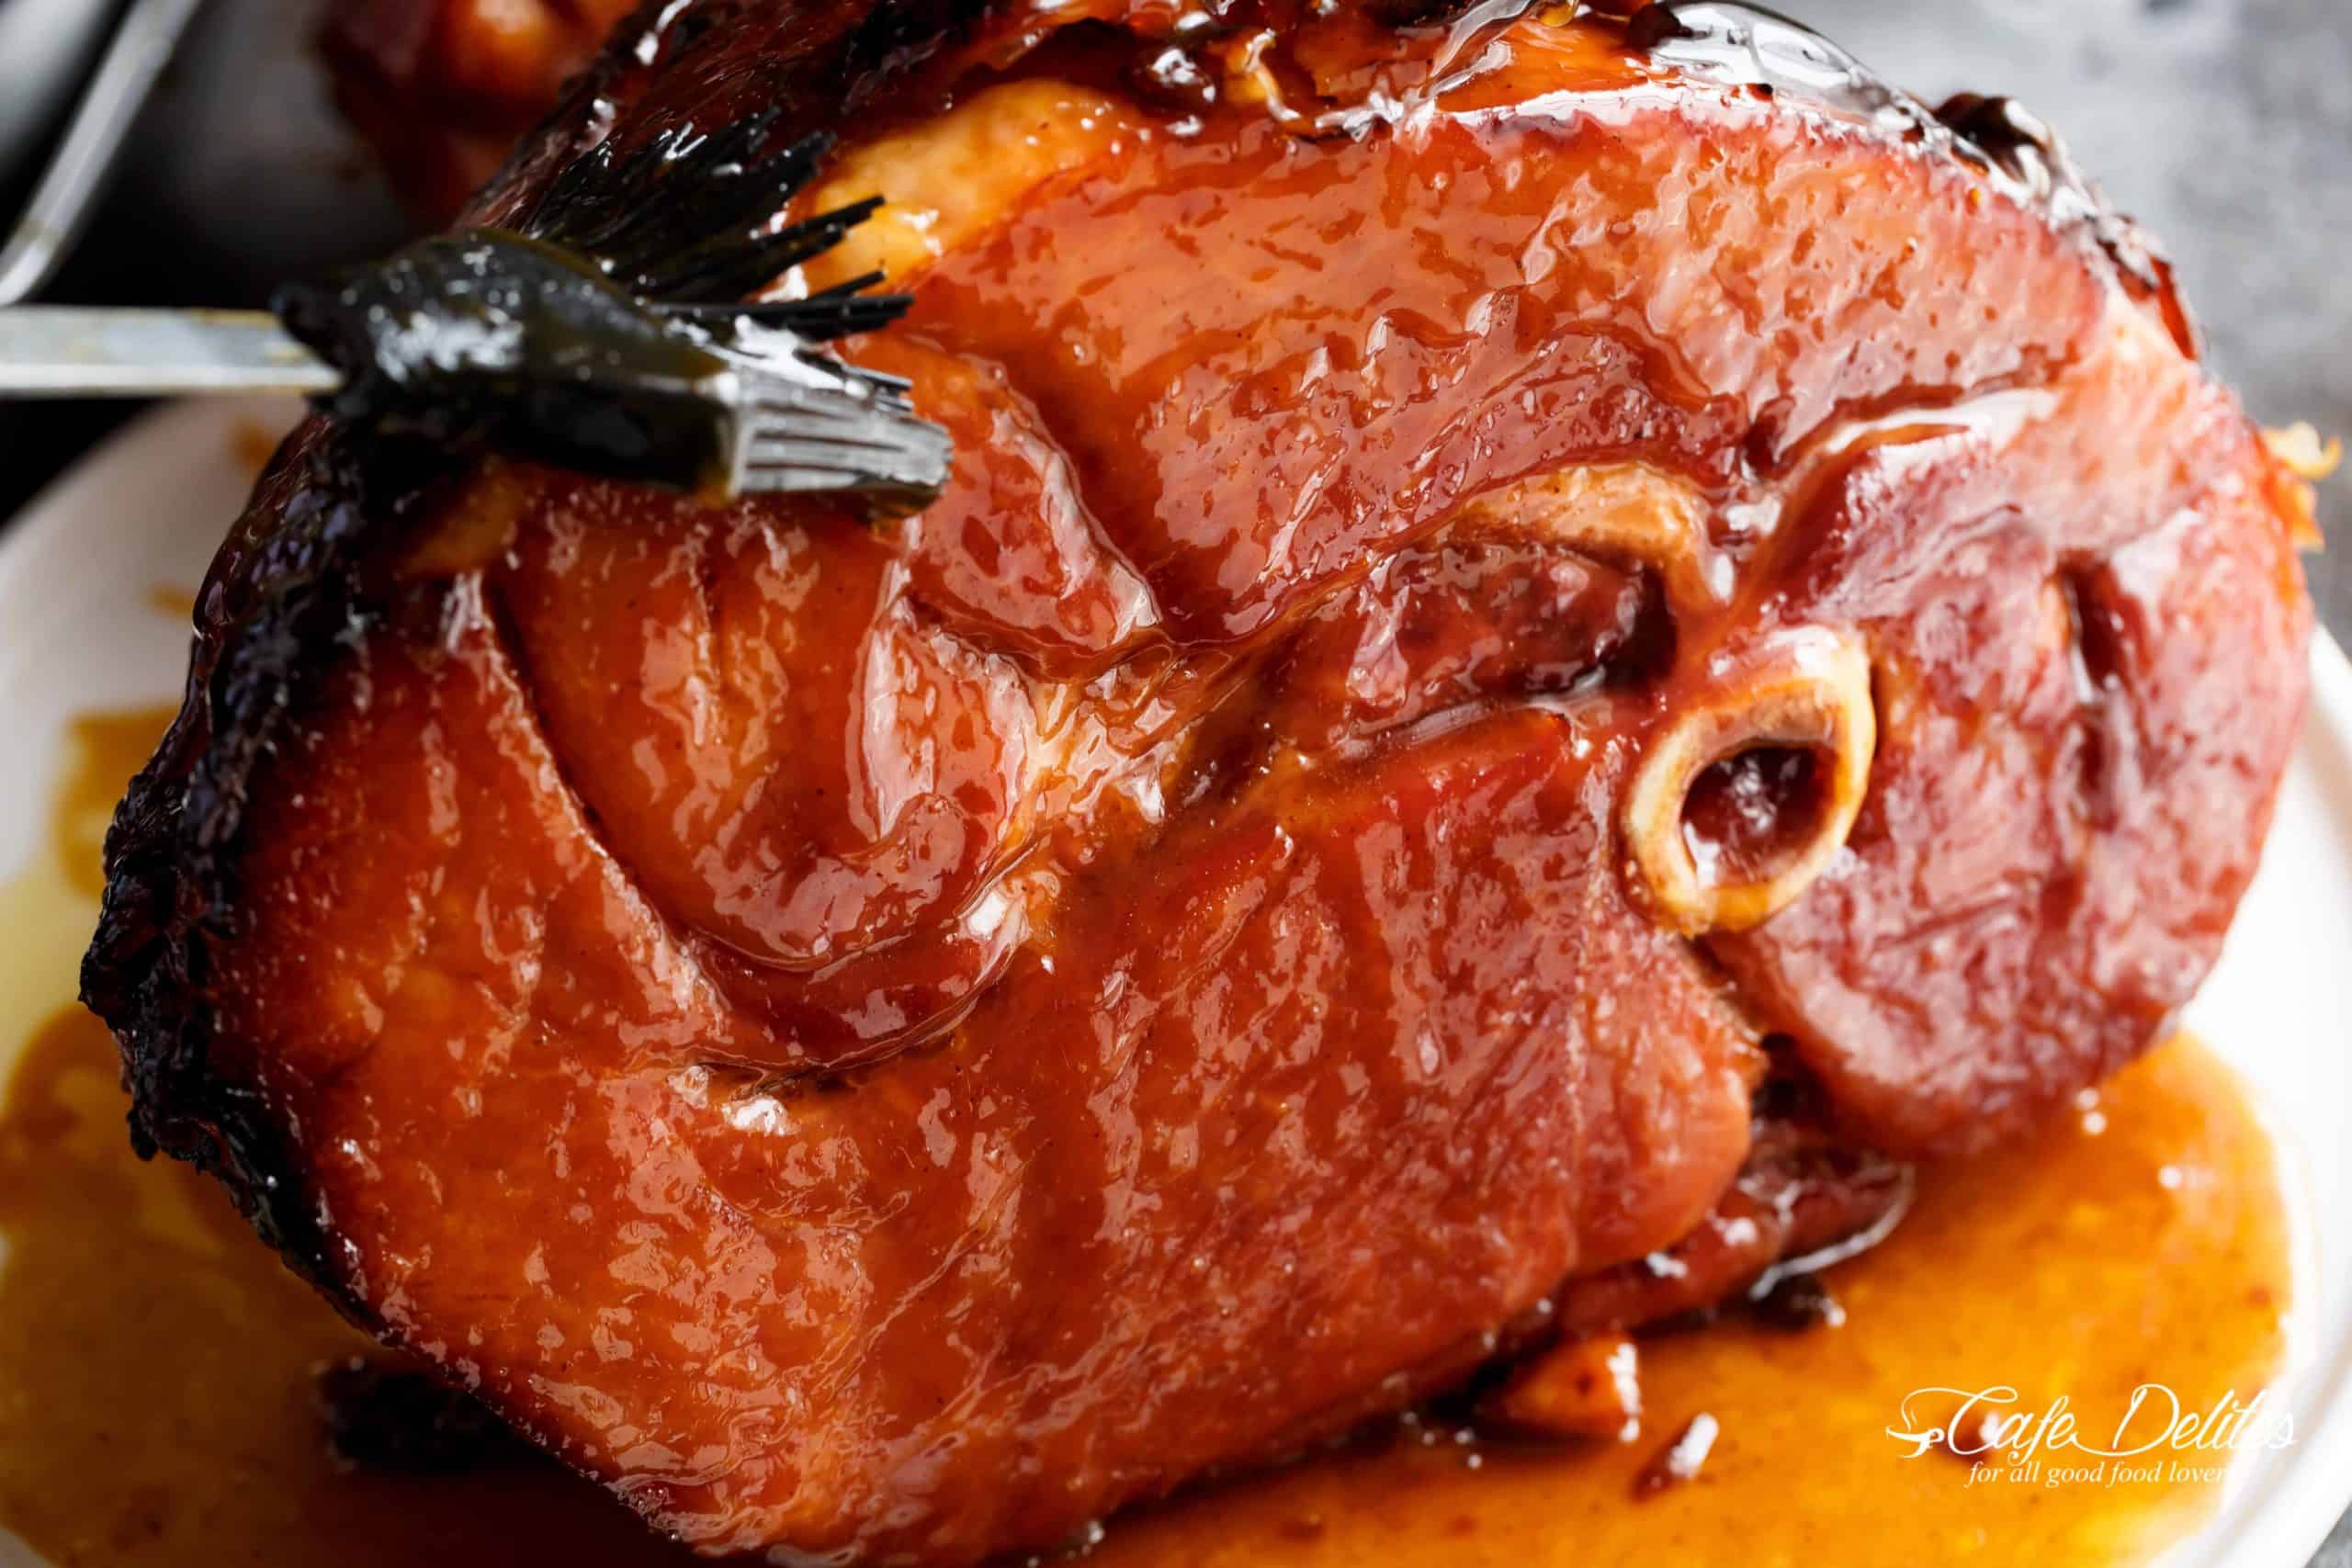
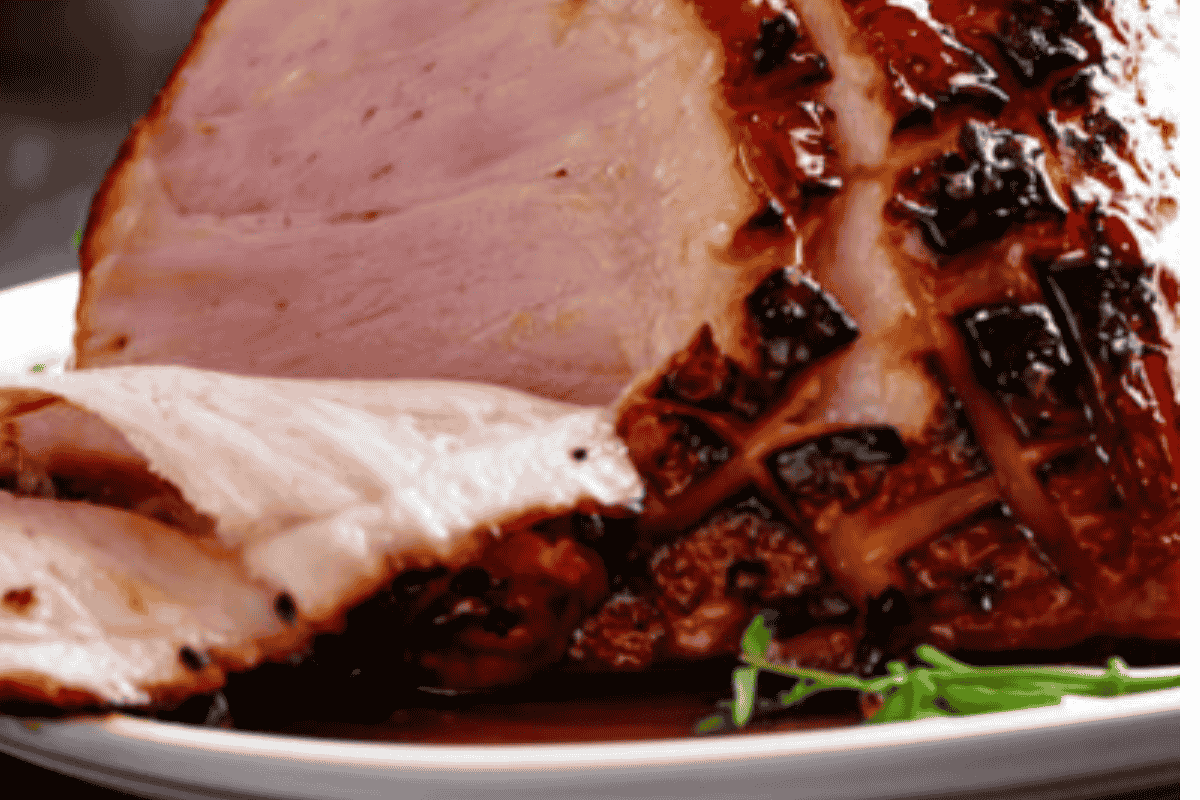
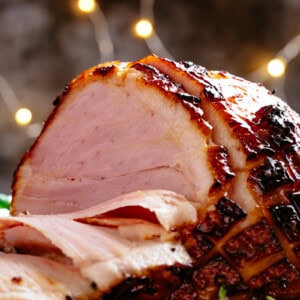
Let the holidays begin with a slice or two of the absolute best Honey Baked Ham! This isn’t just another ham recipe. After years of testing, I’ve found the secret to a ham that is juicy and succulent on the inside with irresistibly crispy, charred, sticky sweet edges. This is a quick and easy recipe that will leave your guests wanting more.
The secret? Baking it in a hint of pineapple juice and basting it with a deliciously buttery, sticky brown sugar glaze. The acid from the pineapple juice tenderizes the meat and keeps it moist, while the butter in the glaze creates that perfect caramelized crust that store-bought hams just can’t compete with.

Table of Contents
Get ready to bake the perfect centerpiece for your Christmas or Easter dinner table. Pair it with my creamy Scalloped Potatoes or classic Green Bean Casserole for a complete holiday feast.
Don’t hold back this season! Bake a honey ham with confidence using all the expert tips and tricks right here.
Why trust my recipe?
Before sharing this recipe, I wanted to be absolutely sure it was foolproof. I tested this Honey Baked Ham four different ways in my kitchen
- Rind ON, low heat.
- Rind ON, high heat.
- Rind OFF, broiled at the end.
- Rind OFF, baked with a progressive glaze – this recipe!
The verdict? Taking the rind off is non-negotiable. In my tests with the rind on, it became tough and gummy. More importantly, that delicious buttery glaze just sat on top of the skin and never penetrated the meat. By removing the rind and leaving the lovely layer of fat underneath, the flavors seep deep into the ham, and the fat renders down into a sticky, crispy coating. I made the mistakes so you don’t have to!
Homemade baked ham is much better than store bought. You can’t beat having that irresistible sticky glaze to smother all over your baked ham while it bakes, or for serving and pair it with my Cornbread Recipe or this Homemade Buttery Herb Stuffing.
What ham should I buy?
Walking up to the meat counter during the holidays can be overwhelming. Here is my expert advice on exactly what to look for.
1. Ensure the ham you buy is NOT pre-glazed. You want a plain, smoked, fully-cooked ham so our flavors don’t clash with a factory glaze. My personal favorite is smoked and I would recommend bone in.
2. Shank End vs. Butt End? A whole ham is huge, so you’ll likely buy a half. The Shank End (the lower, leg portion) is the classic, picture-perfect ham shape. It’s easier to carve because it has just one main bone. This is my personal preference for a beautiful holiday presentation. The Butt End (the upper, rounder portion) is meatier and can be slightly more tender, but it has a T-shaped hip bone that makes carving tricky around the bone.
3. Crucial Tip: Ensure the ham you buy is NOT pre-glazed. You want a plain, smoked, fully-cooked ham so our flavors don’t clash with a factory glaze.

How to Remove the Ham Rind
For some reason, this is a controversial step, but my testing proves it’s essential. As mentioned, a fully cooked ham rind DOES NOT crisp up, it just gets tough.
When you buy your ham, you’ll notice a gorgeous layer of fat right underneath the thick skin (rind). DON’T trim this fat away! This fat turns into a beautiful crispy and sticky coating for your glaze and is IRRESISTIBLE.
To show you, I’ve put together the following EASY steps shown in the above collage from our Brown Sugar Mustard Glazed Ham recipe.
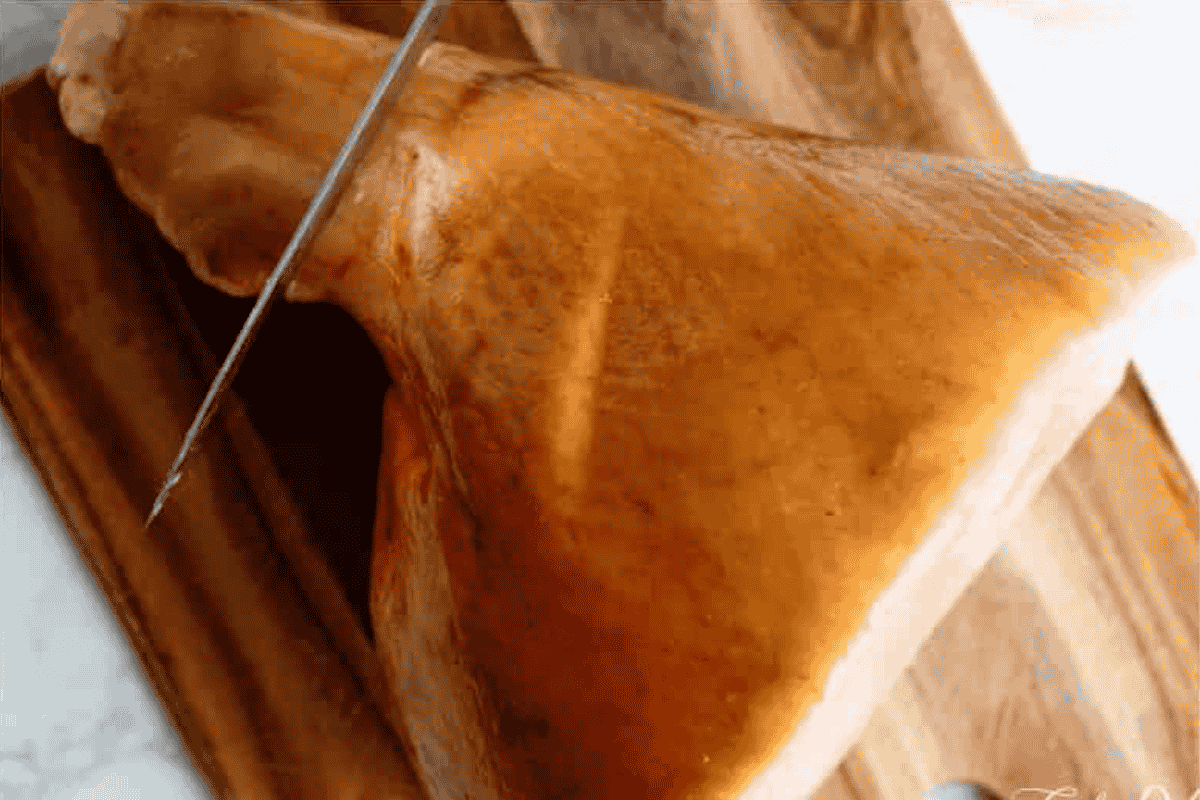
- Cut a line through the skin all around the shank end.
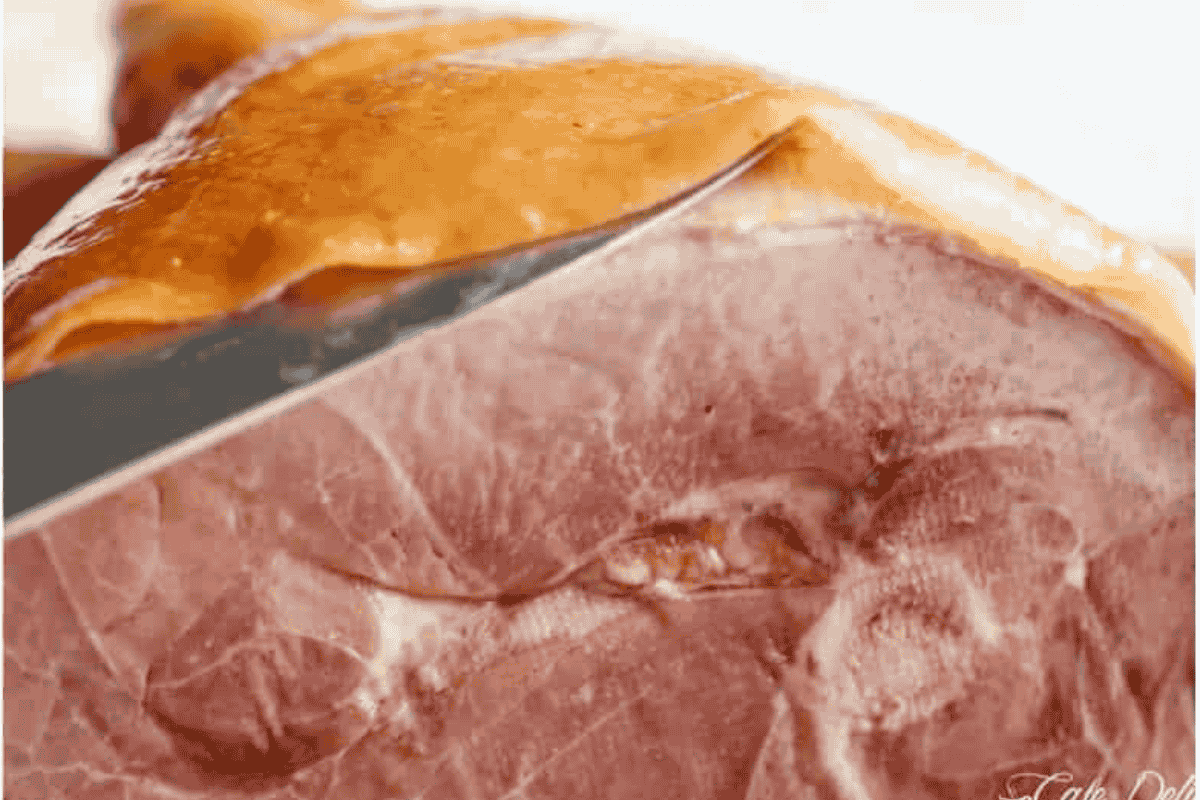
- Insert a sharp knife between the rind and the fat layer. Run it along to detach the two layers.
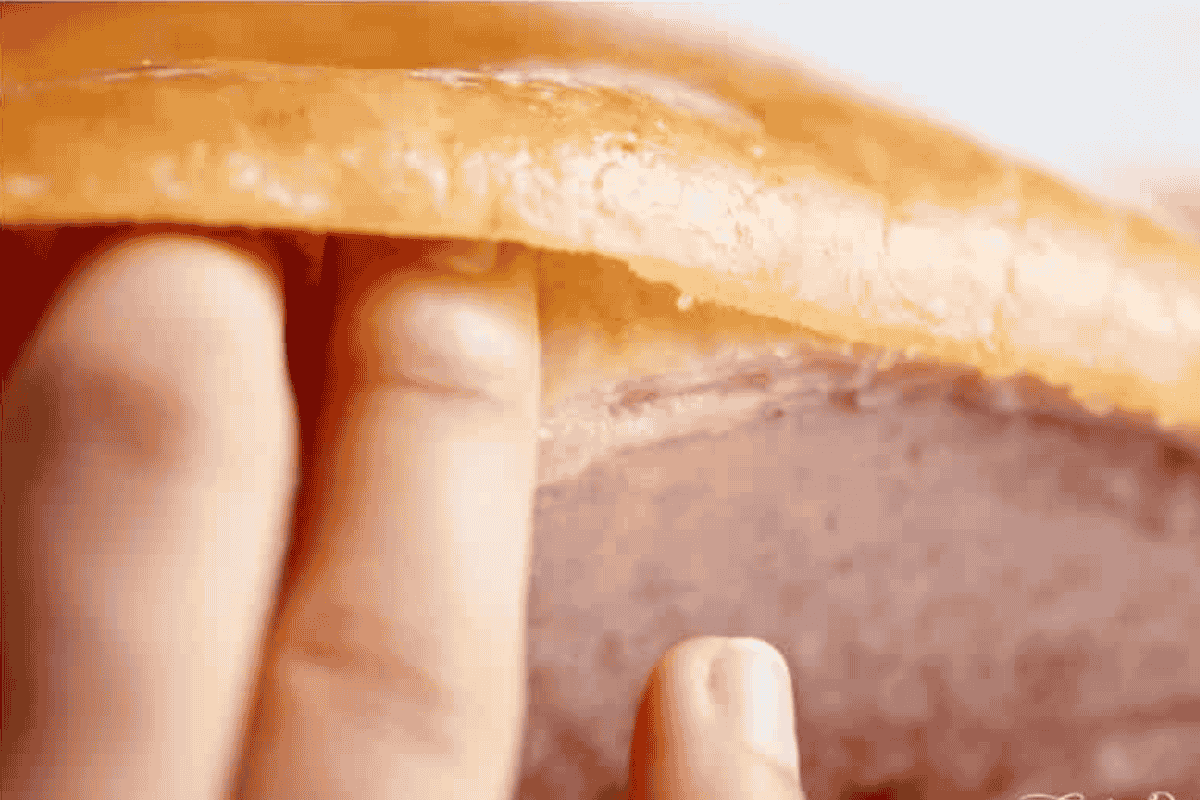
- Using your fingers, gently separate the rind from the fat. You can insert your hand deeper to keep detaching it.
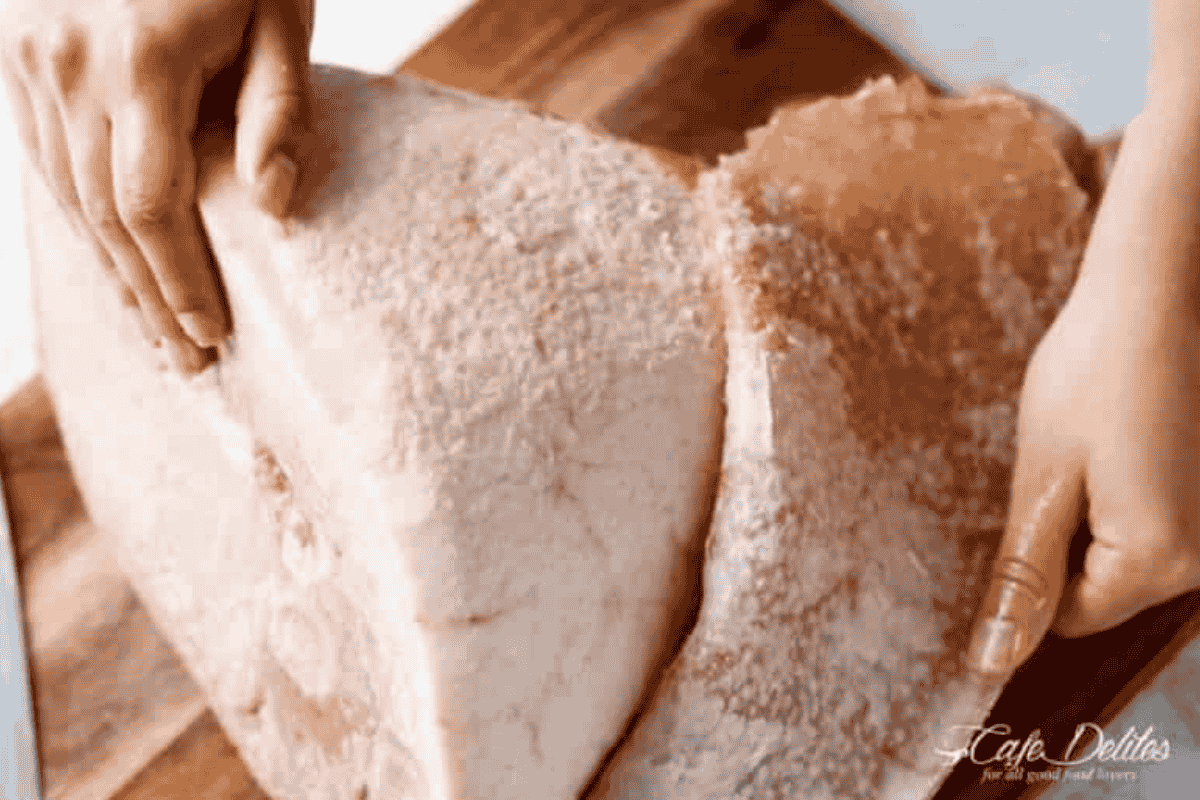
- Peel off and discard the rind.
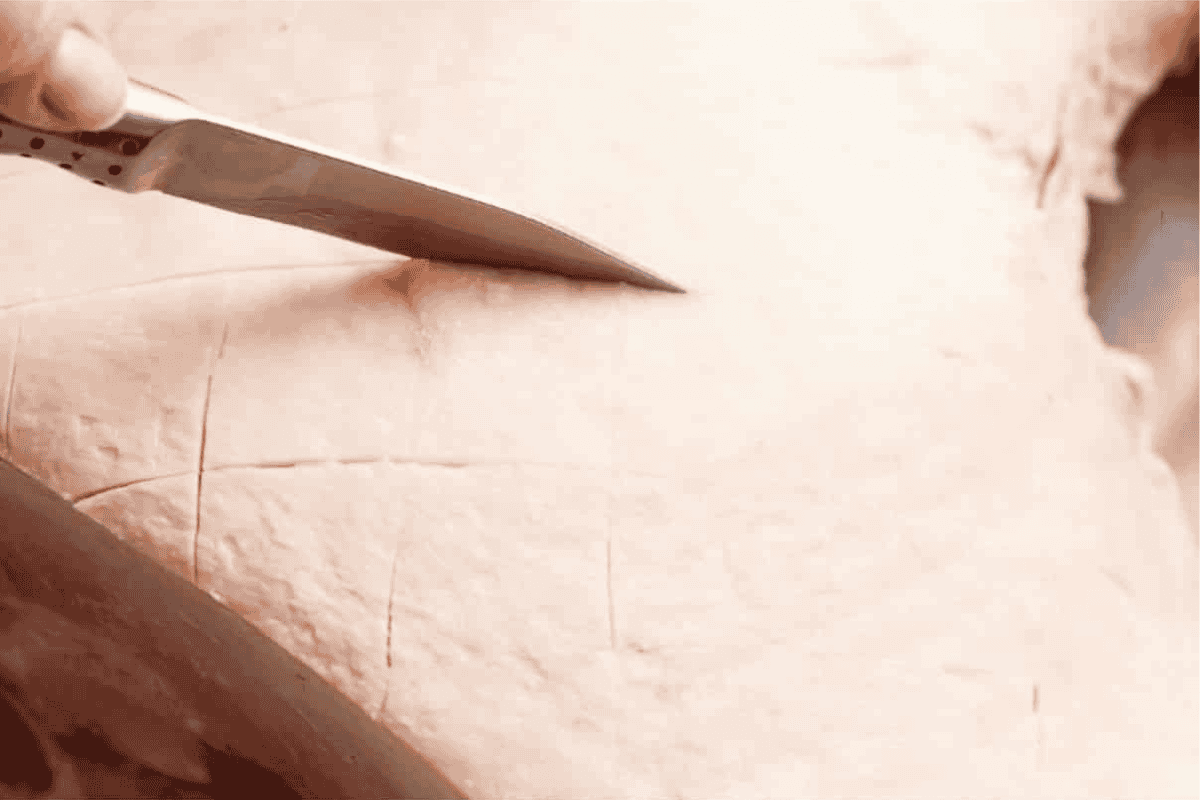
- Run a knife into the remaining fat layer, about 1/4-inch deep, to lightly score a 1 inch diamond pattern all over the surface. This creates little valleys for the glaze to pool in.
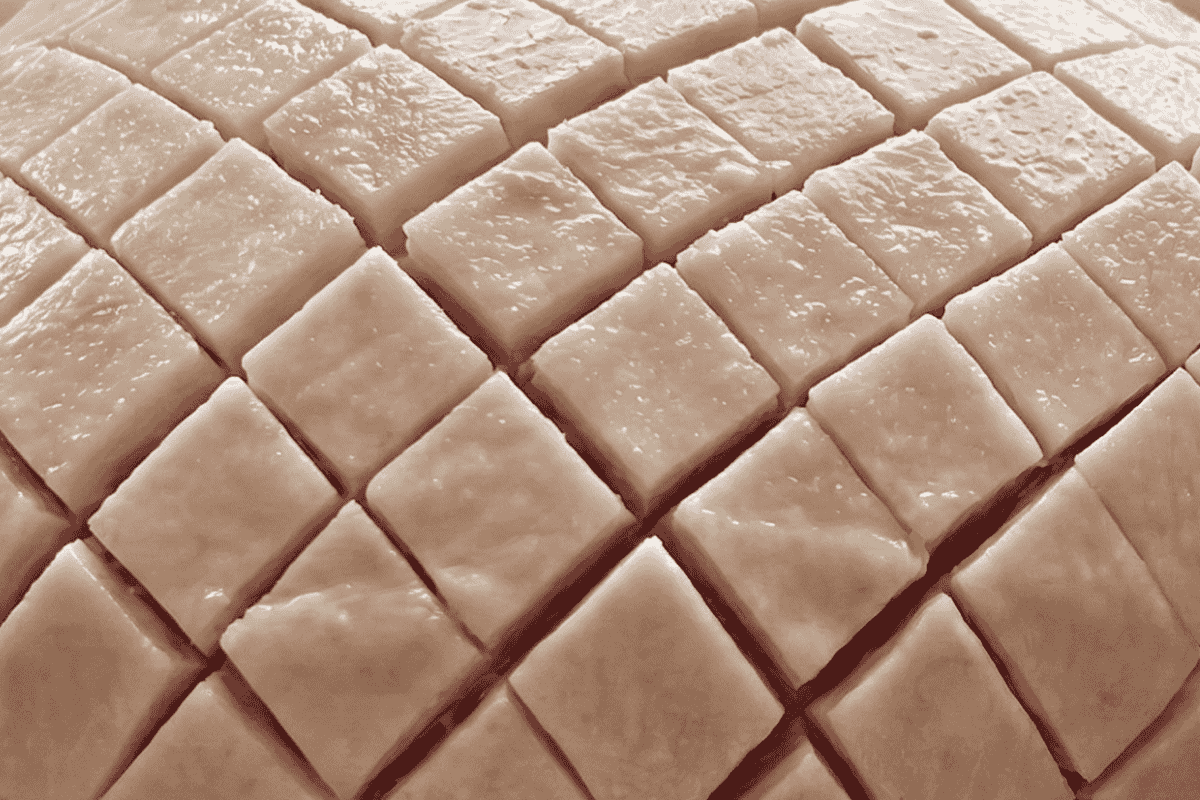
- Insert whole cloves into the center of the diamonds. This creates that classic, festive look and infuses the fat with warm spice as it renders.
How Do You Make the Best Ham Glaze?
The best glaze for a baked ham contains a balance of sweet and savory. The saltiness from the cured ham and the sweetness from the glaze complement each other perfectly.
For this Honey Baked Ham, we use a combination of butter, honey, and a hint of brown sugar.
- Butter: Adds richness and helps the glaze caramelize.
- Honey & Brown Sugar: Provide the sticky sweetness and gorgeous color.
- Pineapple Juice: The acid from the juice in the bottom of the pan balances the sweetness and adds another layer of flavor as you baste with the pan juices.
From here, you can add spices. I love the traditional warmth of ground cinnamon and studding the ham with whole cloves for that classic holiday look and flavor.
Pro-Tip for Glazing: My biggest piece of advice is not to simmer the glaze for too long. If you do, it will turn into a hard caramel once it begins to cool, making it extremely difficult to slather onto the ham. You want to bring it to a gentle simmer to dissolve the sugar and then take it off the heat quickly. It should be the consistency of warm honey.
What is needed to make the glaze
You don’t need a laundry list of complicated items to make a masterpiece. We are keeping it simple but high quality, after all it’s the festive season.
- Bone-in Ham – As mentioned above, look for a Shank End ham. It’s the easiest to carve and looks the best. Make sure it is fully cooked (most supermarket hams are.) I use the same cut in my maple glazed ham recipe too. You can use spiral cut ham, if you can find it as it’s so easy and precut. The glaze can seep deep between the slices and the taste is AMAZING.
- Expert Tip: Avoid Boneless hams if you can, they often lack the flavor and structure of a bone-in cut.
- Pineapple Juice – This is the secret weapon. The acidity in the juice helps tenderize the meat fibers while steaming, ensuring the ham stays moist. It also balances the intense sweetness of the honey. You can use fresh or canned, even the juice from a tin of pineapple rings works!
- Unsalted Butter – Most glaze recipes just use sugar and honey. Adding butter creates a richer, silkier sauce and helps the sugars caramelize into that sticky, charred crust we want.
- Note: I use unsalted because the ham itself is already very salty.
- Honey – You don’t need to spend $40 on Manuka honey for a glaze (save that for your tea!). For baking a ham, you want a honey that is thick, has a classic floral flavor, and caramelizes well without burning too fast. My personal recommendation is to use Local Hive Orange Blossom Raw & Unfiltered honey. The subtle citrus notes pair incredibly well with the pineapple juice in our recipe, making the glaze taste professional and complex.
- Note: Try to avoid the ultra-cheap honey sauce or generic store brands that don’t say 100% Honey on the label. They often contain corn syrup, which will make your glaze runny rather than sticky, NO ONE wants that!
- Brown Sugar – You can use light or dark. I prefer dark brown sugar for a deeper molasses flavor that pairs beautifully with the ham.
- Whole Cloves – For studding the fat. They infuse the outer layer with a warm, spicy aroma that screams Holiday Dinner.
Substitutions & Variations
No Pineapple Juice? Orange juice is a fantastic substitute. It provides similar acidity with a citrusy twist. Apple cider works too!
No Honey? Maple syrup is a delicious alternative, though the flavor will be more woodsy, I have a recipe for this my maple glazed ham.
Want more spice? Add a pinch of ground cinnamon or a star anise to the glaze pot while it simmers.
How to bake the perfect ham, step by step
This method uses a two-temperature technique: Low & Slow to steam the meat, followed by a High-Heat Blast to caramelize the glaze.
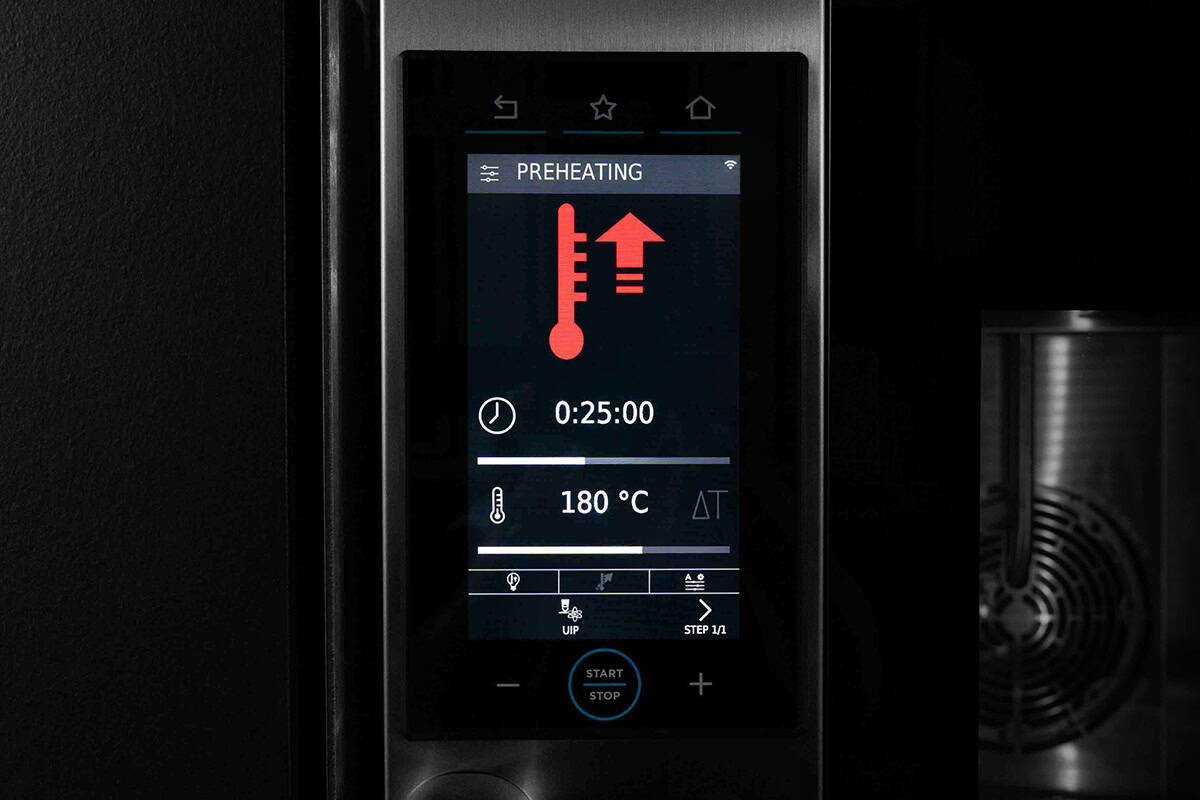
- The Warm Up (Crucial Step!) Remove your ham from the refrigerator 1-2 hours before baking. If you put a fridge-cold ham into the oven, the outside will burn before the center is warm. Letting it come to room temperature ensures it heats evenly. Preheat your oven to 300°F (150°C). Move your oven rack to the lower third so the ham sits in the center of the oven.
- Once the rind is removed (see the “How-To” section above), use a sharp knife to score 1-inch diamonds across the fat. Press a whole clove into the center of each diamond. Be careful not to cut into the meat itself—just the fat layer!

- Place the ham in a roasting pan or large baking dish. Pour the pineapple juice into the bottom of the pan. Cover the entire ham and pan tightly with foil. Bake at 300°F (150°C) for approx. 15-20 minutes. This creates a steam chamber. The pineapple juice vapors penetrate the meat, keeping it juicy while it begins to warm up.
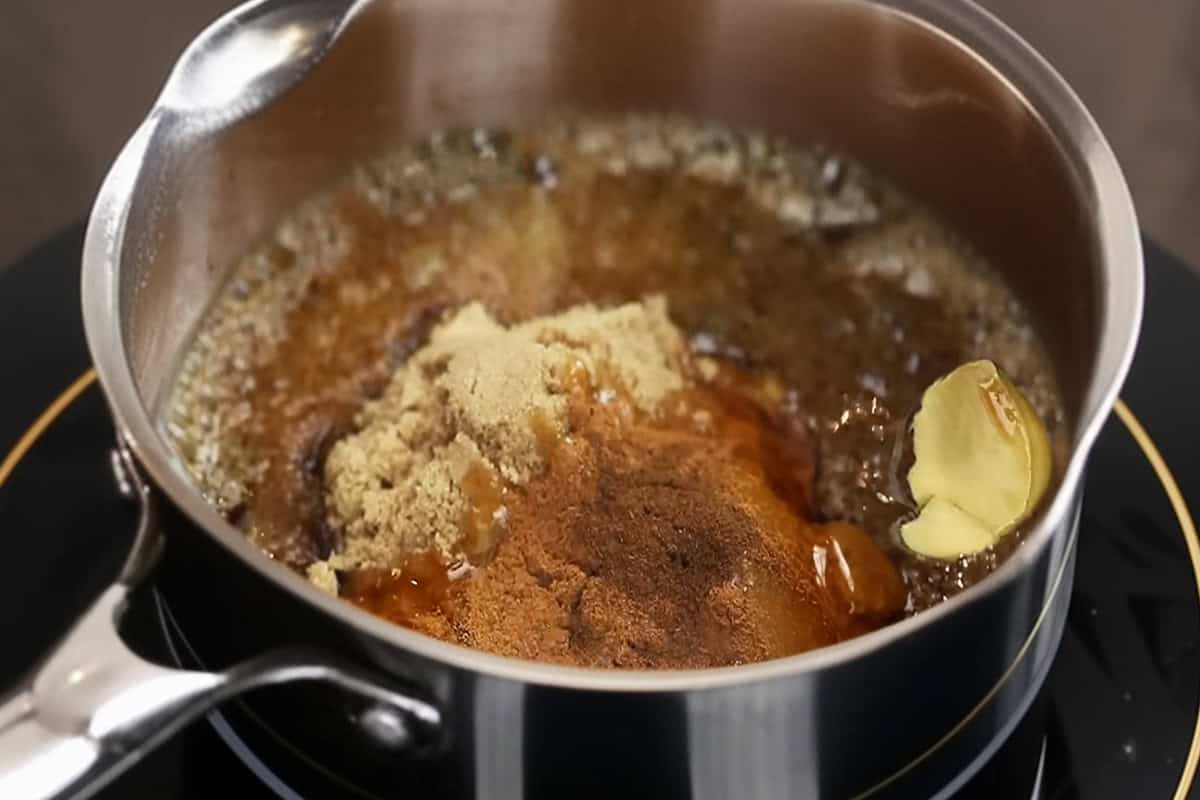
- While the ham steams, make the glaze. Melt the butter in a small saucepan over medium heat until it starts to foam and turn golden, the browned butter is the flavor enhancer. Whisk in the honey and brown sugar. Simmer for about 2 minutes until the sugar is dissolved. It should be the consistency of warm syrup. Set aside.
- Remove the ham from the oven. Increase the oven temperature to 425°F (220°C). Discard the foil. Brush 1/3 of the glaze all over the ham, pushing it into the diamond cuts.
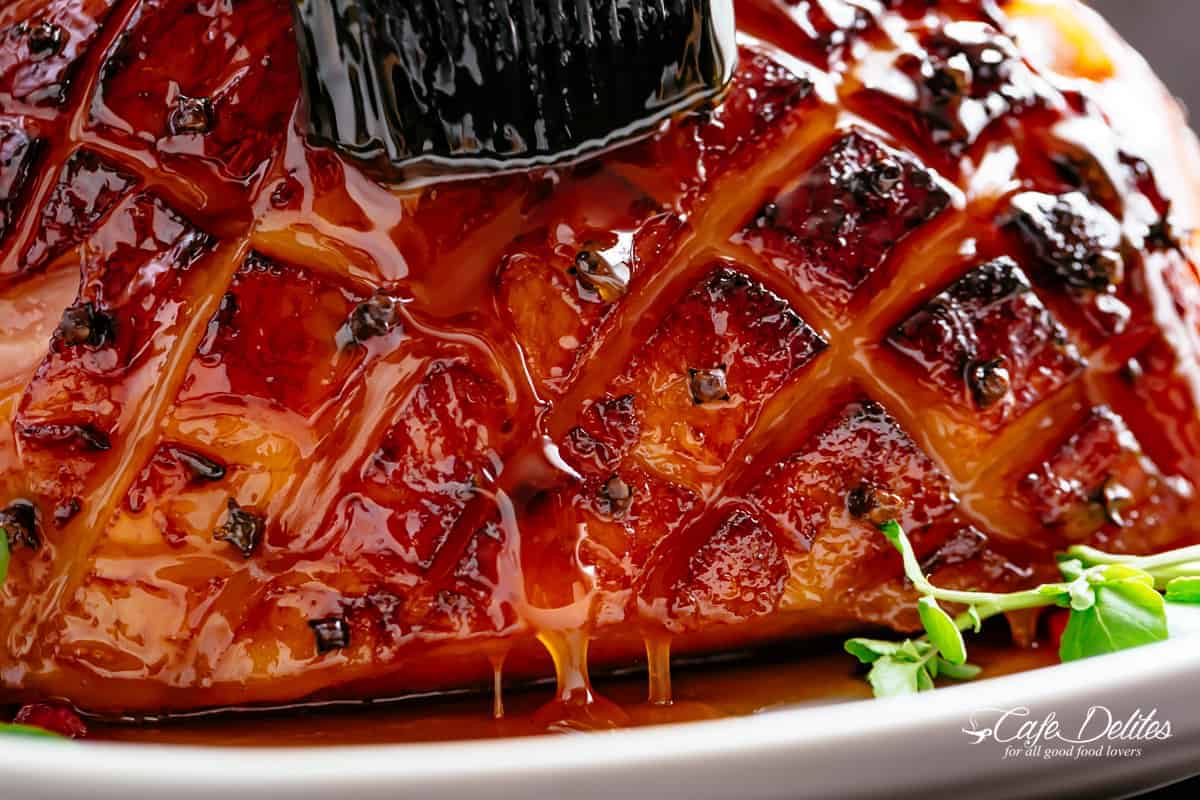
- The Glazing Ritual (Baste, Bake, Repeat) Return the ham to the oven (uncovered) and bake for 15 minutes. Remove, brush with another 1/3 of the glaze, and baste with the pan juices. Return to oven for another 15 minutes.Remove, brush with the remaining glaze. Check the color. If you want it darker, give it one final 10-15 minute blast. Total Glazing Time: Approx. 45 minutes to 1 hour
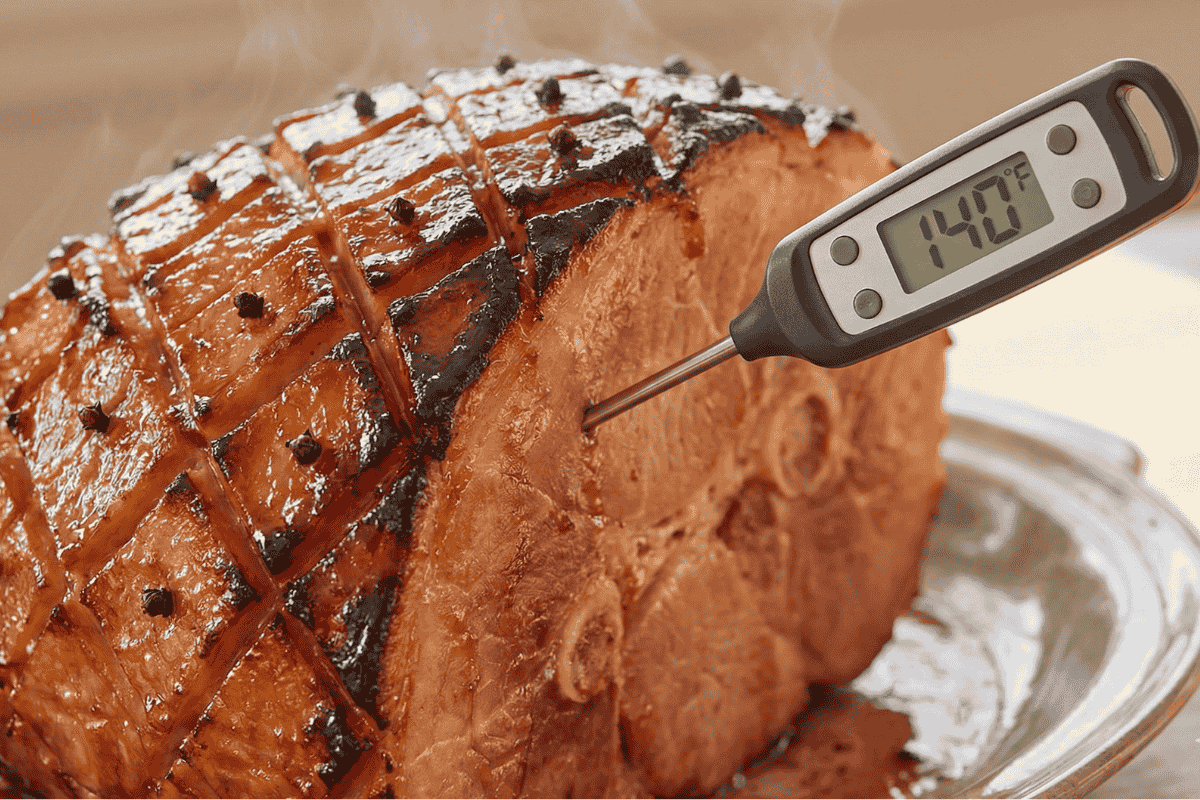
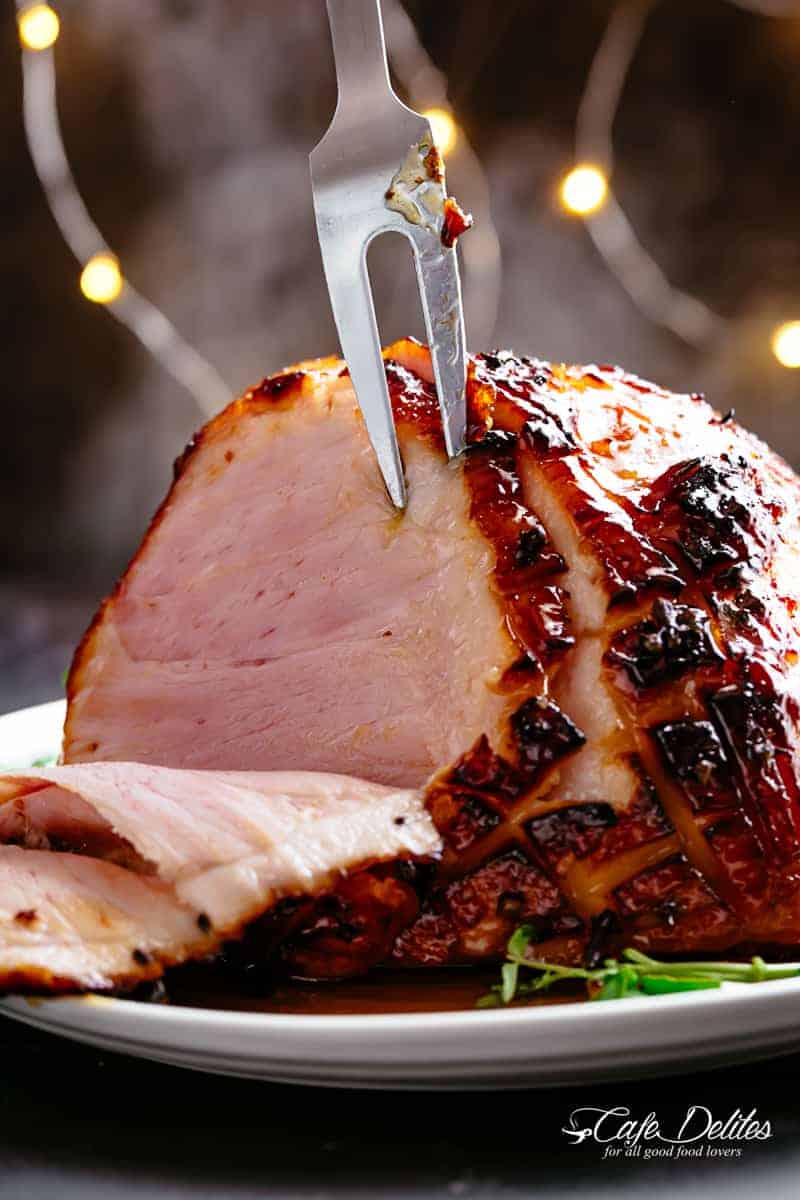
- Check the internal temperature. You are aiming for 140°F (60°C). Optional: If you want the edges charred like my photos, turn on the Broil (Grill) setting for 2-3 minutes. Watch it like a hawk—sugar burns in seconds!
- Rest Before Carving Transfer the ham to a serving platter and let it rest for 10-15 minutes. This allows the juices to redistribute throughout the meat. If you cut it immediately, the juices will run out onto the board, leaving you with dry meat.
My pro tip for glazing
My biggest piece of advice is not to simmer the glaze for too long. If you do, it will turn into a hard caramel once it begins to cool, making it extremely difficult to slather onto the ham. You want to bring it to a gentle simmer to dissolve the sugar and then take it off the heat quickly. It should be the consistency of warm honey.
What side dishes go with ham?
When planning a holiday menu around a sweet and savory centerpiece like this, I always look for sides that offer a textural contrast. You simply cannot serve a holiday ham without a potato dish! My absolute favorite pairing is my Crispy Garlic Butter Smashed Potatoes. The crispy, craggy edges of the potatoes stand up perfectly to the tender, soft texture of the ham slices. If you are a traditionalist who prefers a smooth, velvety texture to soak up those pan juices, you can never go wrong with a classic bowl of Creamy Mashed Potatoes.
To balance the rich sweetness of the brown sugar glaze, I highly recommend adding savory, roasted vegetables to the table. The earthiness of Cheesy Roasted Brussels Sprouts cuts right through the sugar of the glaze, while Garlic Parmesan Roasted Carrots add a savory, garlicky punch that complements the clove-spiced fat of the ham beautifully. These are sides that don’t just sit on the plate; they actually enhance the flavor of the meat.
Finally, if you need to lighten up the meal or cater to low-carb guests, you don’t have to sacrifice flavor. I often swap regular potatoes for my Buttery Mashed Cauliflower, t’s so creamy that my family often can’t tell the difference! For a burst of freshness and acidity to cleanse the palate between heavy bites, try adding a bright Avocado Tomato Corn Salad. The lime dressing provides a necessary zing that breaks up the heaviness of a festive feast.
Recipe FAQ’s
For a bone-in ham like this one, plan on about 3/4 pound per person. This accounts for the weight of the bone and fat. For a 10-pound ham, you can serve approximately 12-14 people.
Yes, at first. You want to cover the ham tightly with foil for the initial baking period to trap steam and keep it juicy. You then remove the foil for the final glazing steps to allow the outside to caramelize and get crispy.
Since the ham is already fully cooked, you are simply heating it through. Don’t guess—use a meat thermometer! You want to reach an internal temperature of 140°F (60°C). Cooking it much beyond this point will only dry out the meat.
Yes! To keep that signature crispy crust, I recommend prepping ahead but baking fresh. Remove the rind, score the fat, and stud with cloves 1–2 days in advance, then wrap tightly and refrigerate. On the day, bring the ham to room temperature and bake as directed.
If you must cook it fully in advance, bake and glaze the day before. Slice the meat cold, place it in a baking dish, and pour the pan juices over the top. Cover with foil and reheat at 275°F (135°C) for 20–30 minutes. You will lose the crispy edges, but the juices ensure the meat stays incredibly moist.
You might also like

Get a free eBook!
Subscribe to Cafe Delites FOR FREE and receive recipes straight into your inbox!
Honey Baked Ham
Ingredients
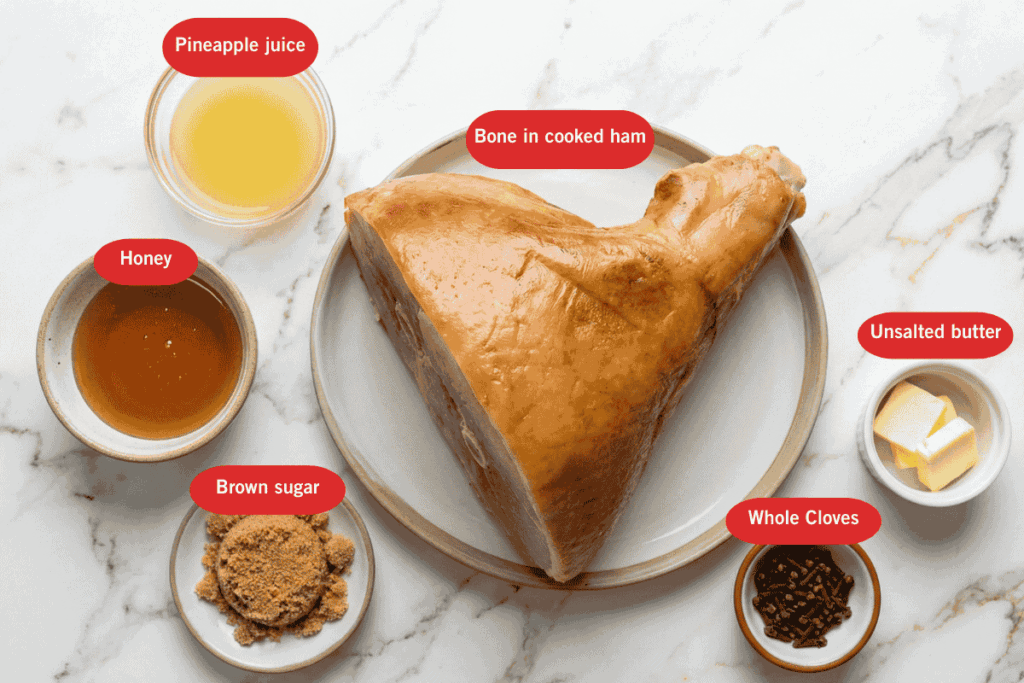
- 8-10 pound bone-in cooked ham or boneless
- 1/3 cup pineapple juice
- 1 cup honey
- 1/4 cup brown sugar
- 1/4 cup unsalted butter
- 1/4 cup whole cloves
Instructions
- Preheat the oven to 300°F (150°C) and arrange a rack in the lower third. Remove any plastic packaging or netting from the ham. Trim away the rind and discard. Set the ham aside to rest at room temperature for 1-2 hours.
- Line a baking tray or dish with several sheets of aluminium foil or parchment paper if you prefer (it will make cleanup a lot easier).
- Remove the rind or skin of the ham (refer to steps in post), ensuring you leave the fat on. Using a sharp knife score a 1-inch-wide diamond pattern (don’t cut more than 1/4 inch deep) over the entire ham. Insert cloves into the centre of each diamond.
- Place the ham in the baking tray; pour the pineapple juice into the base of the pan and cover the ham with two pieces of foil or parchment paper and bake for 15 minutes.
- Meanwhile, heat the butter in a small pot or saucepan over medium heat until golden browned. Add in the honey and brown sugar, stirring to combine until the brown sugar has completely dissolved, (about 2 minutes).
- Reduce heat to low and let simmer to thicken slightly, then set aside and let cool to lukewarm (the glaze should be the consistency of room-temperature honey).
- After 15 minutes baking time, carefully remove the ham from the oven and increase the oven temperature to 425°F | 220°C. Discard the foil or parchment paper and pour 1/3 of the glaze all over the ham, brushing in between the cuts to evenly cover. Return to the oven and bake uncovered for 15 minutes.
- Remove from the oven, brush with another third of the glaze and some of the pan juices, and repeat again after 15 minutes more minutes of baking until a dark golden-brown crust has formed, (about 30 minutes total). For added depth of flavour, mix some of the ham pan juices together with the glaze in the pot which will help keep it runny enough for brushing.
- If your crust is still pink after the suggested baking time, turn on your broiler (or oven grill), and allow it to broil for 2-5 minutes, while keeping an eye on it so it doesn’t burn from the sugar.
- Let the ham rest 10-15 minutes before slicing.
Video
Notes
- Which Ham is Best? I highly recommend buying a Bone-In Spiral Cut Ham (Shank End). The “Shank End” has one straight bone which makes carving incredibly easy compared to the “Butt End.” Avoid boneless hams if possible, as they often lack the flavor and moist texture of bone-in cuts.
- Room Temperature is Key Do not skip the step of letting the ham rest on the counter for 1-2 hours before baking. If you put a cold ham in the oven, the sugar glaze will burn before the center of the ham is warm.
-
Watch the Glaze Consistency When making the glaze, do not over-simmer. It should be the consistency of warm honey. If you simmer it too long, it will turn into hard candy as it cools.
- Fix it: If your glaze becomes too thick to brush, simply whisk in 1 tablespoon of hot water or pineapple juice over low heat until it loosens up.
-
Make Ahead Tips
- Best Texture: Remove the rind, score the fat, and stud with cloves 1-2 days in advance. Wrap tightly and refrigerate. Bake fresh on the day of serving for the best crispy edges.
- Best for Time: Bake and glaze the entire ham the day before. Slice it cold, layer in a baking dish, pour the pan juices over the slices, and reheat covered with foil at 275°F (135°C) until warm.
- Don’t Throw Away the Bone! Save the ham bone! It is liquid gold for soups. Freeze it and use it later to make my hearty ham and bean soup or Cabbage soup with beef
Nutrition
Nutrition information is automatically calculated, so should only be used as an approximation.


Oh my gosh! What an amazing recipe and tips! Thank you! Our Christmas lunch was delish!
My go-to recipe every Xmas and never fails. The children insist only ‘my’ ham is used with other parents doing the turkeys and lamb. I don’t have a broiler so I need to do an couple of extra 15 min bastes but definitely worth it. Thank you.
I make it just as written and it is fantastic. It is as close I can get to mom’s!
The ingredients combination is perfect, and the minimal cooking time is the key to keep the ham juicy. Never follow the cooking directions given with a ham, folks! 15 min per pound makes a dry chewy ham. It is already cooked.
I pre-cooked before a group pot luck dinner, heated the pan juices to hot just before dinner, poured them on the plate of sliced ham and everyone loved it. So moist and delicious.
Now I make it at home with 2/3 of the volume of glaze ingredients.
I made the glazed ham and it’s age to profection I love it