This post may contain affiliate links. Please read our disclosure policy.
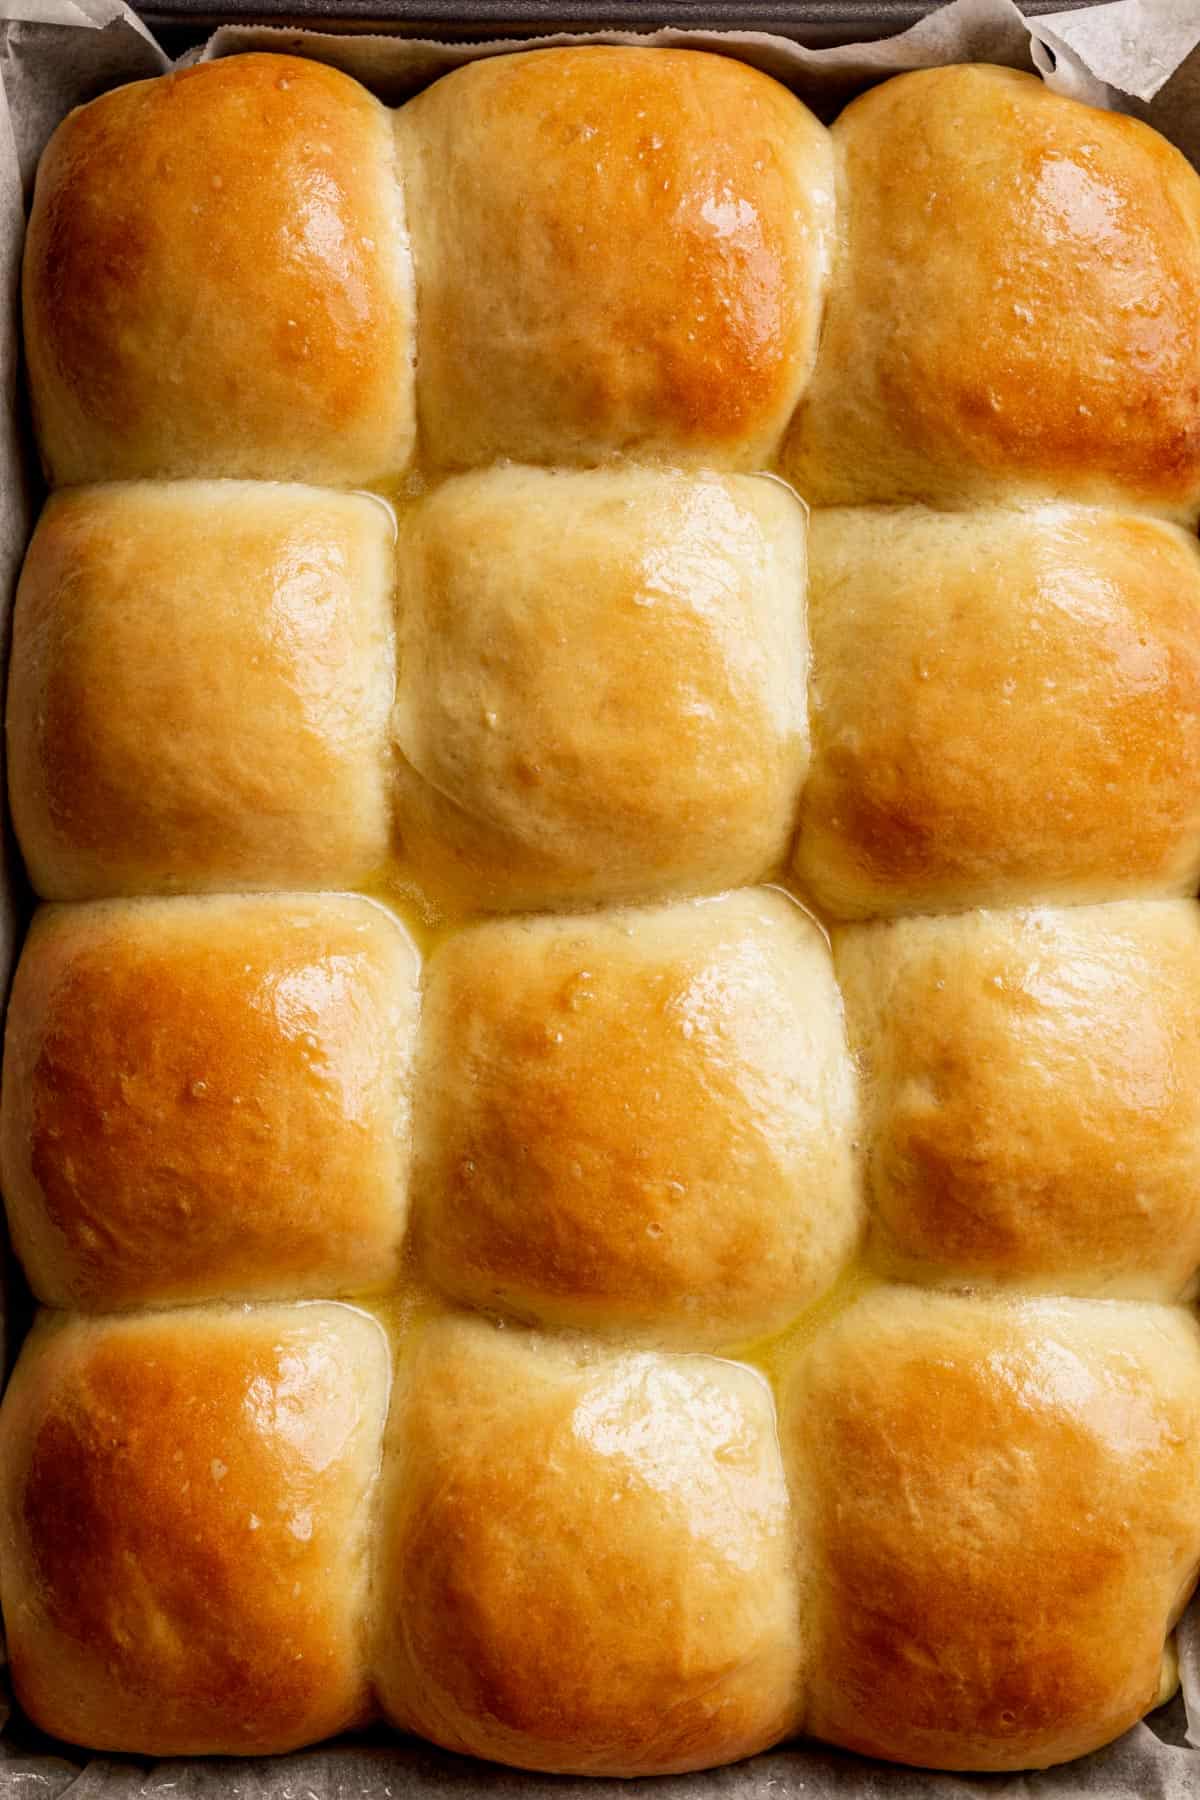
No mixer and no complicated steps, these Easy Soft Dinner Rolls are perfect to whip up any day of the week! Dinner rolls are such a staple, and if you’ve never tried making bread from scratch before, this recipe is a good one to begin with.
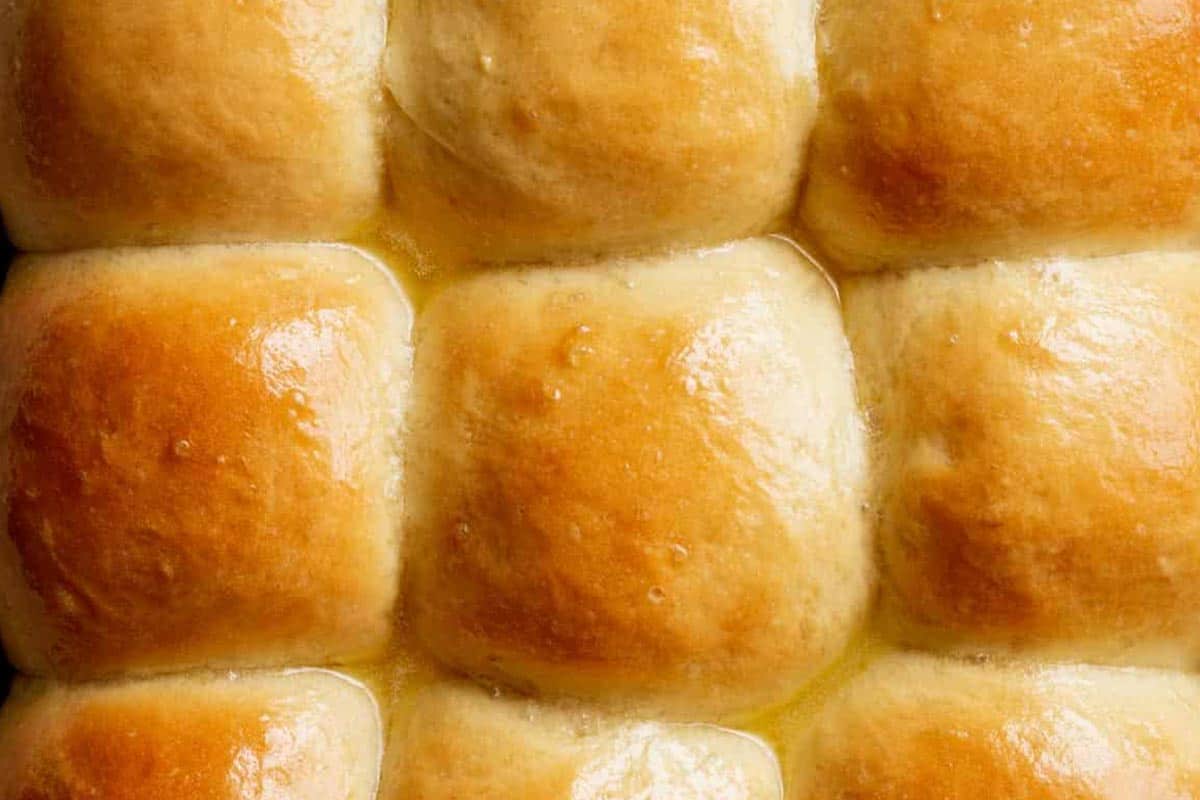
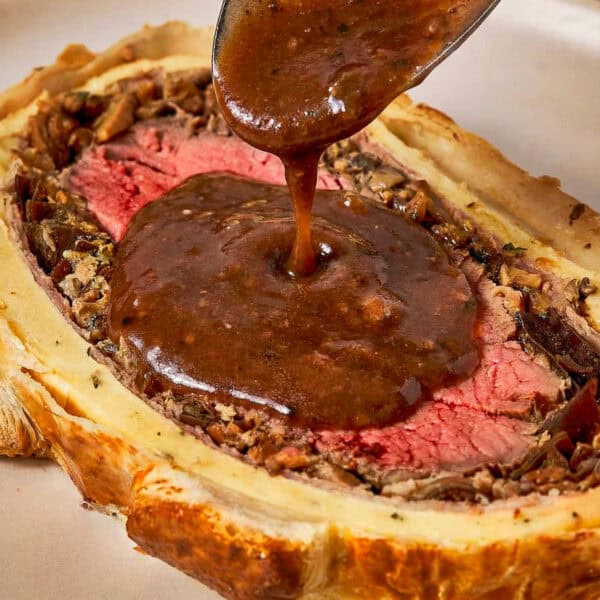
The rolls come out perfectly fluffy and soft on both the inside and the outside, and with the perfect salt and sugar ratio, they taste 10 times better than any store-bought rolls. I’ve teamed these up with SO many of my recipes- Pumpkin Soup, Beef and Guinness Stew and my Cream of Mushroom Soup, these were just begging for a soft piece of bread to help mop up the excess mouth watering sauce, and my dinner rolls were just right.
I don’t even want to tell you how many batches of dinner rolls I went through to get this one right. How many hours and sleepless nights I spent on the internet researching all about yeast, flour and eggs or no eggs, milk or just water. SO. MUCH. WORK.
Why This Recipe Works
After days of experimentation, these rolls came out of the oven looking, smelling and feeling perfect. I honestly could have cried. And finally, I’m sharing it with you- THE recipe to get the perfect dinner rolls.
You get to team them up with practically any saucy recipe, use them as the base for your homemade sliders or just serve them as a side on your Thanksgiving dinner- perfect for when you’re looking for a bit of a change from the classic Cornbread.
What Goes Into This Recipe
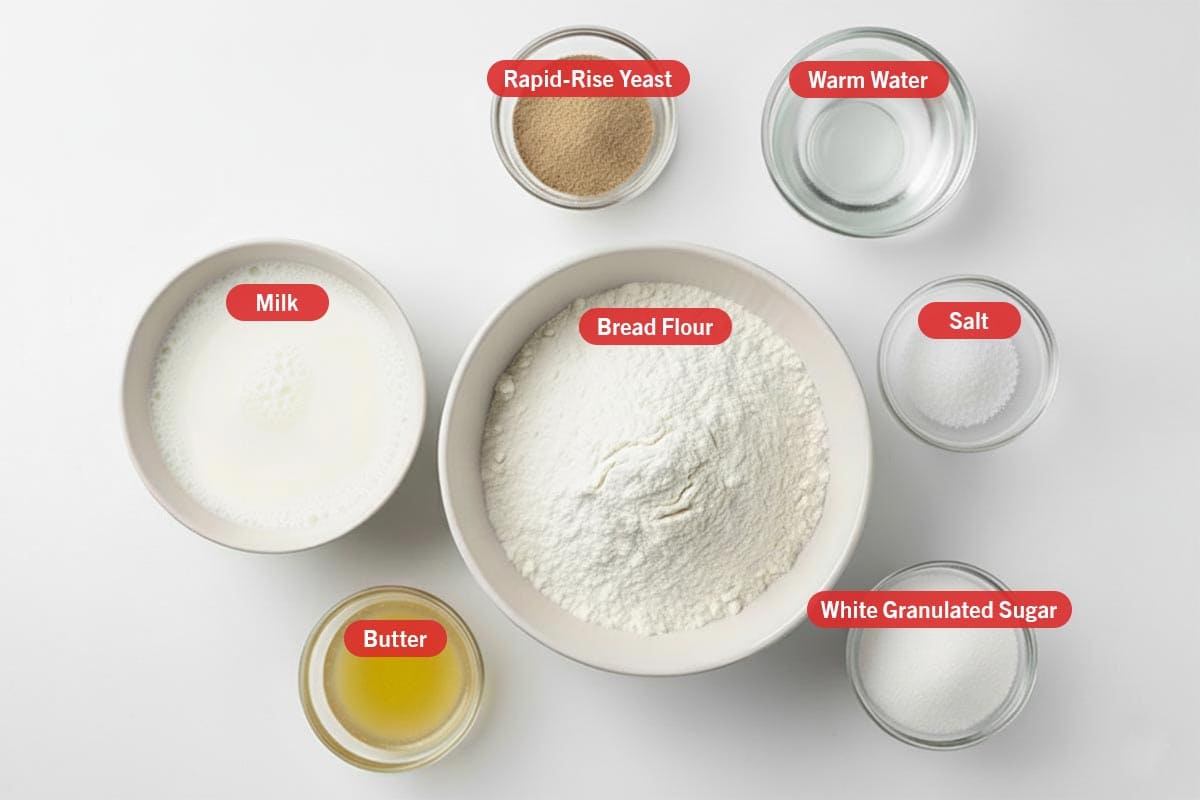
- Yeast: I used rapid-rise yeast here. Quick yeast is most preferable for this recipe as opposed to active yeast, which may cause the dough to take more time to rise.
- Sugar: To feed the yeast and give the dinner rolls that bit of soft sweetness.
- Butter: For the perfect moist, soft and pillowy rolls.
- Bread flour: For the rolls and also a little to dust your working surface.
- Milk: Use whole milk for best results. Milk feeds the yeast and lends that rich flavor to the rolls.
Note: please see recipe card at the bottom for list of full ingredients and measurements
How To Make
To make these easy soft dinner rolls, start by heating your oven to 200°F.
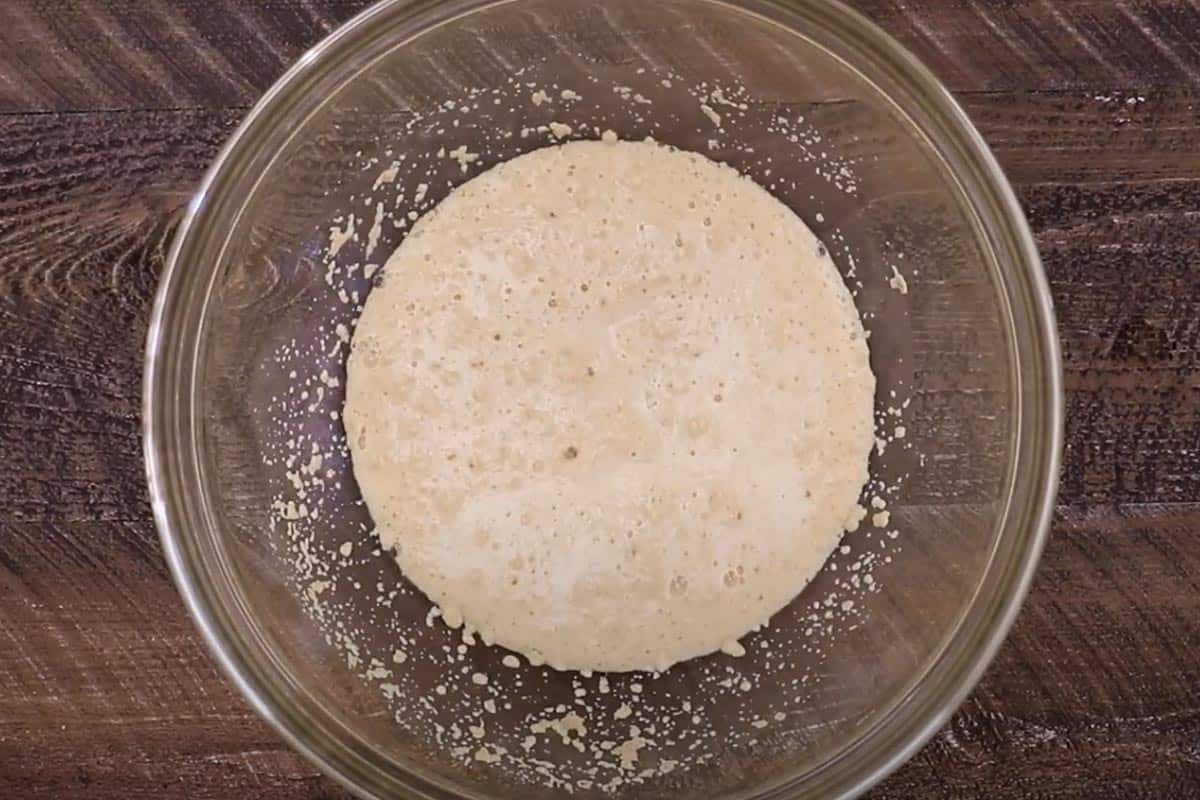
- Bloom yeast: Combine 1 tablespoon of sugar, yeast and warm water in a large bowl and let it sit for 7 to 10 minutes, till the mixture turns frothy.
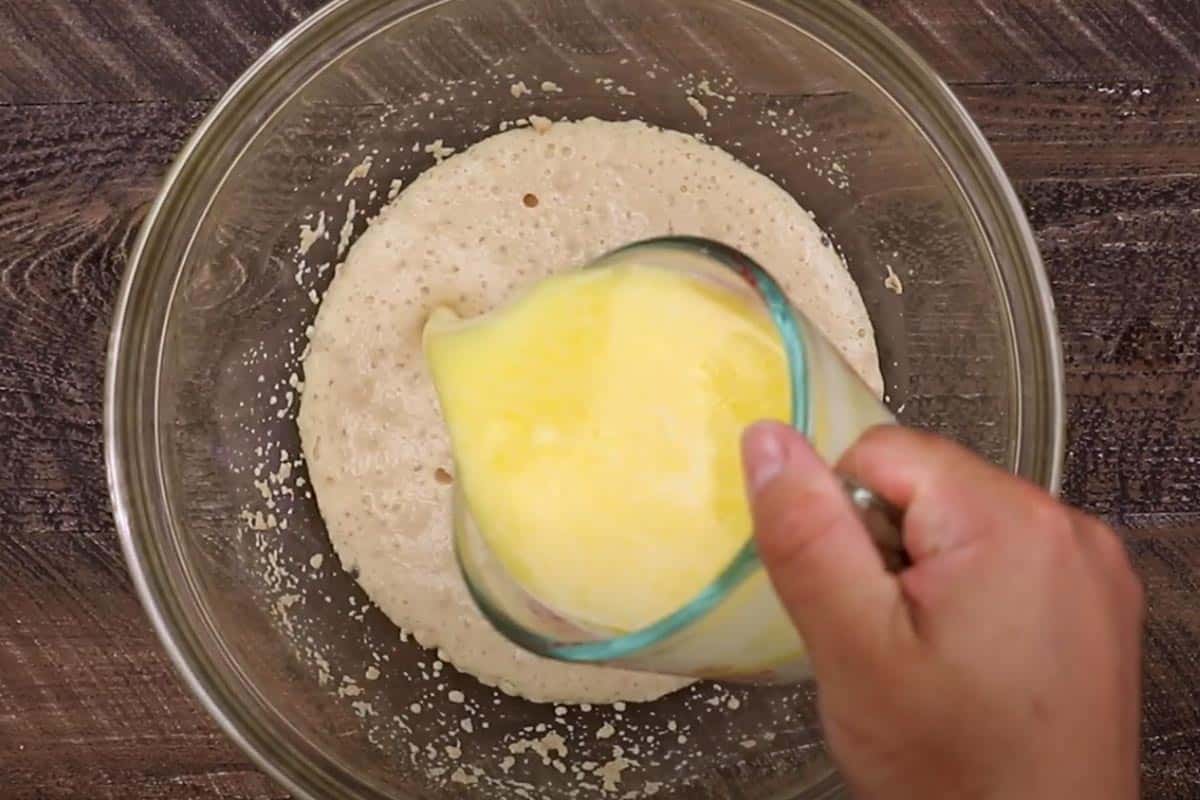
- Make butter mixture: While the yeast is blooming, combine milk and butter in a large jug and microwave for a few seconds until the butter has almost melted. Stir in the remaining sugar and salt and pour the mixture into the bloomed yeast.
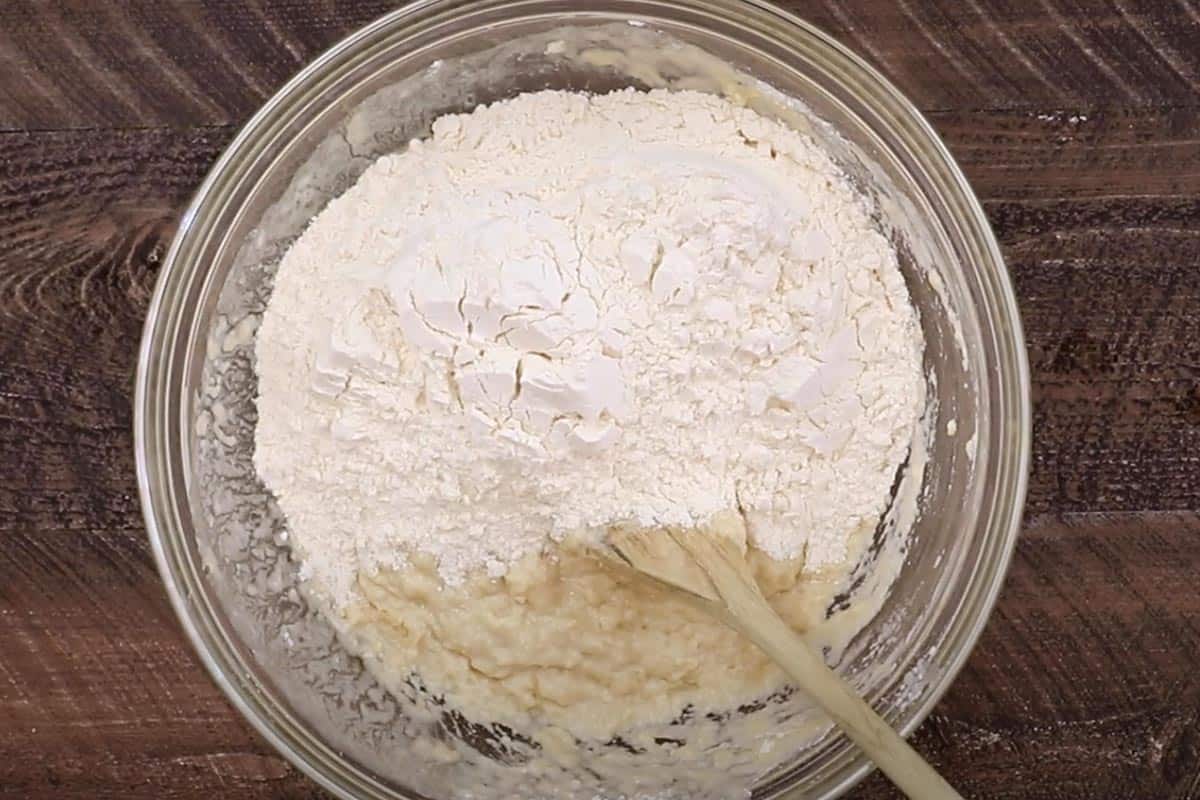
- Make the dough: Add flour and gently combine to get a sticky mixture that starts to pull away from the walls of the bowl.
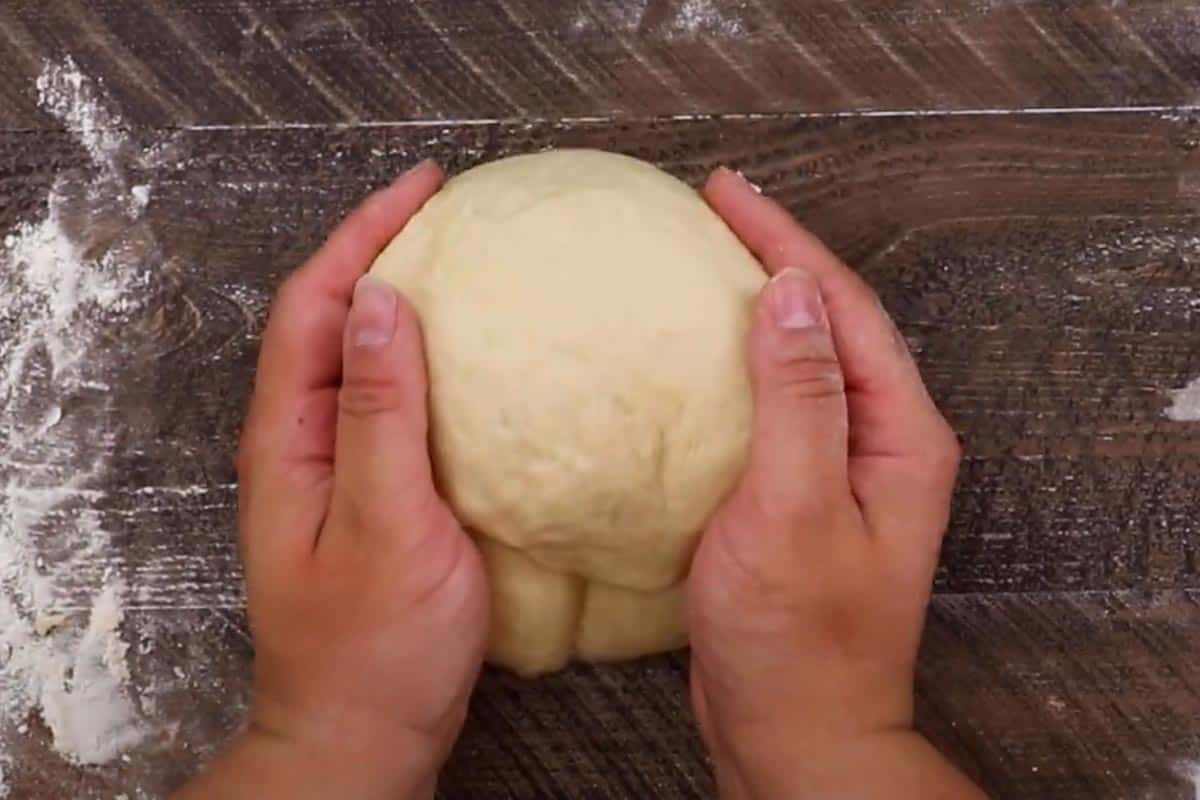
- Knead time: Transfer the dough to a lightly floured surface and knead for about 4-5 minutes, adding a bit more flour if needed.
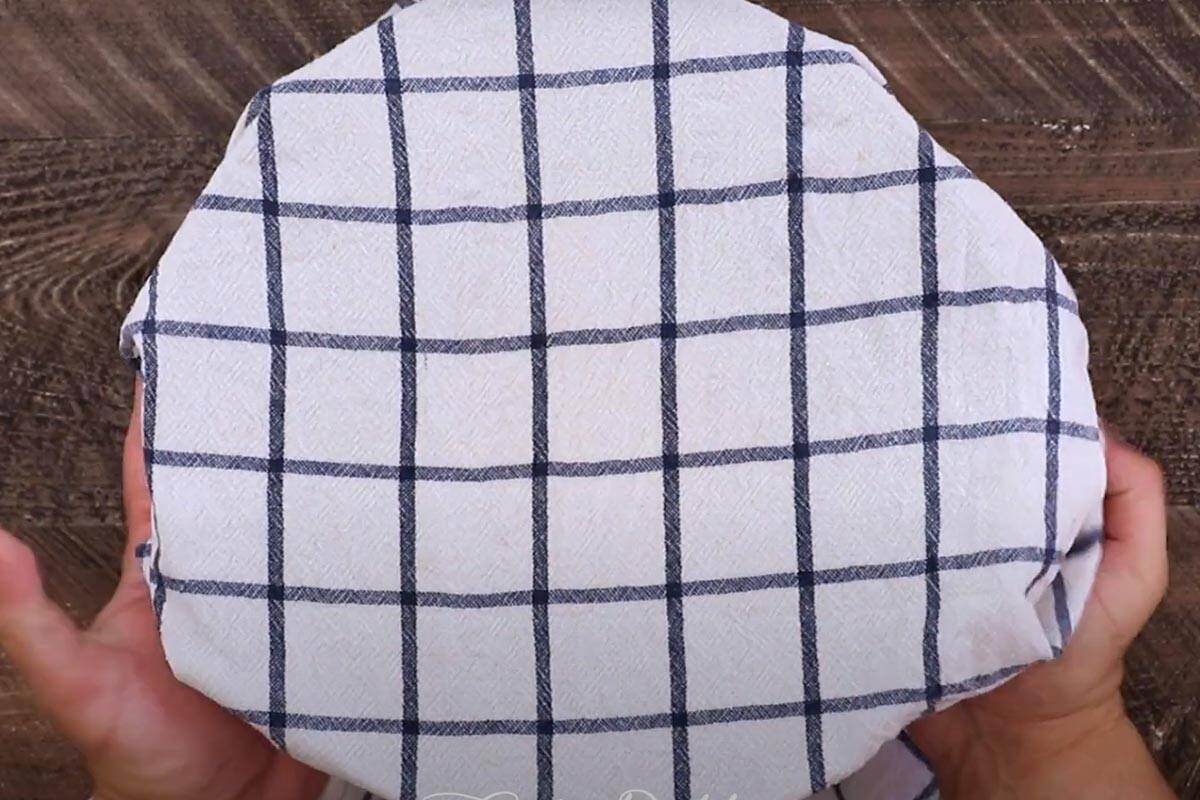
- First proof: Transfer the dough back to the bowl and cover with a damp towel. Turn off the oven and place the bowl in the oven to let the dough proof. Leave the oven door slightly open for 10-15 minutes, and then shut it, letting the dough proof for another 45 minutes.
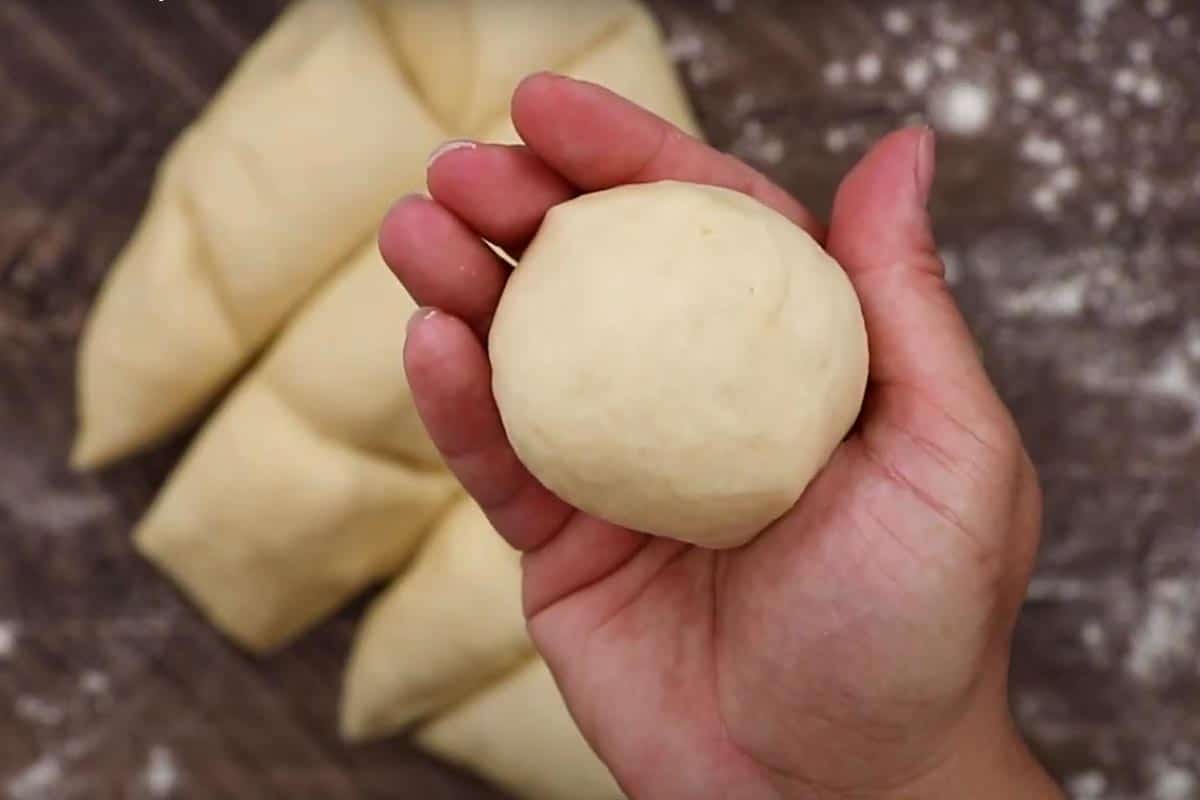
- Shape rolls: Remove the dough from the oven and transfer to a lightly floured surface. Knead for a few more seconds and shape into two loaves. Cut and shape the dough into 12 smooth rounds in total.
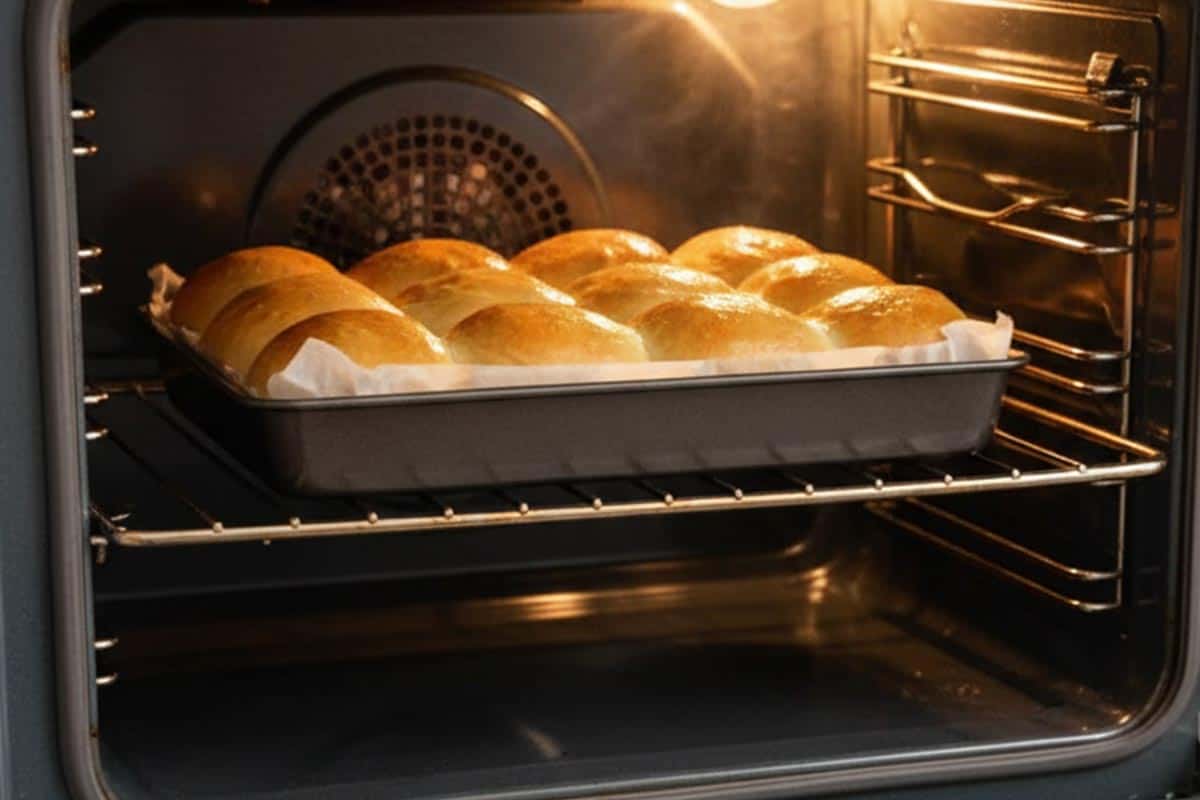
- Bake time: Preheat the oven to 375˚F and arrange the rolls in a 9×13-inch greased baking pan. Lightly spray them with cooking spray, cover and let rise again for 30 minutes. Bake in oven for 20-25 minutes, or until golden brown.
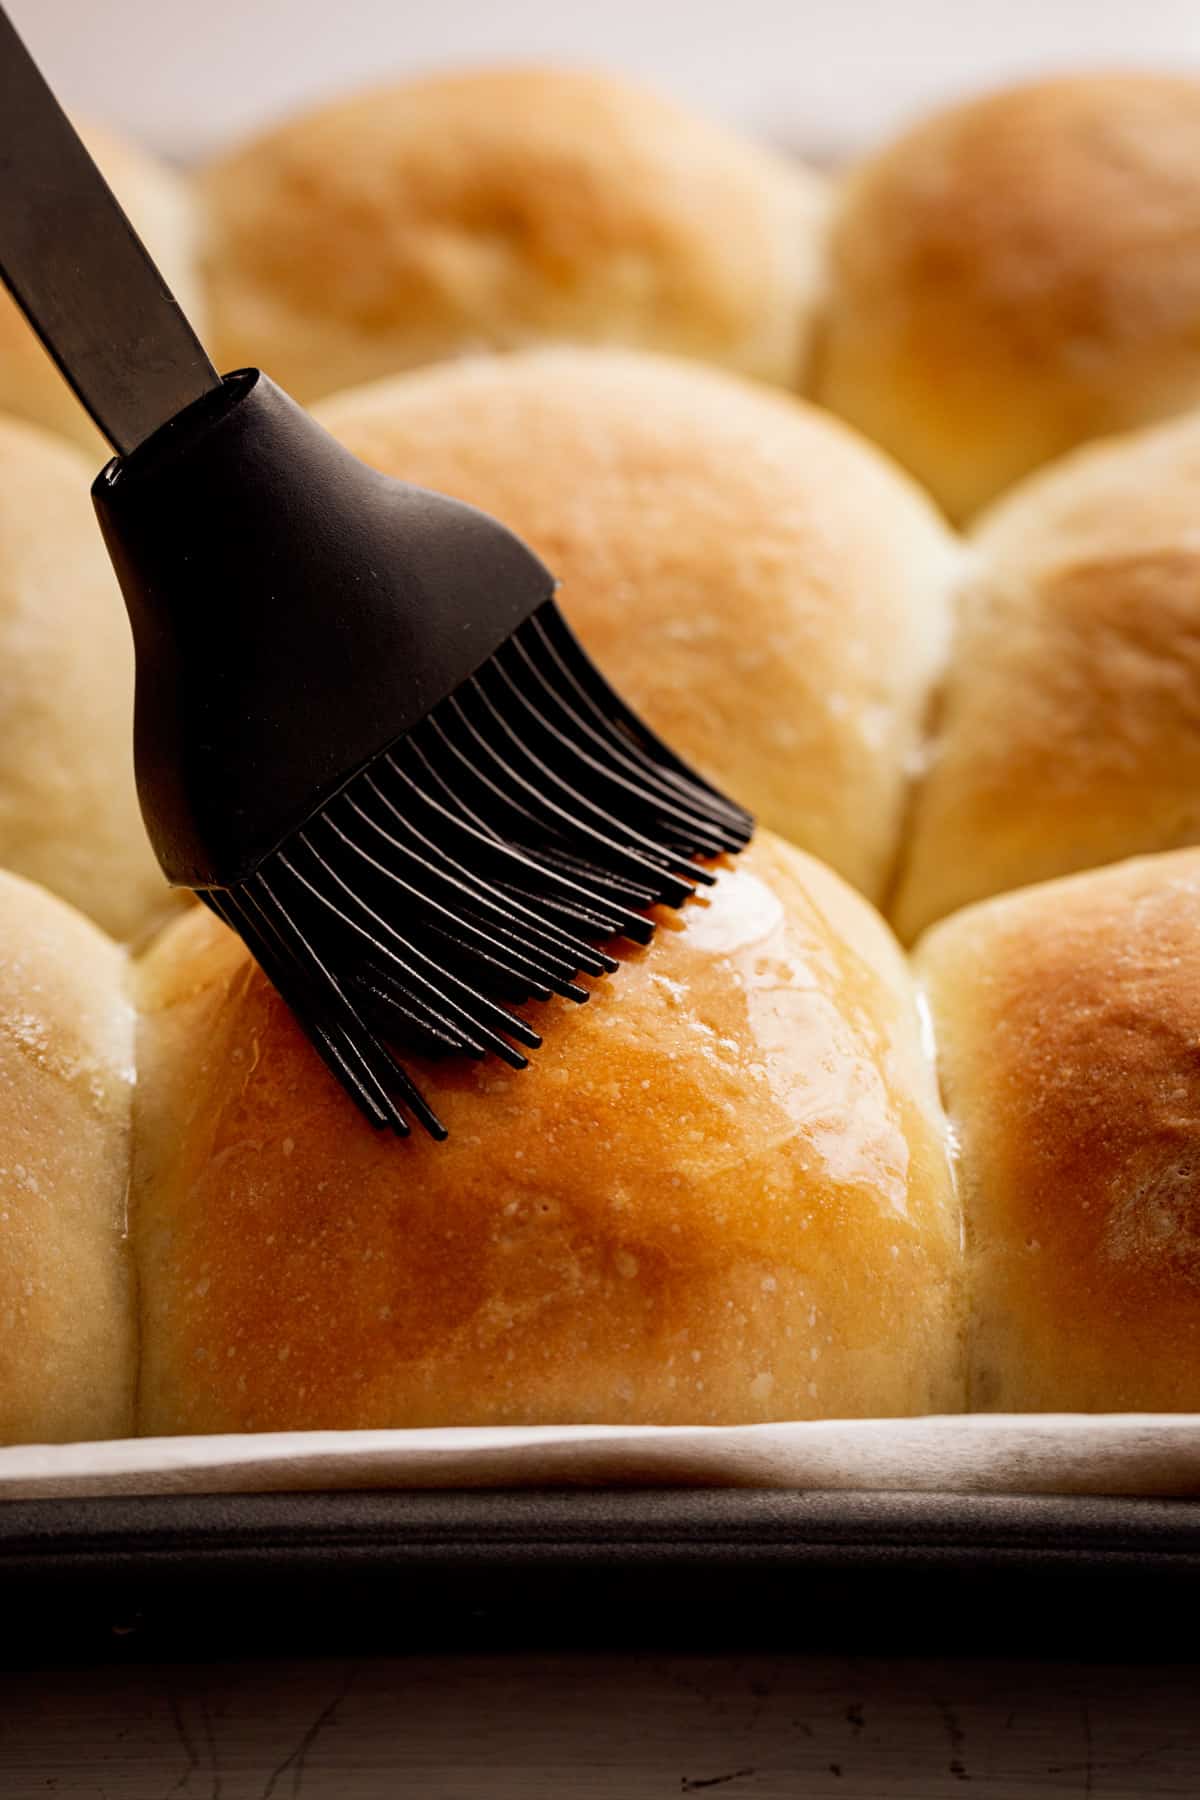
- Finish up: Remove, brush them with some more melted butter and let them cool down a bit before serving.
Use your dinner rolls to mop up the sauce in my Crispy Skin Turkey and Gravy, Easy Baked Salmon with Lemon Butter Cream Sauce or my Easy Lobster Bisque.
Recipe FAQ’s
You don’t! That’s actually the BEST part about this recipe. Just some basic ingredients and a few minutes of your time.
You can use all purpose or plain flour, but after vigorous testing, I found all purpose flour produced a slightly heavier, denser bread roll. If you like super airy, fluffy and soft dinner rolls—much like the texture of my Soft Hot Cross Buns—go with bread flour.
Avoid overworking the dough- it is one of the reasons why your dinner rolls could be turning out dense instead of being soft and fluffy. Also remember to not add too much flour! You don’t want the dough to be dry- it should be tacky and sticking to your fingers.
Watch It Made
You might also like


Get a free eBook!
Subscribe to Cafe Delites FOR FREE and receive recipes straight into your inbox!

Easy Soft Dinner Rolls
Ingredients
- 1 tablespoon rapid-rise yeast
- 3 tablespoons white granulated sugar divided
- 1/2 cup water warm (110-115˚F)
- 1 cup milk
- 1/4 cup butter melted
- 1 1/2 teaspoons salt
- 4 cups bread flour or all purpose four, plus about 1/4 cup extra for dusting your work surface
- 2 tablespoons butter melted, for brushing baked rolls
Instructions
- Heat oven to 200°F | 100°C (if using your oven to proof the dough).
- Mix the yeast, 1 tablespoon of sugar and warm water in a large bowl. Let sit for 7-10 minutes until foamy and frothed.
- While yeast is activating, combine the milk and butter in a 2-cup capacity microwave safe jug. Microwave on high for about 40-50 seconds, or until butter has half melted and milk is luke warm. Stir in remaining sugar and salt. Give it a light mix until the butter completely melts through the milk, and the sugar dissolves. Add to the yeast in the bowl.
- Add in 2 cups of flour, giving it a light mix to combine with a wooden spoon, then add in the remaining 2 cups of flour. Mix until starting to pull away from the walls of the bowl (about 1-2 minutes). Turn out on a lightly floured work surface and use the extra 1/4 cup of flour in tablespoon increments to knead until smooth, elastic and slightly sticky (about 4-5 minutes kneading). (Lightly oil your hands if the dough gets too sticky.)
- Transfer dough back into the bowl. Cover with a warm damp towel. TURN OVEN OFF and transfer bowl of dough to the warm oven, leaving the door ajar for the first 10-15 minutes or so. After 15 minutes, close oven door and allow the dough to double in size (another 45 minutes).
- Scrape dough onto a lightly floured work surface or kitchen bench, knead lightly for about 30-40 seconds if needed to bring the dough together, and mould into a loaf shape. Cut in half, then cut both halves into 6 equal pieces (you should now have 12 equal pieces all together).
- Working one by one, lightly flatten each piece of dough in the palm of your hands, then bring up all sides to form a peak on top (like a tent shape), and pinch and seal this peak. Flip it over and you should have a smooth top! Ensure there are no cracks. If there are, turn the roll upside down again and smooth the cracks out towards the peak you just made, pinching the seal again, and flip over to double check the top is smooth. (Use a light dusting of flour in your hands to prevent sticking if you need to.)
- Arrange rolls, smooth side up into a lightly greased 9×13-inch baking pan or dish (you can line your pan or dish with parchment paper if you wish).Preheat oven to 375˚F | 190˚C (or 350°F | 180°C for fan forced ovens).
- Lightly spray rolls with cooking oil spray, cover with plastic wrap and let rise again until just about doubled in size, (about 30 minutes).
- Bake in a preheated oven for 20-25 minutes, or until rolls are golden browned. (Check them after 18 minutes to make sure they are ok.)
- Lightly brush with a little extra melted butter, and transfer to a cooling rack.
Notes
Nutrition
Nutrition information is automatically calculated, so should only be used as an approximation.


A very good recipe which came out great on my first try!! I appreciated how detailed the instructions were. I will definitely be making these rolls again and checking out more recipes from this site.
Do you have a whole wheat version the recipe or any recommendations on how to tweak the recipe correctly if using whole wheat flour?
Hi Lee, I have a delicious all purpose flour recipe that uses sweet potato for the buns. Give them a try, otherwise you can use the easiest no-knead bread just make them in smaller balls and bake them for a shorter time. Enjoy! Xx
Love these make them all the time
Quick question can I proof them just on the counter and how long would that be I want to make them for Easter dinner but I work until 2 have a break around 11 figured I could do the first part and just leave them until 2 on the counter wondering if that would work instead of the oven
Hi Linda, Yes, you can absolutely proof the dough on the counter instead of in the oven. The oven method in the recipe is simply a way to speed up the process, but a room temperature rise is actually standard for bread making. To make the 3-hour window work perfectly, use cool or room temperature water (around 70°F) instead of the warm water (110–115°F) the recipe calls for. This slows down the yeast activity so it rises more slowly while you are away.When you get home at 2 PM, you will still need to perform the second rise after shaping the rolls. This usually takes about 30 minutes. Enjoy! Xx
My favorite roll recipe
Best rolls ever. Huge hit for Thanksgiving, any suggestions on what additional steps to make it as a loaf of bread. I was planning to use a glass baking dish
Hi Sabrina, So glad they were a hit! To make a loaf, grease your glass dish and shape the dough into a smooth log. Let it rise until doubled, then bake at 175°C (350°F) for about 30-35 minutes until golden and hollow when tapped. Enjoy Xx
Hi!
Just tried this recipe for the first time! I wasn’t great at shaping them perfectly but they still came out so well, my super picky 10 year old devoured it as well. Thank you!!
Has anyone tried making dough in a bread machine?
I am trying it now. Will let you know.