This post may contain affiliate links. Please read our disclosure policy.
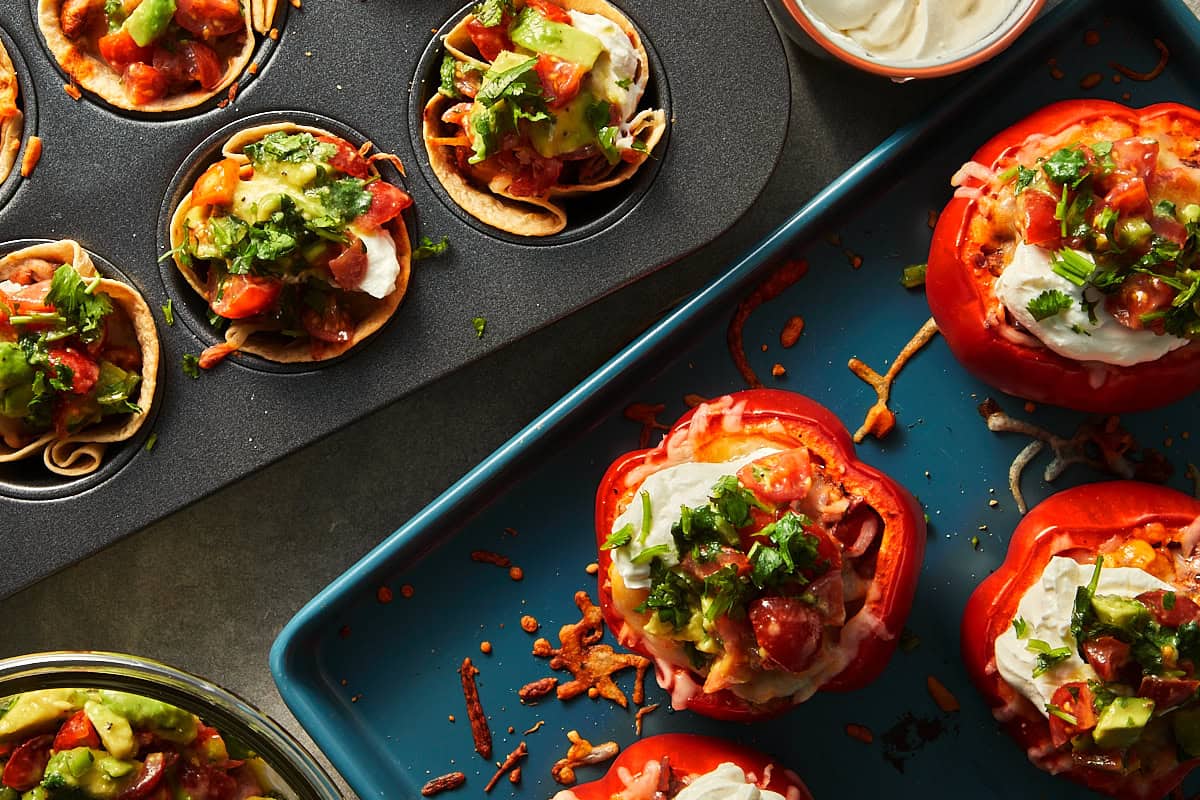
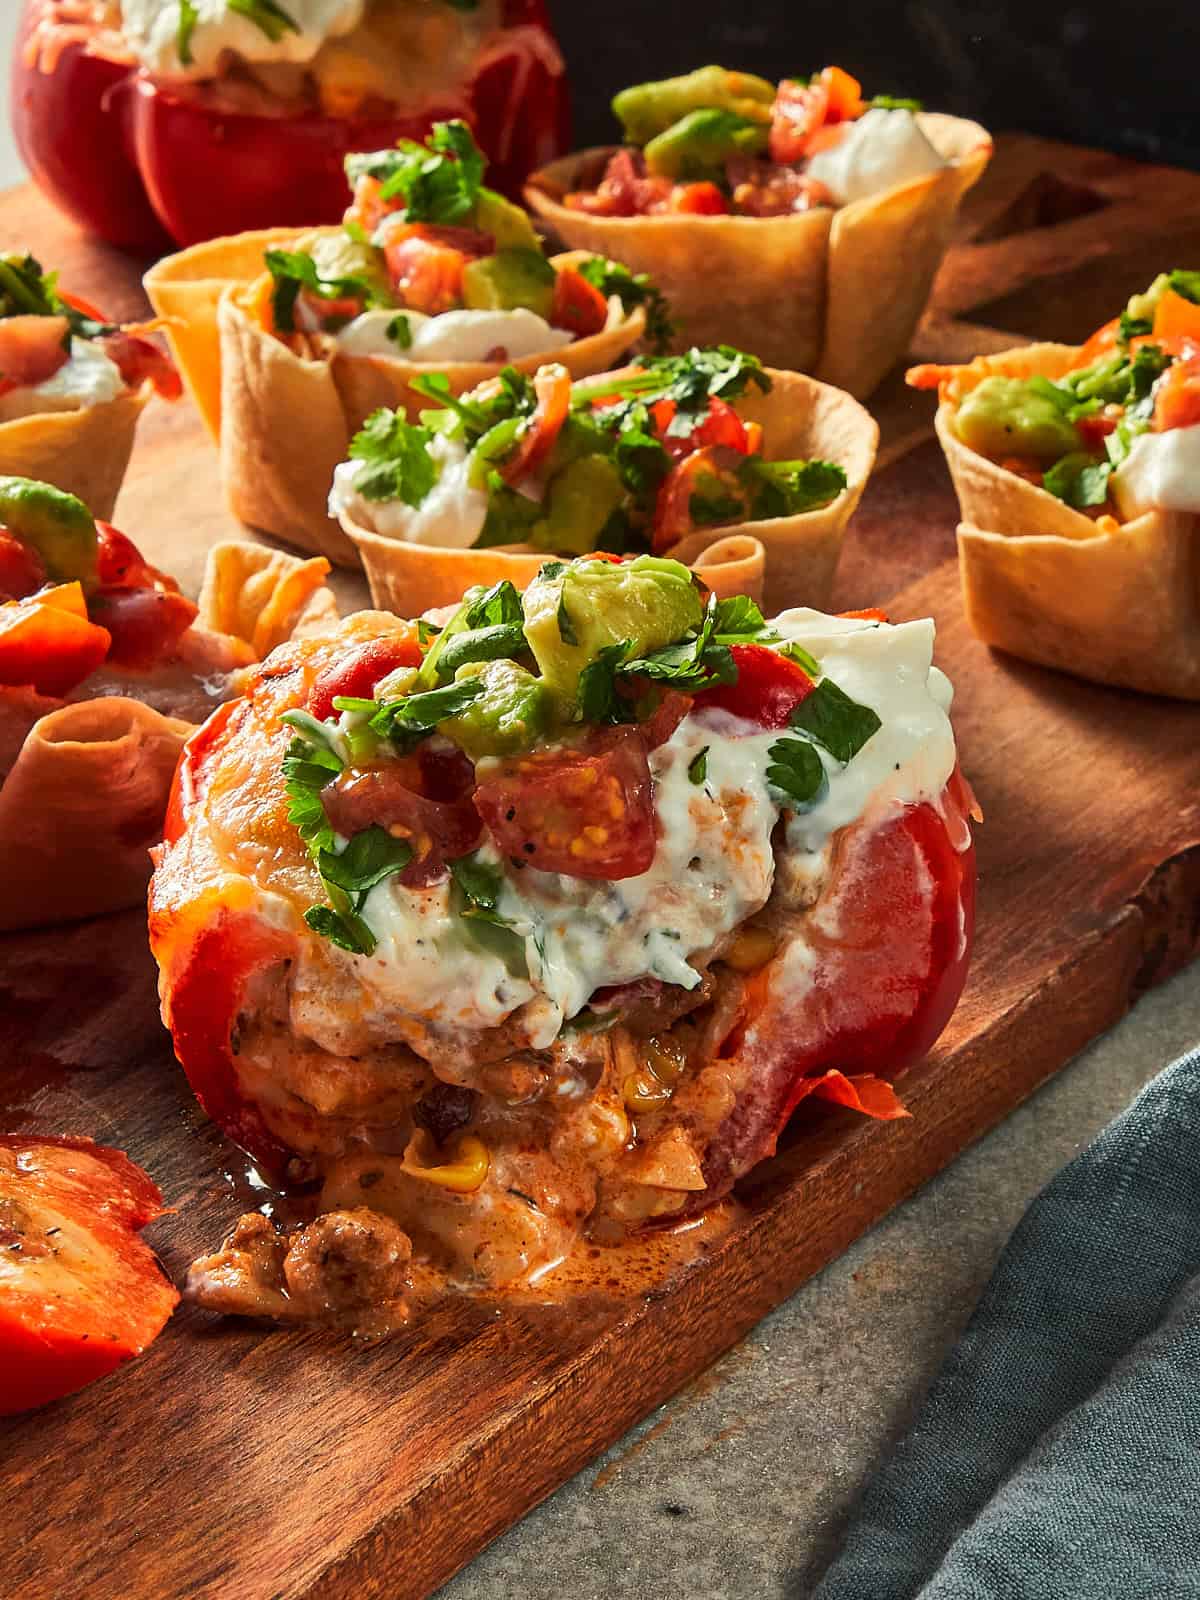
Easy Taco Cups loaded with a delicious filling and classic taco toppings, and an amazing low-carb version made with a secret ingredient.
Taco recipes are always messy, but let’s be honest, who doesn’t love a good taco? I am always looking for simple dinners that give you those exact flavors without the constant cleanup. That is where this easy taco recipe comes in. If you want a lighter option, my secret ingredient is the capsicum. Baking these bell peppers turns them into sturdy edible bowls. It is a great solution for a fast weeknight meal without the usual mess.
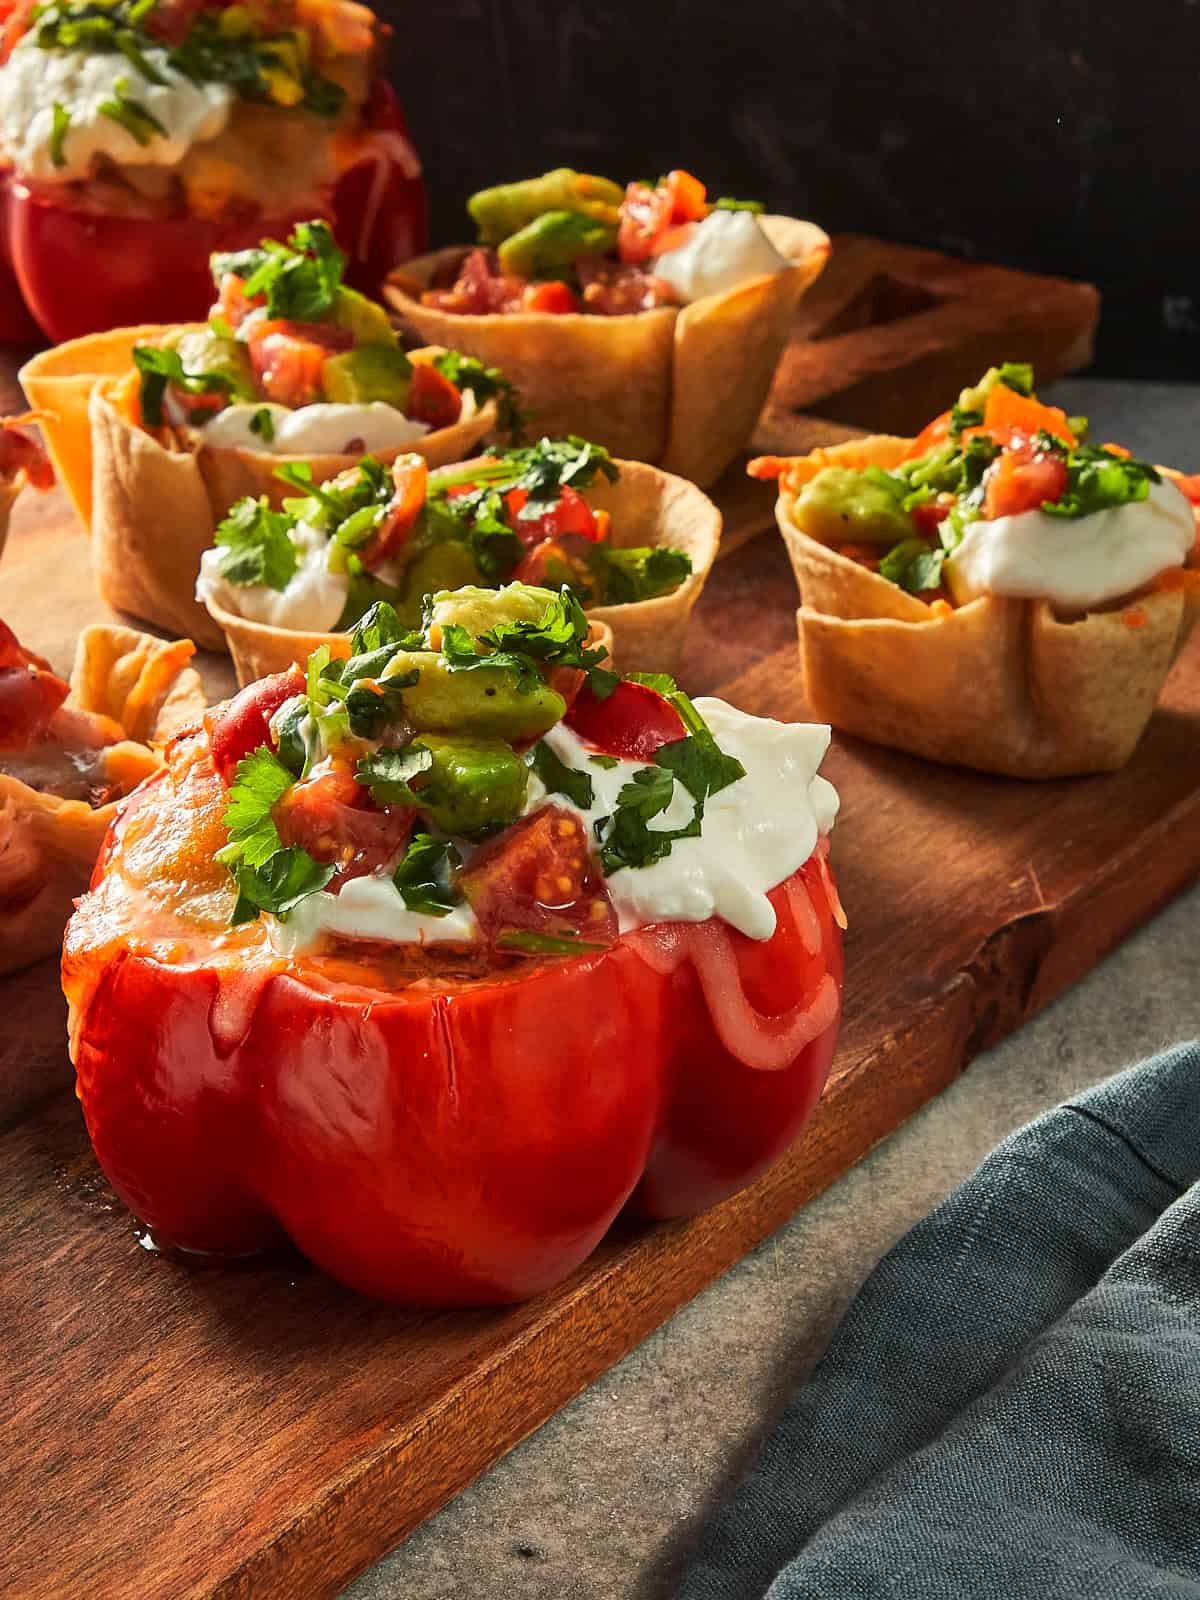
Why This Recipe Works
This recipe actually came together the day after I hosted friends for Taco Tuesday. I had leftover chicken, a handful of tortillas, and some salsa sitting in the fridge. I wanted to use them up, but I definitely did not want to deal with the mess of assembling regular tacos all over again.
So I decided to just press the tortillas into a muffin tin, add the filling, and bake them. It turned out to be a really simple way to get all the same flavors in a clean, grab-and-go shape.
What are Taco Cups?
As I mentioned before, taco recipes leave you with a massive cleanup, so I wanted to make something you could pick up and eat in just a few bites. Baking the mini tortillas directly in a muffin tray shapes them into sturdy bowls that hold their shape in the oven.
The real trick to keeping these crisp is adding a small layer of mozzarella cheese at the bottom before spooning in the chicken. As it bakes, the cheese melts and creates a protective barrier. This keeps the bottom of the tortilla firm so the meat juices do not soak through. Perfect for kids, if you ask me!
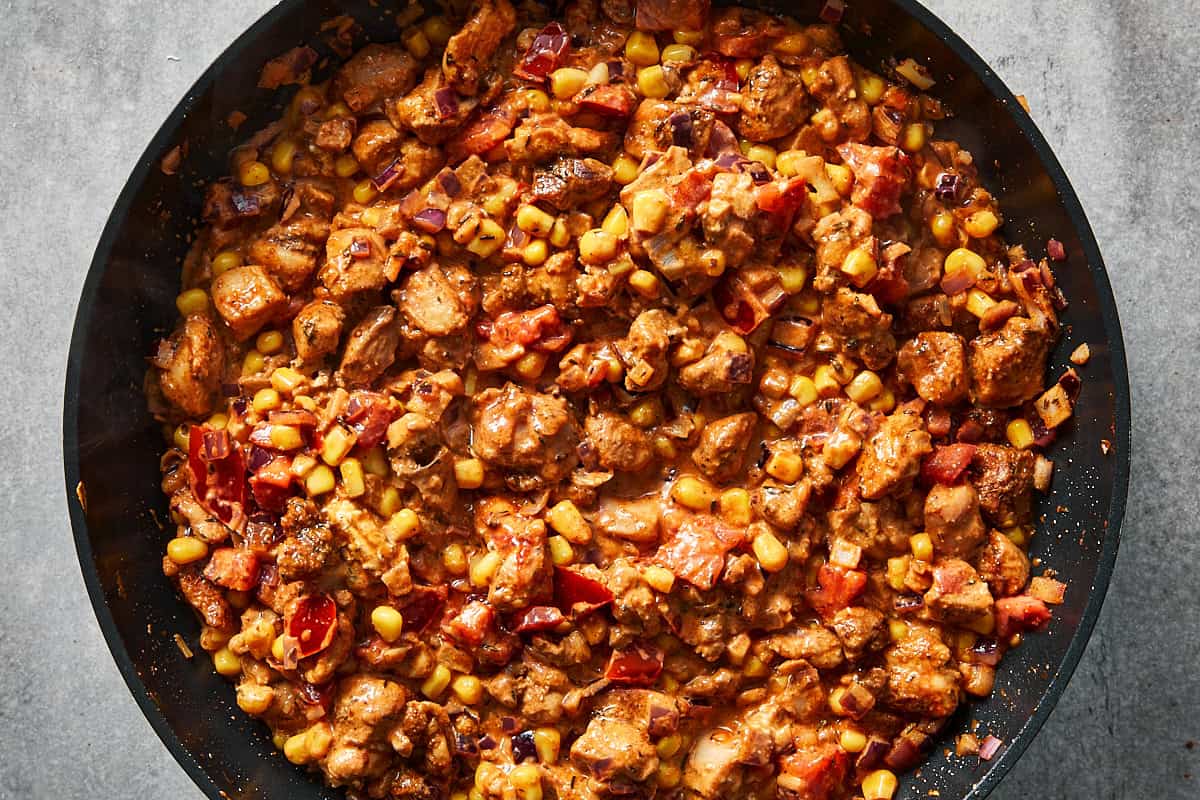
I also make sure to cook the chicken mixture down until the sauce is nice and thick. A watery filling will ruin a baked cup quickly. By letting the sauce reduce and bind the chicken and sweet corn together in the pan first, every single bite stays inside the tortilla where it belongs.
Low Carb Taco Cups
As many of you know, going through a weight loss journey changed how I approach cooking. I like to take care of my health and how I feel, but I absolutely refuse to give up comfort food. This capsicum version is not some magical, ultra-strict diet meal. It still has plenty of melted cheese and savory chicken. But it is a much more balanced way to enjoy taco night without feeling heavy afterward, which is exactly how I prefer to eat.
If you are keeping an eye on your meals, swapping the flour tortillas for capsicums is a great trick. A regular tortilla cup sits at 231 calories and 22 grams of carbs. By baking that exact same filling inside a capsicum, it drops down to 170 calories and 14 grams of carbs.
I usually use red bell peppers because their natural sweetness balances the spiced meat. The only real trick here is roasting the empty capsicums first.
Ingredients
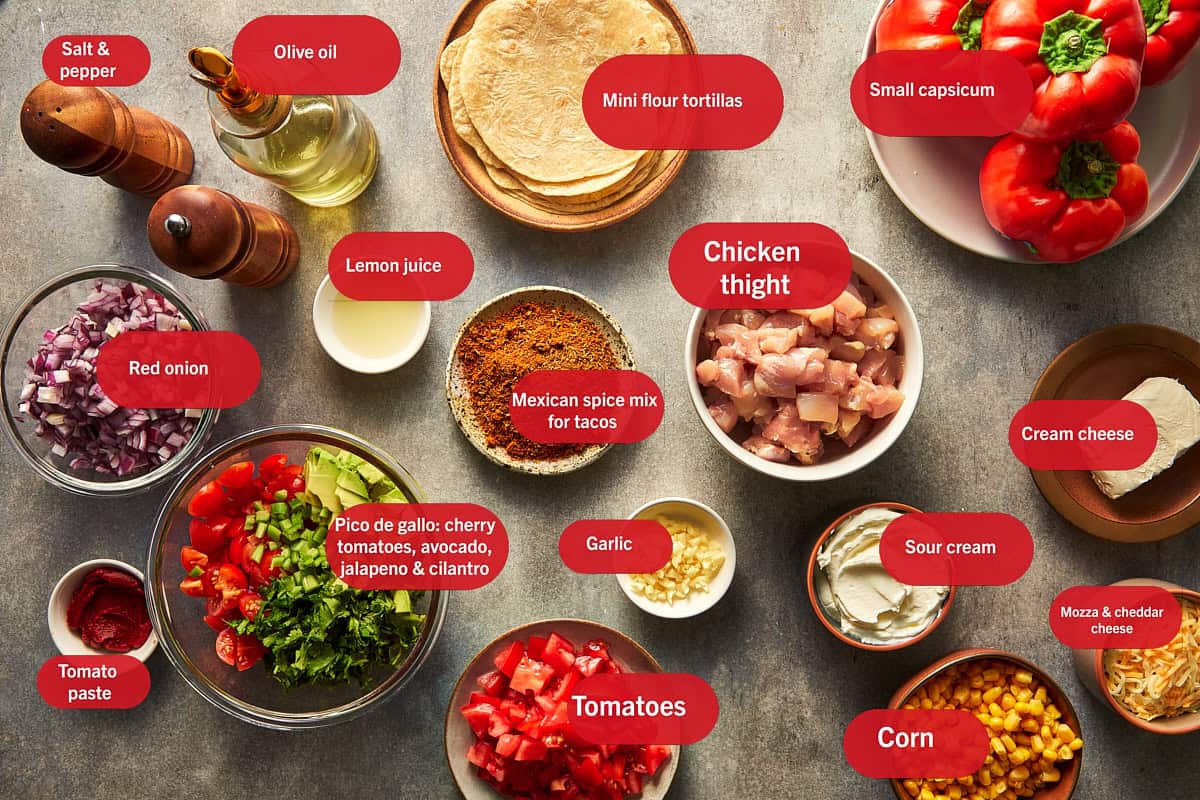
- Chicken thighs: I highly recommend using boneless skinless chicken thighs for this. Thighs stay tender and hold up to the heat. If you need a substitute, lean ground beef works well, just brown it in the pan first.
- Light cream cheese: This is what gives the filling a thick, scoopable texture. It melts down with the tomato paste to bind the chicken and corn together. I do not recommend swapping this for sour cream or Greek yogurt while cooking on the stove. I tried doing that, and the heat made it separate into a watery mess that ruined the bases.
- Mini flour tortillas: These press right into a standard muffin tray and hold a bowl shape without tearing. You can use corn tortillas, but I found they crack easily unless you wrap them in damp paper towels and warm them up first to make them bendable. Flour is just much easier to work with.
- Capsicums: If you are making the low-carb version, bell peppers are the absolute best option. You can use green or yellow, but red has the best flavor for this meat mixture.
Note: Please see recipe card for a full list of ingredients and measurements.
Extra Add-Ins And Toppings
When it comes to customizing these, you can treat them just like a regular taco. I like to keep things practical so they stay easy to eat, but here is what works if you want to switch it up:
- Refried beans: If you want to stretch the recipe and make the cups more filling, spread a small spoonful of refried beans directly over the bottom cheese layer before adding the hot chicken. It adds a great texture and helps hold everything together.
- Guacamole: Instead of chopping up avocado for the pico de gallo, you can just drop a dollop of cold guacamole right on top of the baked cups before serving. It is much faster and gives you that creamy contrast.
- Skip the lettuce: I really do not recommend adding shredded lettuce to these. The heat from the freshly baked cups wilts the lettuce almost instantly, and it just falls off and makes a mess when you try to take a bite.
How To Make Easy Taco Cups
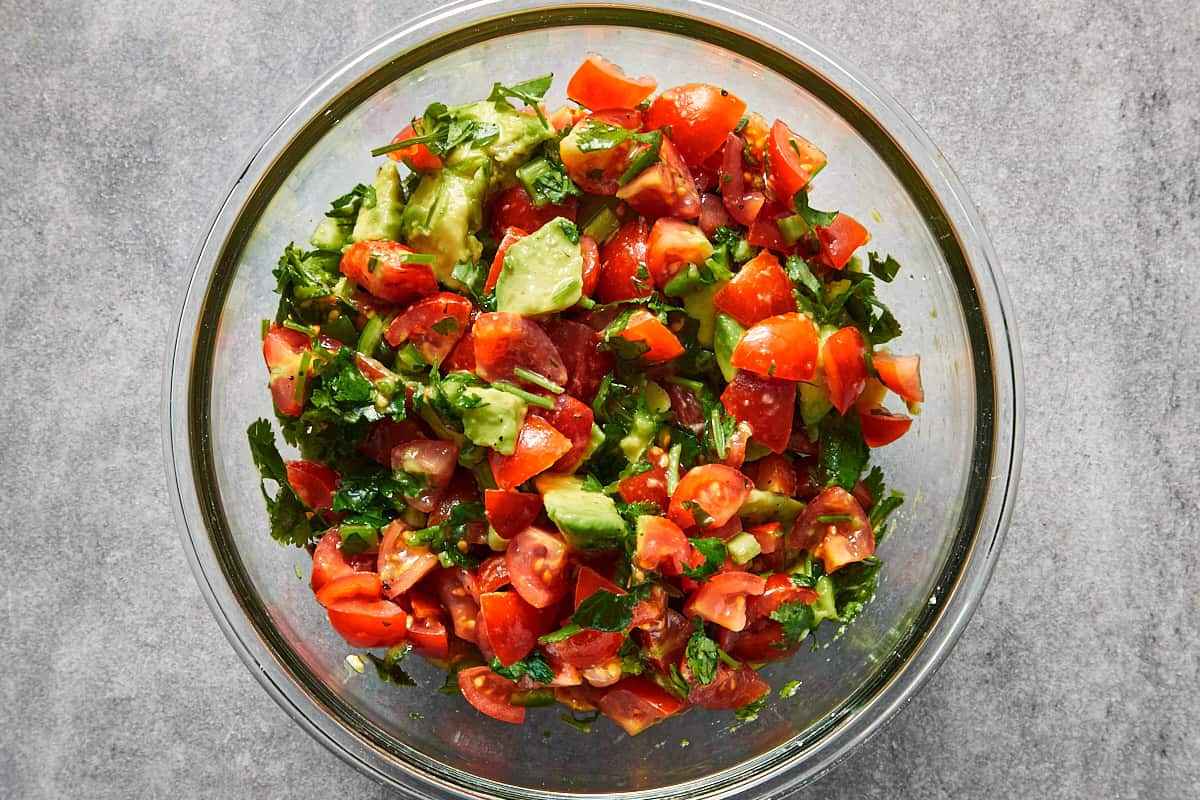
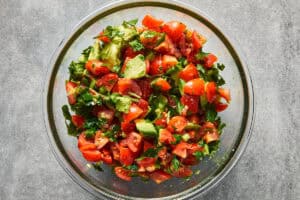
Start by making the avocado pico de gallo. Chop the avocado, jalapeño, cherry tomatoes, and coriander, then toss them in a bowl with lime juice, salt, and pepper. I keep this in the fridge while I cook so the flavors mix.
For the filling, coat the diced chicken thighs with olive oil and the Mexican spice mix. Heat a pan over medium-high heat and cook the chicken until it gets a brown crust. Toss in the sliced red onion and chopped garlic, cooking for two minutes. Stir in the diced tomatoes, sweet corn, tomato paste, and cream cheese. Let it bubble until it turns into a thick sauce. Make sure the liquid is mostly gone so your bases do not get soggy.
The Tortilla Version
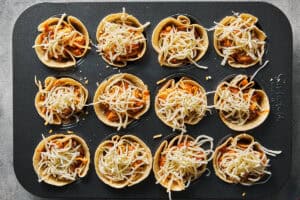
If you are making the classic recipe, simply press the mini flour tortillas into a 12-hole muffin tray so they fold into little bowls.
The Low Carb Version
To prep the capsicums instead, cut the tops off and scoop out the seeds. Rub them with olive oil, salt, and pepper, and pre-bake them empty at 200°C for 15 minutes to soften.
Assemble and Bake
Once your chosen bases are ready, build them in three quick steps:
- Drop a pinch of the mozzarella and cheddar blend at the bottom to create a barrier.
- Spoon the thick chicken mixture directly over the cheese.
- Finish with another sprinkle of cheese on top.
Bake at 200°C for 13 minutes until the cheese melts. Let them rest for a minute, then top with the cold pico de gallo and light sour cream, then top each one with the cold pico de gallo and light sour cream.
Tips for The BEST Tacos
- Use a glass to shape the cups: Even though flour tortillas are flexible, they can stubbornly bounce out of the muffin tin while you try to fill them. I use the bottom of a small shot glass or a spice jar to firmly stamp them down into the holes. It creates a flat base and tight folds that actually stay in place in the oven.
- Grate your own cheese: I know it takes an extra minute, but buying a block of cheese and grating it yourself makes a massive difference. Store-bought shredded cheese is coated in a powder that stops it from clumping in the bag, which also prevents it from melting into a cohesive layer. A freshly grated block gives you a much better melt to seal the meat inside.
- Drain the fresh salsa: When you make the avocado pico de gallo, the salt will draw a lot of water out of the cherry tomatoes while it sits in the fridge. Give it a quick stir and use a slotted spoon or a fork when you add it to your finished cups. You do not want that cold tomato liquid spilling into your hot taco cups and softening the base right before you eat.
More Recipes To Try
If you like meals where you get to pile on the toppings, I definitely suggest making stuffed baked potatoes or a batch of homemade chili dogs next.
For nights when I refuse to do a bunch of dishes, I usually make creamy one-pot pasta or just fry up some quick dumplings directly in the pan. Both are fast and keep the stove clean.
If you want another low-carb option similar to the capsicums, my layered cabbage bake is a great alternative to traditional pasta. And if you need dessert, I always go with a solid baked vanilla cheesecake.
FAQs
Ground beef, shredded chicken, and pulled pork are the standard go-tos for traditional tacos. For these cups, I rely on diced chicken thighs because they stay juicy while baking in the oven, but you can easily swap the chicken for lean ground beef if that is what you already have in the fridge.
They are basically a fun, bite-sized twist on a regular taco. The edible bowl is usually made by pressing mini flour tortillas or wonton wrappers into a muffin tin. For this recipe, I also include an option to use hollowed-out capsicums as the base if you want to skip the carbs entirely.
Yes, you can prep the components ahead of time. I like to cook the chicken filling a day or two in advance and store it in the fridge. I do recommend waiting to assemble and bake the actual cups until right before you plan to serve them so the bases stay crisp.
You might also like

Get a free eBook!
Subscribe to Cafe Delites FOR FREE and receive recipes straight into your inbox!

Taco Cups Recipe
Equipment
- 1 muffin tray 12 pieces.
Ingredients
For tortillas cup:
- 16 flour tortillas or capsicums
For meat:
- 1.2 lbs chicken thighs boneless and skinless, diced
- 1 tbsp olive oil
- 3 tbsp mexican spice mix for tacos
- 1 red onion sliced finely
- 4 cloves garlic finely chopped
- 1/2 cups sweet corn canned and drained
- 1/2 cups tomatoes diced
- 1 tbsp tomato paste
- 3 tbsp light cream cheese.
- 1/2 tsp salt
Pico de gallo with avocado:
- 1 Avocado cubed
- 1 1/4 cups cherry tomato cut into 6
- 1 jalapeno finely chopped
- 1/4 cups coriander (fresh cilantro) chopped
- 1/2 lime juice
- 1 pinch salt and pepper
Topping:
- light sour cream
- 1 1/4 cup shredded mozzarella cheese
- 1 1/4 cup shredded cheddar cheese
Instructions
Pico de Gallo
- In a bowl, add all the pico de gallo ingredients and stir to combine. Reserve in the fridge.

Chicken:
- In a separate bowl, add the diced chicken, Mexican spice mix, and olive oil. Mix well to completely coat the chicken.
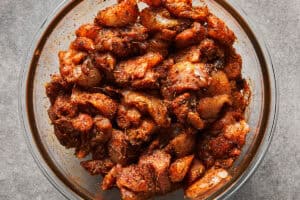
- Spray a large pan with oil and heat over medium-high heat. Add the chicken and cook until browned and almost cooked through.
- Add the sliced red onion and minced garlic to the pan. Stir and cook for 2 more minutes until the onions are tender.
- Stir in the diced tomatoes, sweet corn, tomato paste, light cream cheese, and a pinch of salt and pepper. Cook for 2 to 3 minutes until the sauce coats the chicken and thickens, then set aside.
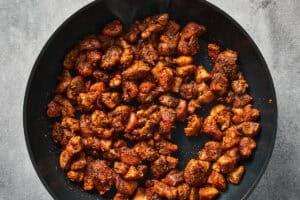

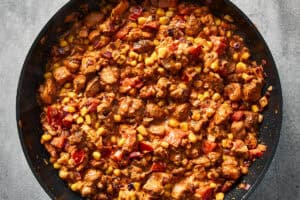
For tortilla cup:
- If you are going the classic route, grab a 12-hole muffin tray. Gently press one mini flour tortilla into each hole, folding the edges slightly so it naturally forms a bowl shape.
- Add a small pinch of cheese to the bottom of each tortilla cup, then spoon in the meat filling, and finish with a bit more cheese on top.
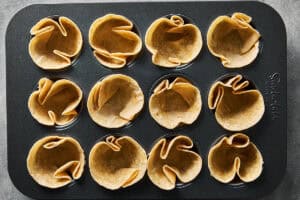
For Assembly Capsicum cup:
- If you are making the low-carb version, slice the tops off your capsicums and scoop out the seeds inside. Place them on a baking tray, season with a little olive oil, salt, and pepper, and pre-bake them at 400°F (200°C) for 15 minutes to soften them up.
- Remove the capsicums from the oven. Add a small amount of cheese to the bottom of each one, fill almost to the top with the meat mixture, and add more cheese on top.
- Bake the filled tortilla cups and the filled capsicum cups in the oven at 400°F (200°C) for 13 minutes, until the cheese is completely melted and the tortillas are golden brown and crisp.



Notes
Storage, Reheating and Make Ahead
If you end up with leftovers, I highly recommend storing the meat filling and the fresh pico de gallo in separate airtight containers in the fridge. The cooked chicken mixture will last for up to 4 days, and the salsa is best eaten within 2 days before the avocado turns completely brown.- Make ahead: You can cook the filling entirely, let it cool down, and keep it in the fridge until you need it. When it is time to eat, just press fresh tortillas into your tin, fill them with the cold meat mixture, and bake. You might just need to add 2 or 3 extra minutes to the oven time to make sure the center gets piping hot.
- Reheating: If you have already baked the cups, please do not put them in the microwave. The tortillas will steam and turn into a soggy mess. Pop them into an air fryer or a hot oven at 400°F (200°C) for about 5 minutes to crisp the edges back up and melt the cheese again.
- Freezing: You can freeze the cooked chicken filling in a freezer-safe bag for up to two months. Thaw it overnight in the fridge before using it. I do not recommend freezing the fully assembled baked cups because the bases will fall apart when they thaw.
Nutrition
Nutrition information is automatically calculated, so should only be used as an approximation.