This post may contain affiliate links. Please read our disclosure policy.
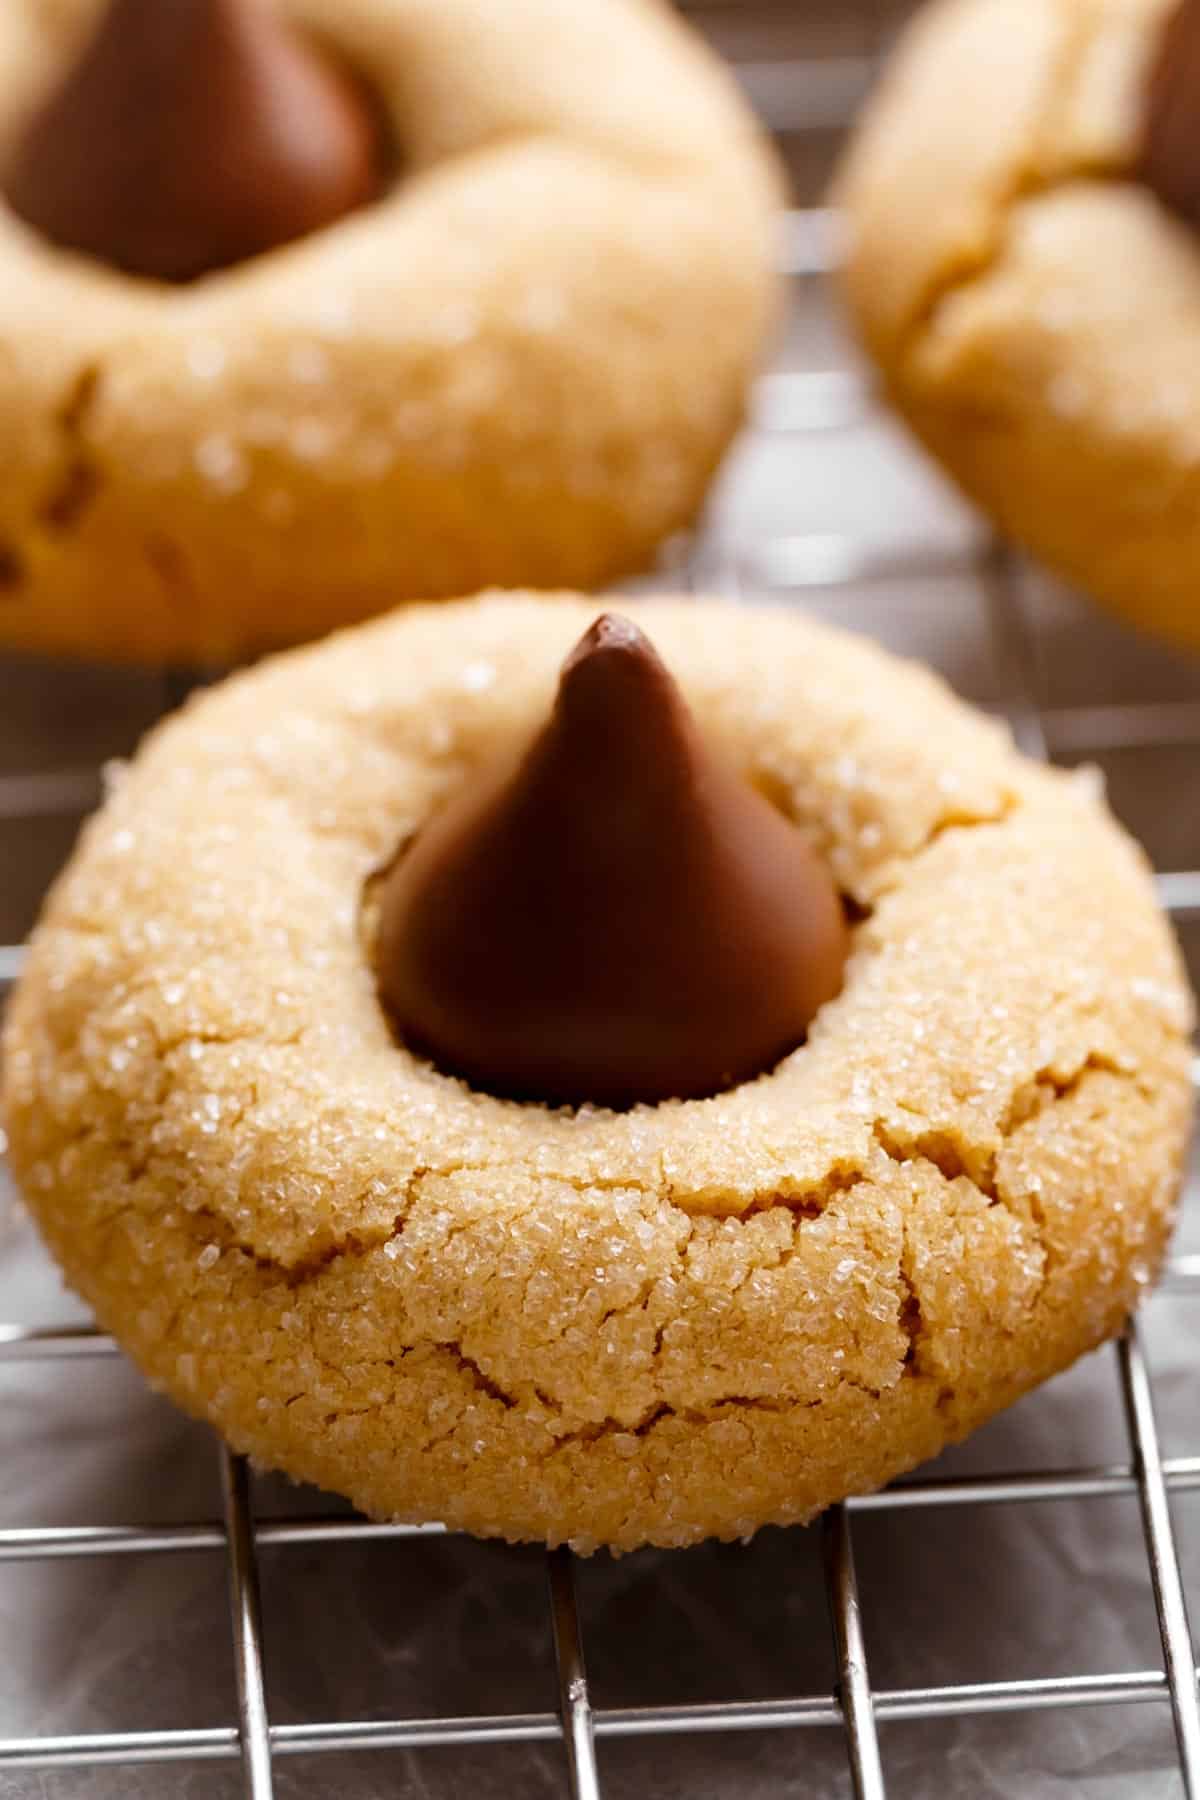
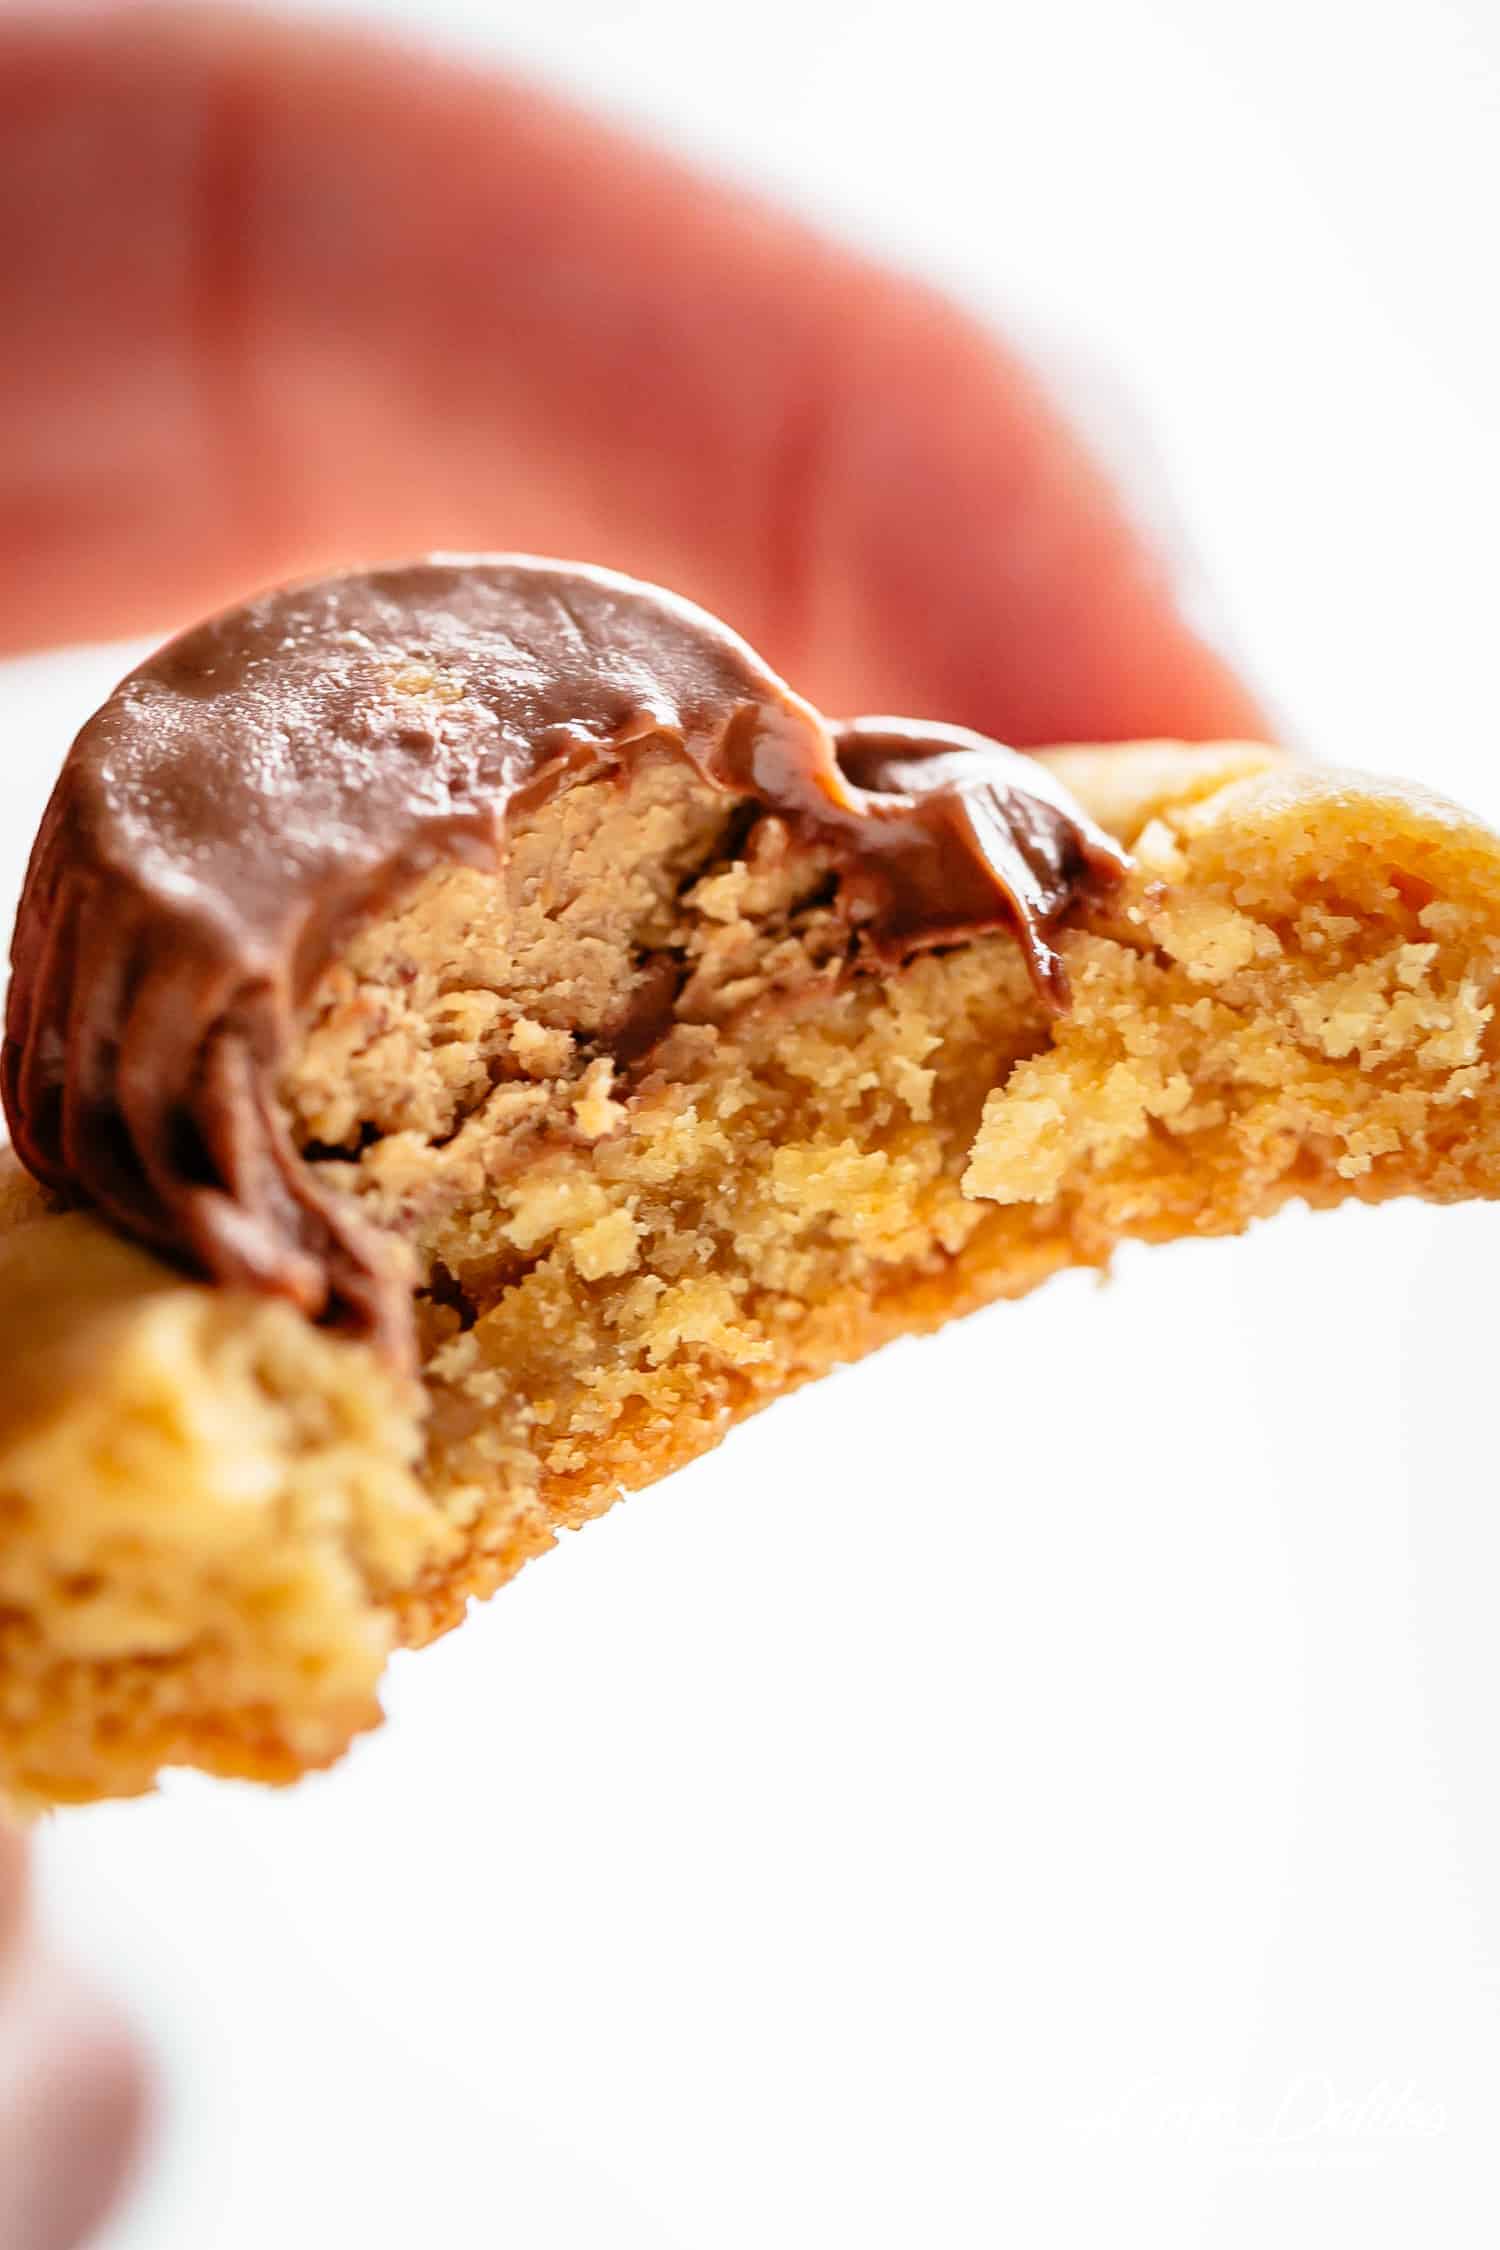
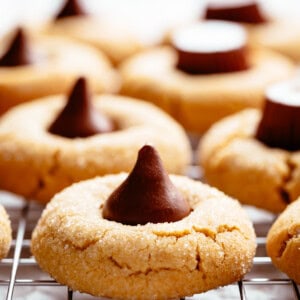
Peanut Butter Blossoms (also known as Hershey Kiss Cookies) are soft, buttery, and melt in your mouth with every bite. Each cookie is perfectly balanced between sweet and salty, with a golden, slightly crisp edge and a soft, chewy peanut butter center topped with a smooth chocolate kiss.
Whether you’re baking for a cookie exchange, gifting a batch for the holidays, or just craving something classic, this Peanut Butter Blossoms recipe delivers that nostalgic flavor everyone loves. These are truly the best Peanut Butter Blossoms to make any season feel like Christmas, simple, cozy, and always crowd-pleasing.
What Makes This Recipe Work
There’s something so comforting about a batch of Peanut Butter Blossoms fresh from the oven. The combination of soft, chewy peanut butter cookies with that melt-in-your-mouth chocolate kiss on top hits all the right notes of sweet, salty, and nostalgic. Every bite tastes like the holidays, no matter what time of year you bake them.
This Peanut Butter Blossoms recipe is simple, foolproof, and gives you the perfect texture every time. You’ll love how easily the dough comes together and how beautiful these cookies look with their shiny chocolate centers. It’s no wonder people call them the best Peanut Butter Blossoms because they disappear fast for a reason.
What Goes Into Peanut Butter Blossoms
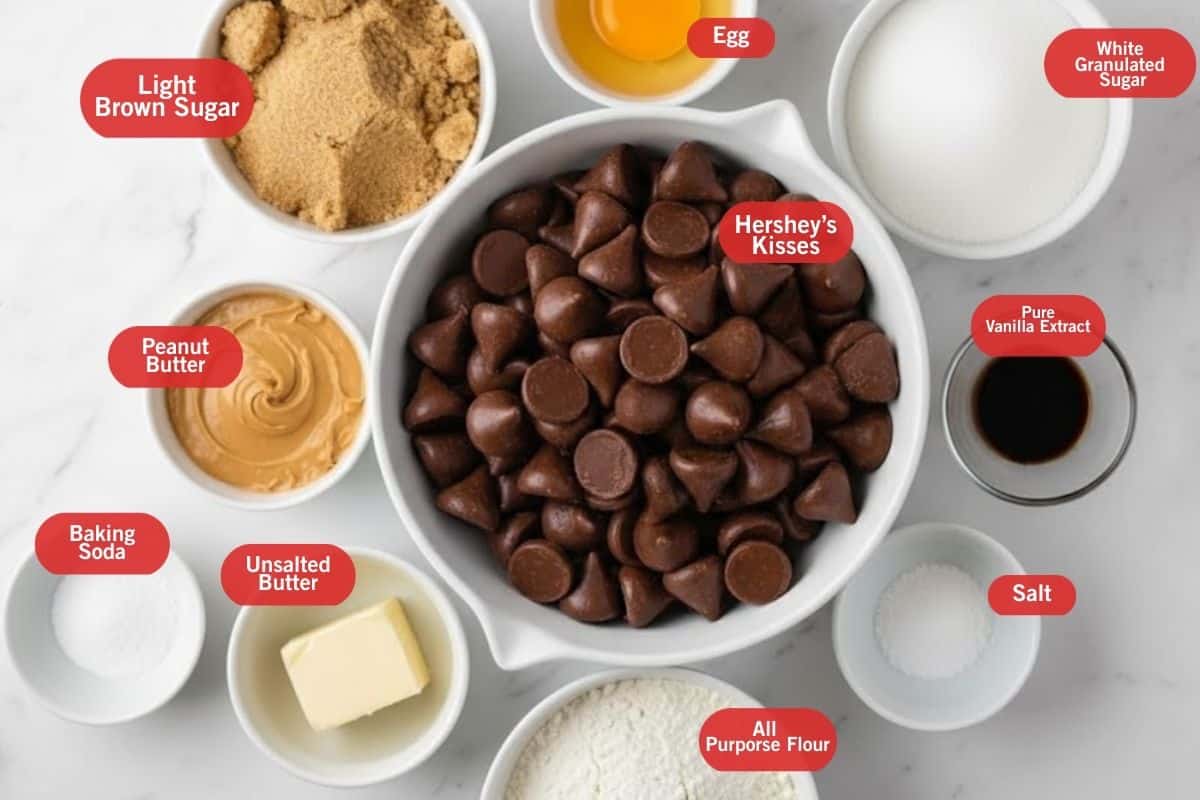
Making Peanut Butter Blossoms is as easy as it is rewarding. These classic cookies come together with a few simple ingredients you probably already have in your pantry, giving you that perfect mix of soft, chewy, and chocolatey goodness.
- Peanut Butter: Smooth or chunky both work beautifully, but smooth peanut butter gives the cookies their signature creamy texture and helps them hold that perfect round shape.
- Butter: Use unsalted butter at room temperature to keep the cookies soft, rich, and perfectly buttery without being too salty.
- Sugars: A mix of white granulated sugar and light brown sugar adds the ideal balance of sweetness and chew, giving the cookies their soft centers and slightly crisp edges.
- Hershey’s Kisses: The star on top. Pressed in while the cookies are still warm, they melt just enough to create that irresistible chocolate center that defines every Peanut Butter Blossoms recipe.
Note: Please see recipe card at the bottom for a full list of ingredients with measurements.
How To Make Peanut Butter Blossoms
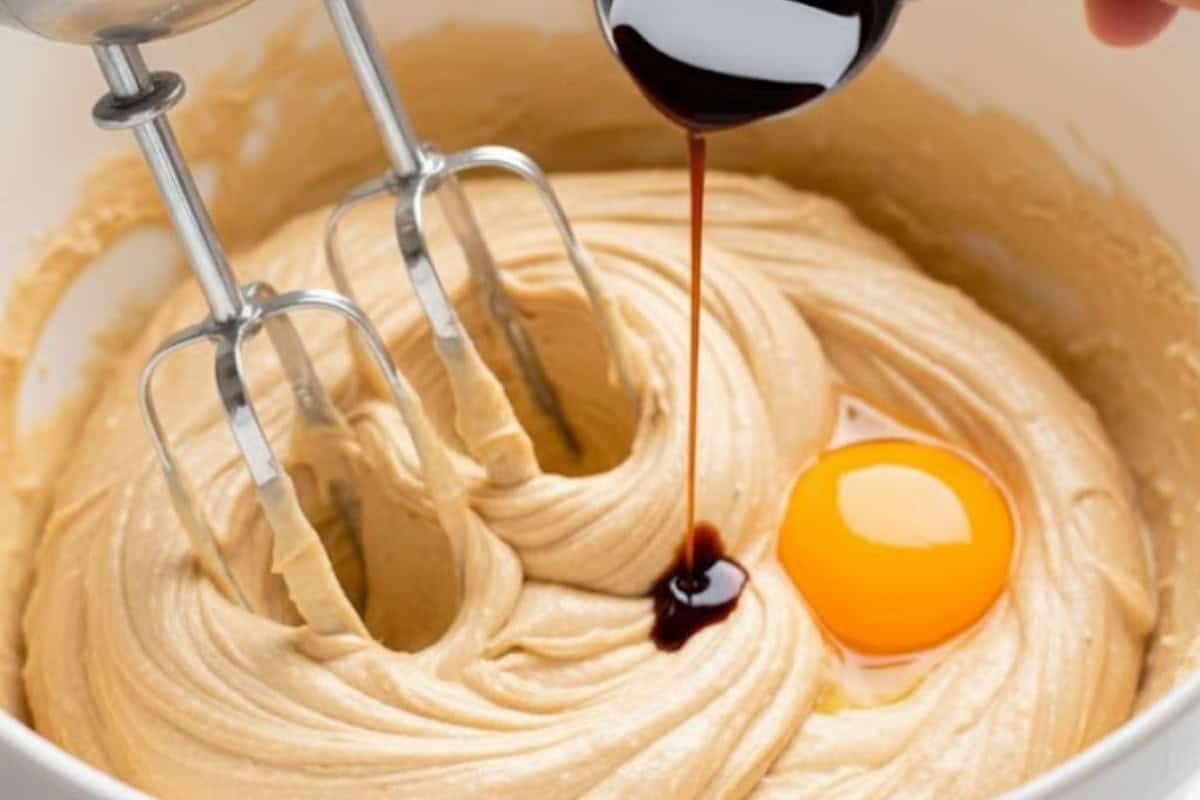
- Cream Butter and Peanut Butter: Beat butter, peanut butter, and sugars until creamy; add egg, vanilla, mix until smooth.
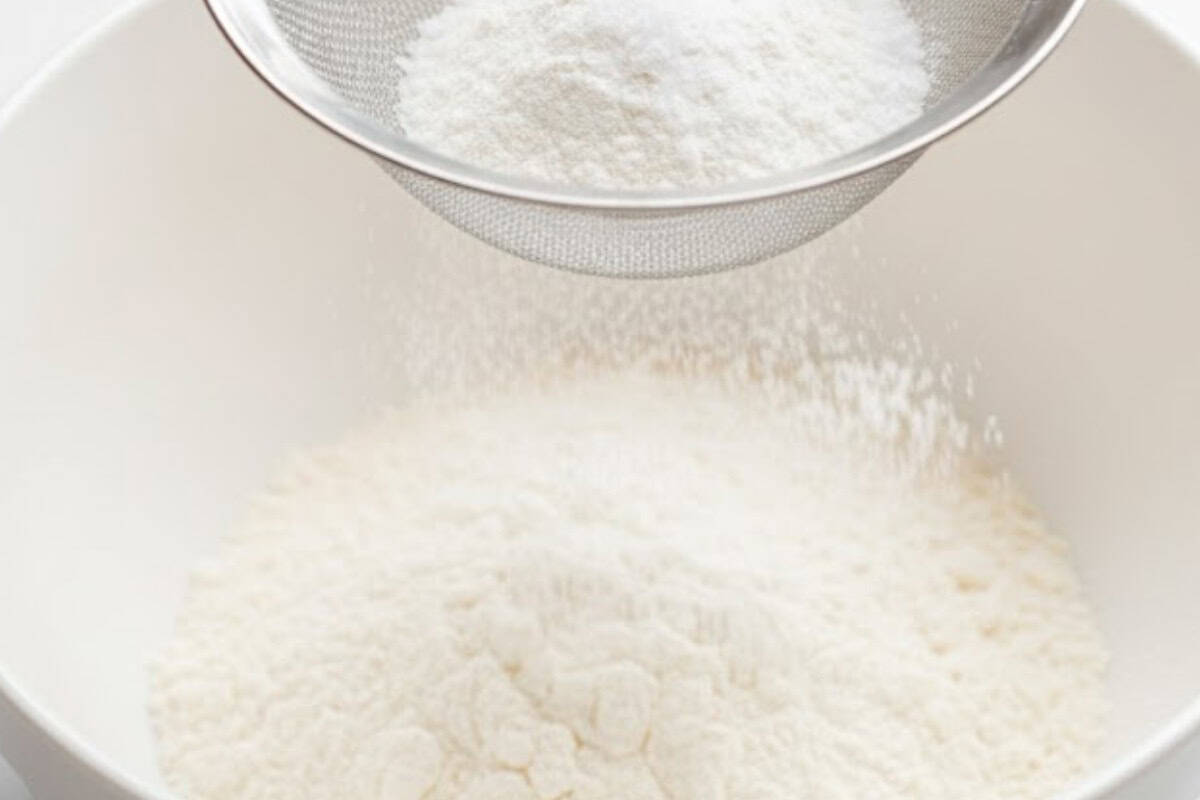
- Combine the Dry Ingredients: In another bowl, sift together flour, baking soda, and salt to evenly distribute and aerate.
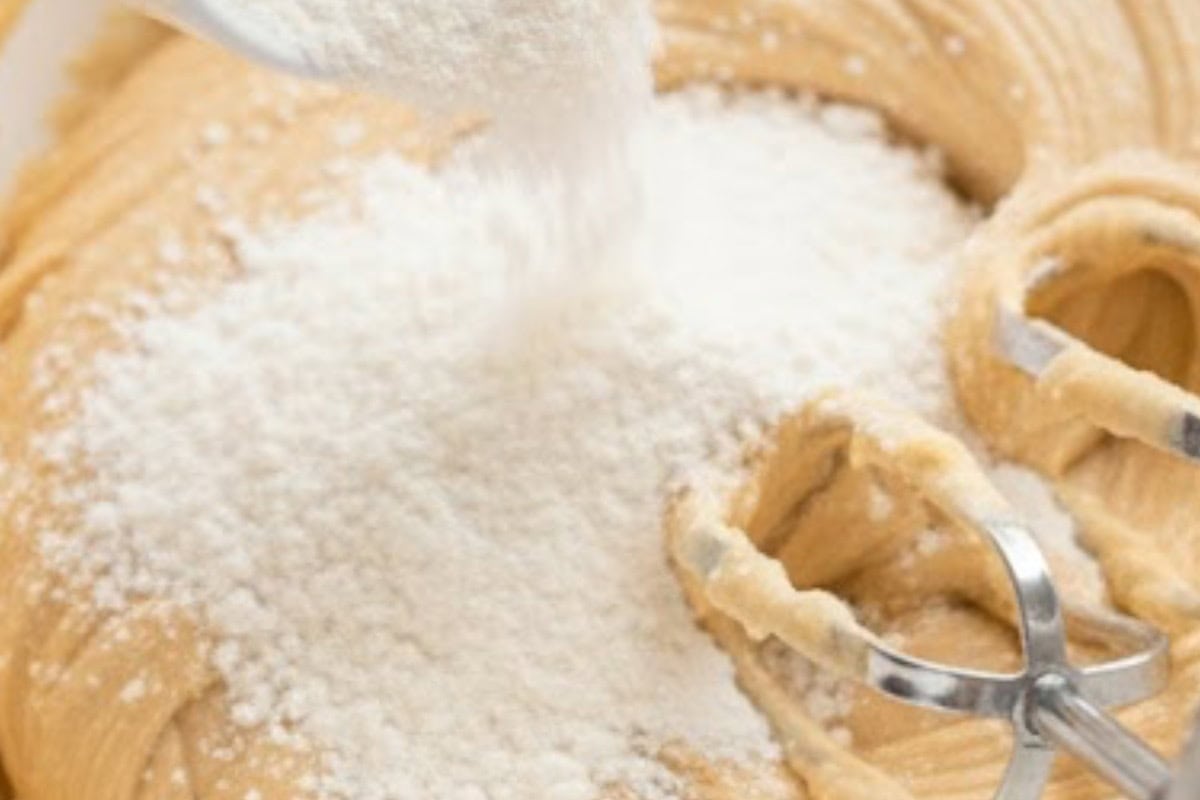
- Mix the Dough: Gradually add the dry mixture to the wet ingredients in ½ cup increments, mixing after each addition until a soft dough forms.
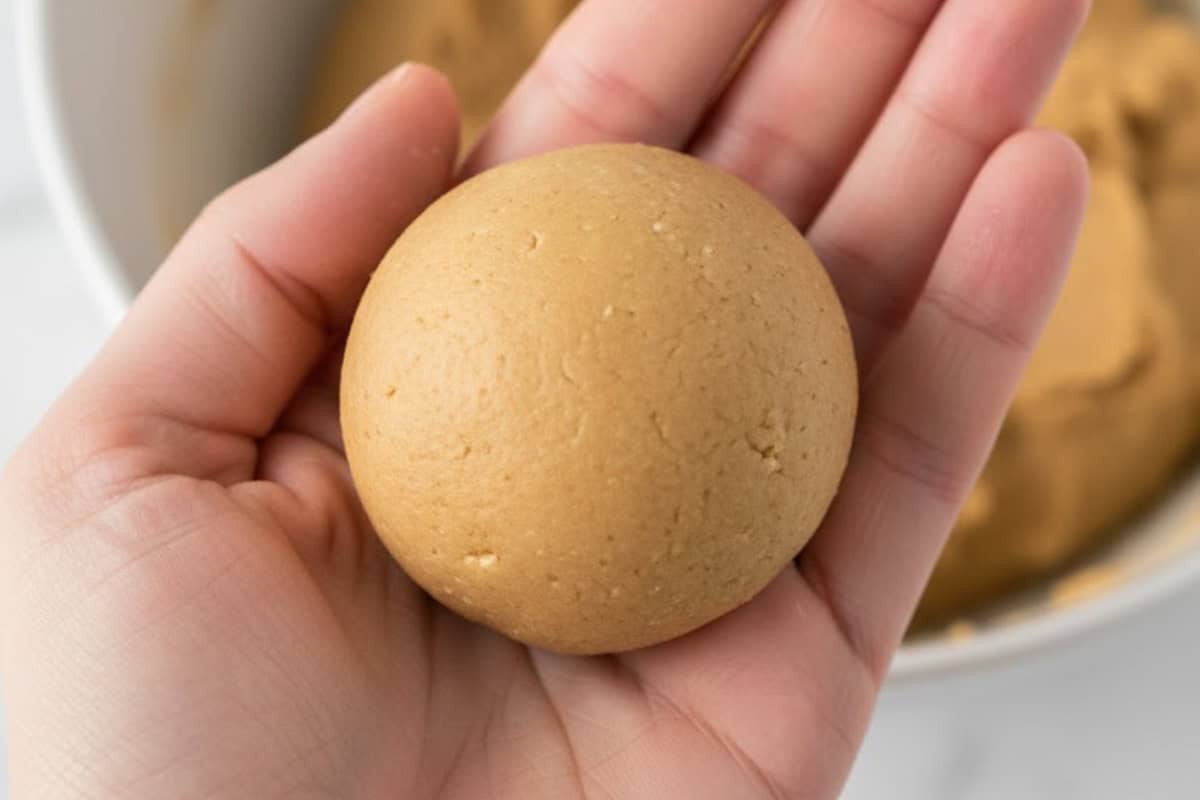
- Adjust Dough Texture: Check the dough’s texture by rolling a small piece; if too soft, chill in the refrigerator for 30 minutes to 1 hour.
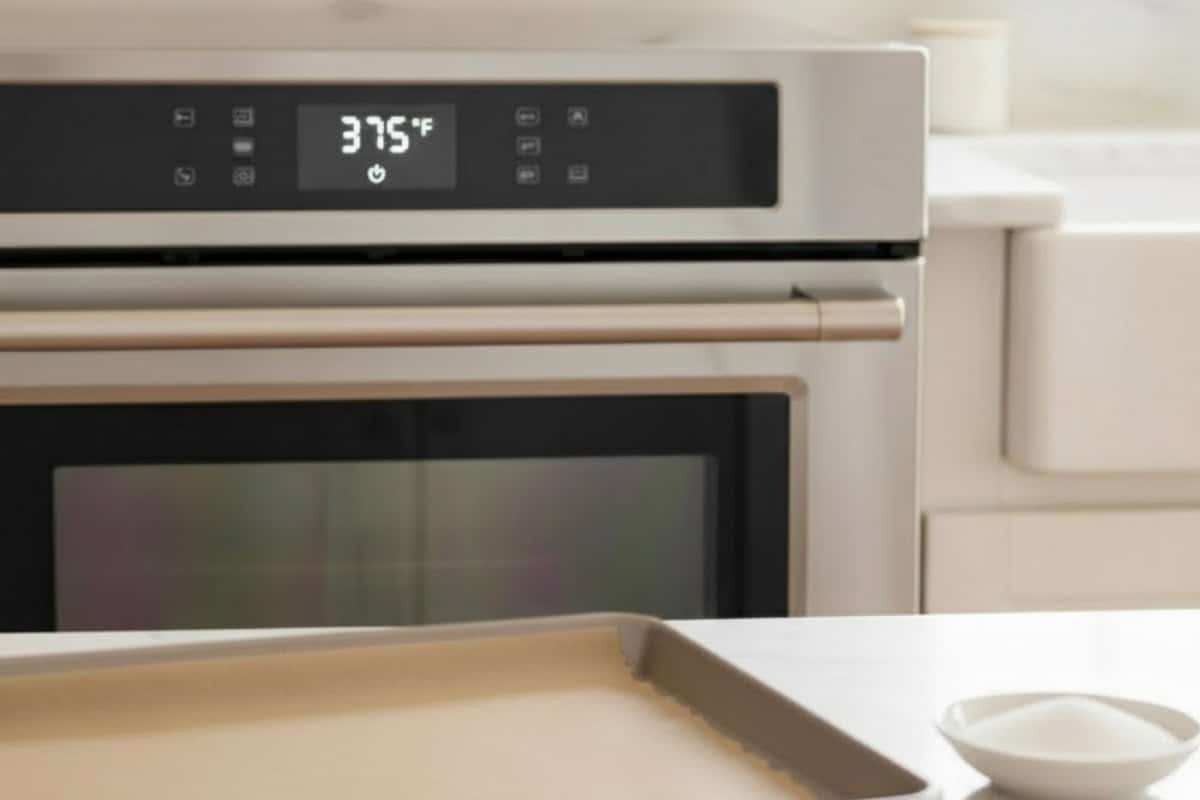
- Preheat and Prepare: Preheat oven to 375°F (190°C) and line a baking sheet with parchment paper; place extra sugar in a shallow dish for rolling.
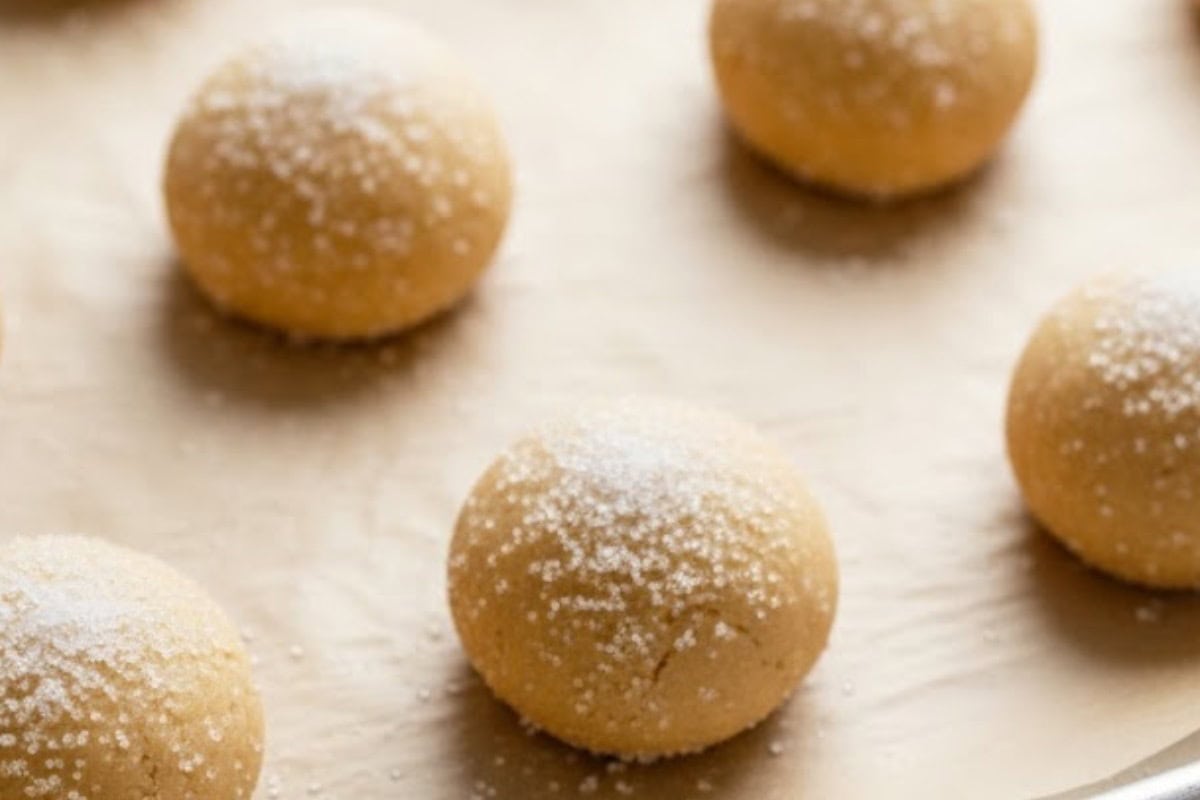
- Shape and Coat: Roll 1½ tablespoons of dough into balls, coat each one in sugar, and arrange them 2 inches apart on the baking sheet.
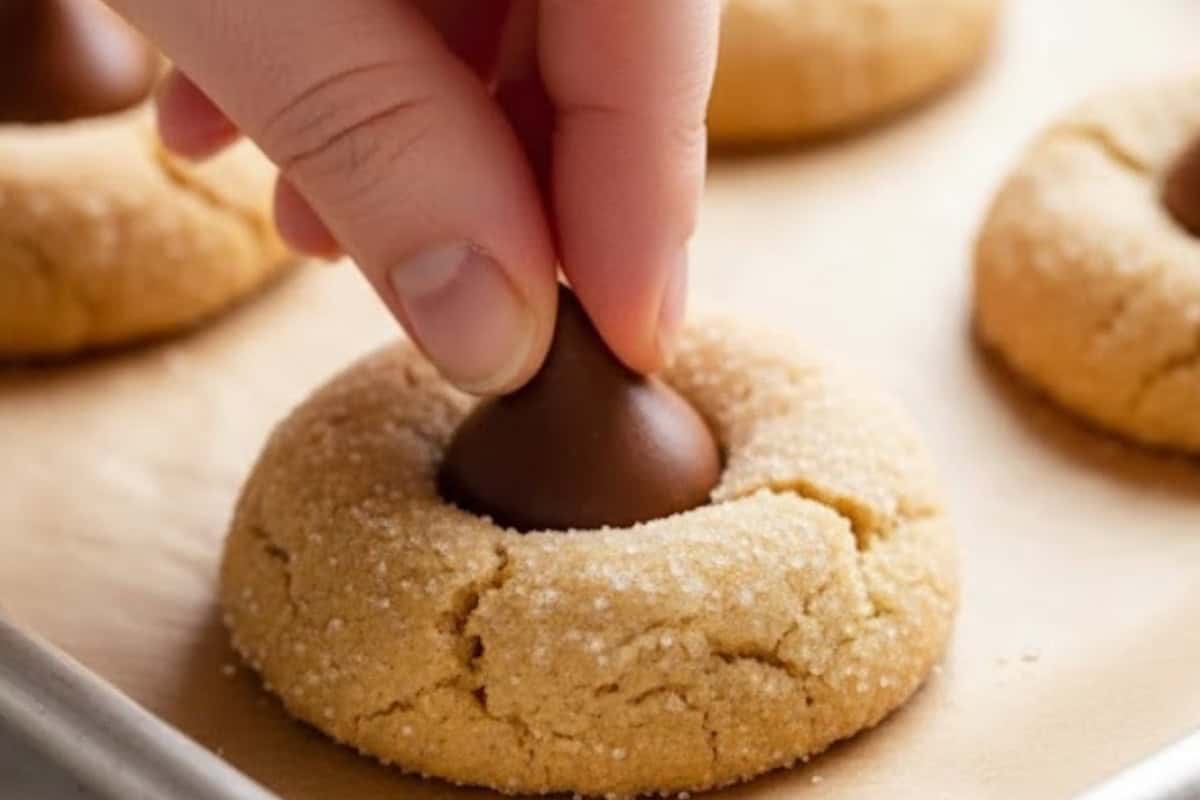
- Bake and Add the Kisses: Bake for 7–8 minutes until puffed and lightly golden, then gently press a chocolate kiss into the center of each cookie.
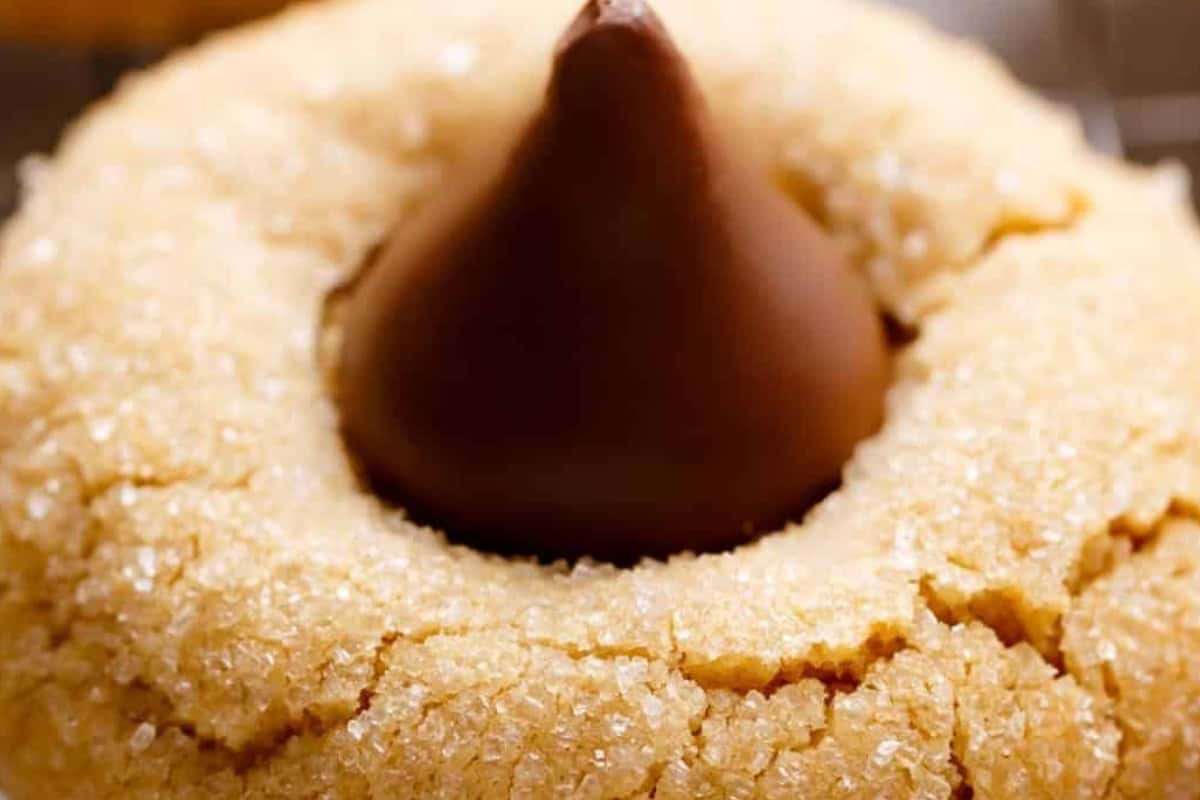
- Finish and Cool: Bake for another 1–2 minutes, remove from oven, and let cookies cool completely before storing in an airtight container for up to 7 days.
For a cozy treat pairing, serve your Peanut Butter Blossoms with a warm mug of Nutella Hot Chocolate or a chilled glass of Strawberry-Raspberry Oatmeal Cheesecake Smoothie for a fun twist. Both drinks bring out the nutty richness of the cookies while adding a creamy contrast that feels indulgent and festive.
If you want to turn dessert into something extra special, enjoy these cookies alongside Cinnamon Rice Pudding for a cozy, spiced finale or crumble one over No Bake Pineapple Cheesecakes for a salty-sweet surprise. However you serve them, these combinations make your Easy Peanut Butter Blossoms shine even more.
Tips for Making Peanut Butter Blossoms
- Make sure your butter and peanut butter are both at room temperature. This helps them cream together smoothly and gives your cookies that soft, melt-in-your-mouth texture.
- I like to use smooth peanut butter for a classic look, but chunky peanut butter adds great texture if you want a little crunch in every bite.
- Press the Hershey’s Kiss into the cookie right after baking while they’re still warm so it sets beautifully without melting completely.
- If you prefer perfectly round cookies, chill your dough before rolling to keep them from spreading too much in the oven.
Recipe FAQ’s
They may be overbaked or have too much flour. Make sure to measure your flour correctly and bake only until the edges are set and the tops are puffed.
Peanut Butter Blossoms were first created in the United States during the 1950s and became famous after winning a Pillsbury Bake-Off contest. They’ve been a holiday favorite ever since.
If your cookies spread too much, chill the dough for at least 30 minutes before baking. Using butter that’s too soft can also cause flattening.
You might also like
Get a free eBook!
Subscribe to Cafe Delites FOR FREE and receive recipes straight into your inbox!
Peanut Butter Blossoms
Ingredients
PEANUT BUTTER BLOSSOM COOKIES:
- 4 oz unsalted butter at room temperature
- 4 oz smooth peanut butter or chunky
- 1/2 cup white granulated sugar
- 1/2 cup light brown sugar packed
- 1 egg
- 1 tablespoon pure vanilla extract
- 1 3/4 cups all-purpose flour
- 1 teaspoon baking soda
- 3/4 teaspoon salt
- 50 Hershey’s Kisses or Reeses’ cups, wrappers removed.
COATING:
- 1/2 cup white granulated sugar additional
Instructions
- Cream together butter, peanut butter and sugars together with an electric mixer or hand mixer until pale and creamy. Add egg and vanilla; beat to combine well.
- In another bowl, sift together flour, baking soda and salt. Add flour mixture in 1/2 cup increments, mixing well after each addition.
- Roll 1.5 tablespoons of dough into a ball while checking the texture. If dough is too soft to work with, chill for up to one hour in the refrigerator. If not, continue with the recipe.
- Preheat oven to 375°F (190°C). Line a baking sheet with parchment paper, set aside.
- Roll dough into 1.5-inch balls. Then, roll the cookie balls in the sugar. Arrange on prepared baking sheet with 2 inches of space between each cookie.
- Bake until light brown in colour and puffed up (about 7-8 minutes).
- Carefully remove baking sheets from the oven and lightly press a candy kiss into the centre of each cookie. Cookies will crack slightly.
- Bake for an additional minute or two, until light golden brown. Remove from oven, let cool to room temperature.
- Store in airtight containers for up to 7 days.
Notes
Nutrition
Nutrition information is automatically calculated, so should only be used as an approximation.


Planning on making these with mini reese’s pb cups, do you follow the same step and put back in oven after you add? I’m sure they’ll be as delicious as your other cookie are.
Thank you
My cookies don’t puff they get flat??
Can I sub in almond flour instead of AP flour ?
This recipe is delicious but I doubled it and still only got 50 cookies. I used a 1.5 T cookie scoop so I’m sure the cookies are the right size.
Same. I made it as is and I’m hoping to get 3 dozen. They look good, though! And I don’t mind eating the extra cookies I unwrapped ahead of time! 🙂
I mean the extra kisses! Ha!
OMG!!! Girl these are amazing. Great recipe. Thank you for sharing
In your “tip section”, you mentioned when to add the milk. There is no milk listed in the recipe. Is there supposed to be milk in your recipe?
Thank you for your question. I do not have any milk in the ingredients or in the tip section. I am not sure where you see that but you do not need to add milk. Thank you for following along with me! XO