This post may contain affiliate links. Please read our disclosure policy.
If you are looking for a reliable and easy bake, I’ve got you covered. This homemade buttermilk biscuit recipe is simple to pull together and ready in just 30 minutes. I was born in New York, so even though I grew up in Australia, baking the best buttermilk biscuits was one of the very first things I learned how to master.
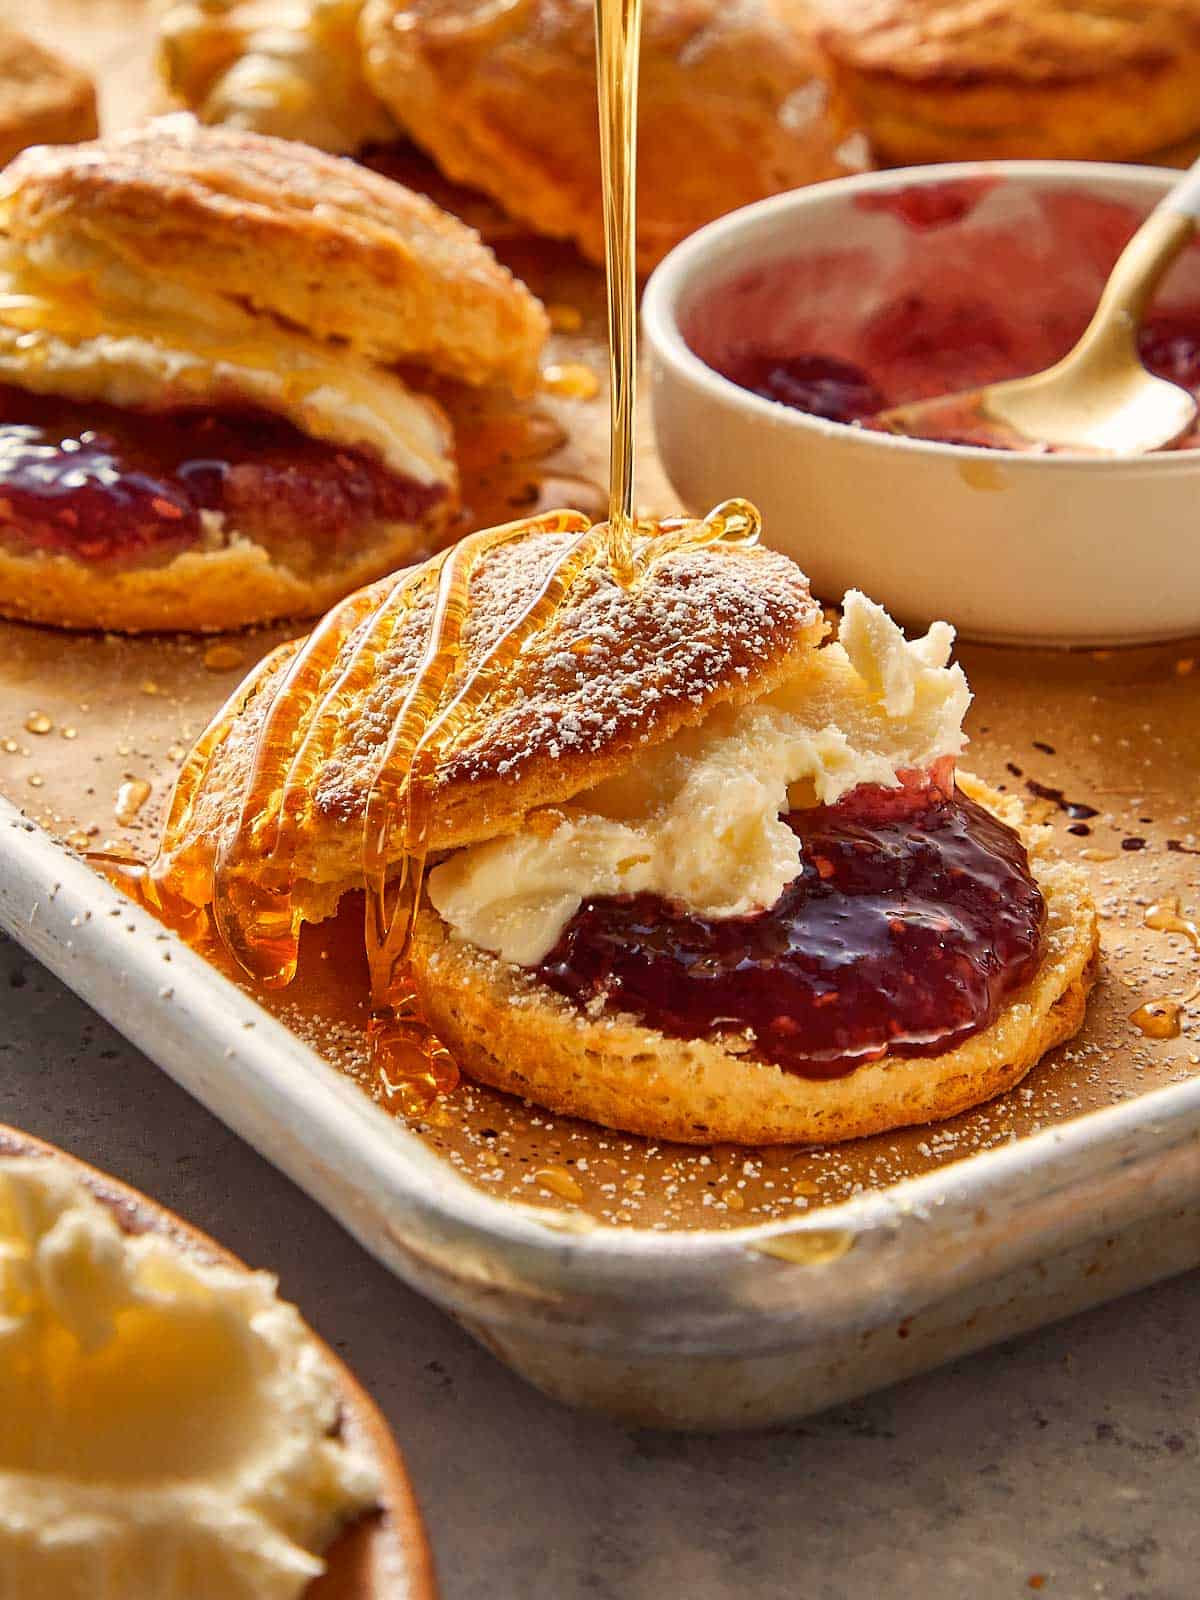
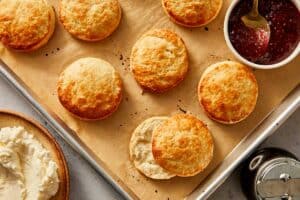
They bake up soft and fluffy on the inside with a crisp exterior. You can fill them with whatever you want. Whether that is a simple swipe of butter and jam or serving them alongside a hearty sausage gravy, this is a quick snack you won’t be able to stop eating.
What Are Buttermilk Biscuits?
If you have never had one, a buttermilk biscuit is a classic American quick bread. Unlike traditional breads that use yeast and need hours to rise, I love that biscuits rely on baking powder and baking soda for their lift. This means they go straight from the mixing bowl to the oven without any resting time.
Why This Recipe Works
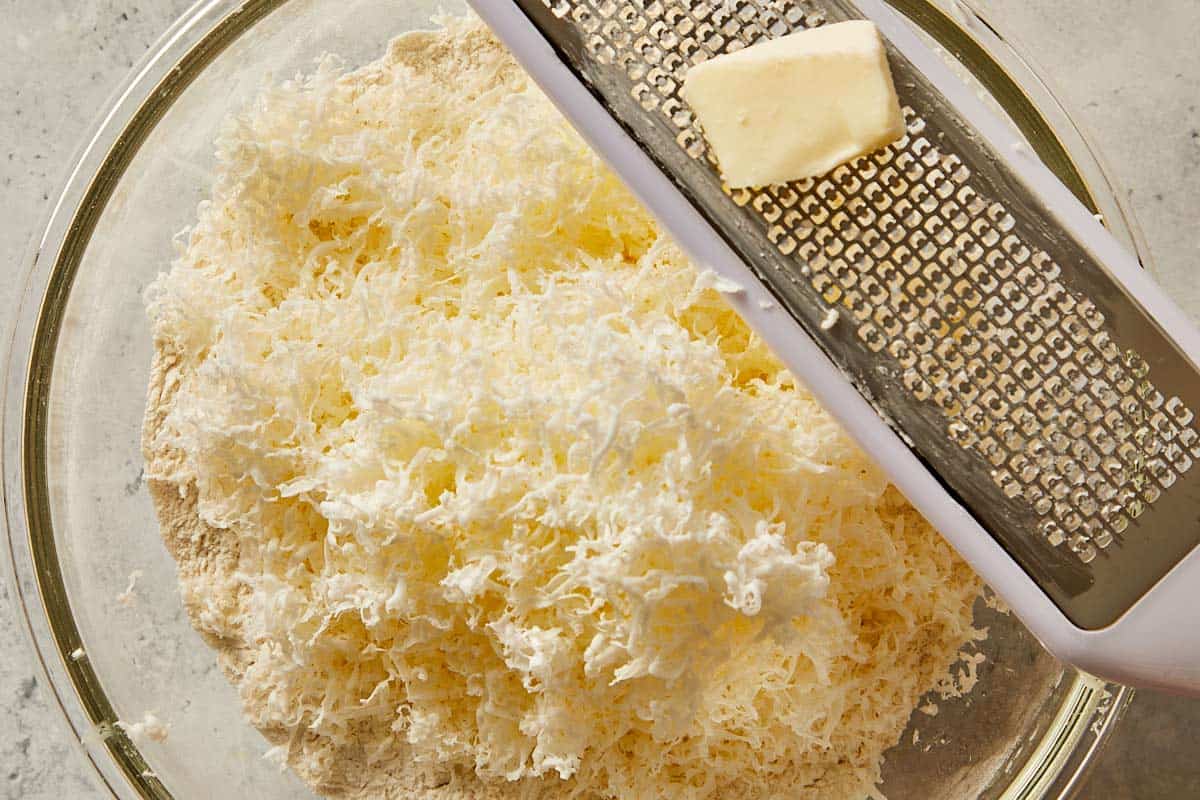
I love this method because it relies on a few clever techniques to get the perfect texture without needing any special equipment. First, grating frozen butter is a massive time saver. It ensures the butter stays extremely cold and prevents you from having to work the dough endlessly with warm hands. When those tiny, cold shreds hit the hot oven, they melt and create pockets of steam for a tall rise. Second, the simple envelope folding technique manually builds distinct, flaky layers right into the dough before cutting. Finally, baking the biscuits so their edges are barely touching forces them to support each other and rise upward rather than spreading out flat.
Ingredients
I get a lot of questions about substitutions, so here is a breakdown of the simple ingredients that you need for this buttermilk biscuit recipe and how to swap them if you are in a pinch.
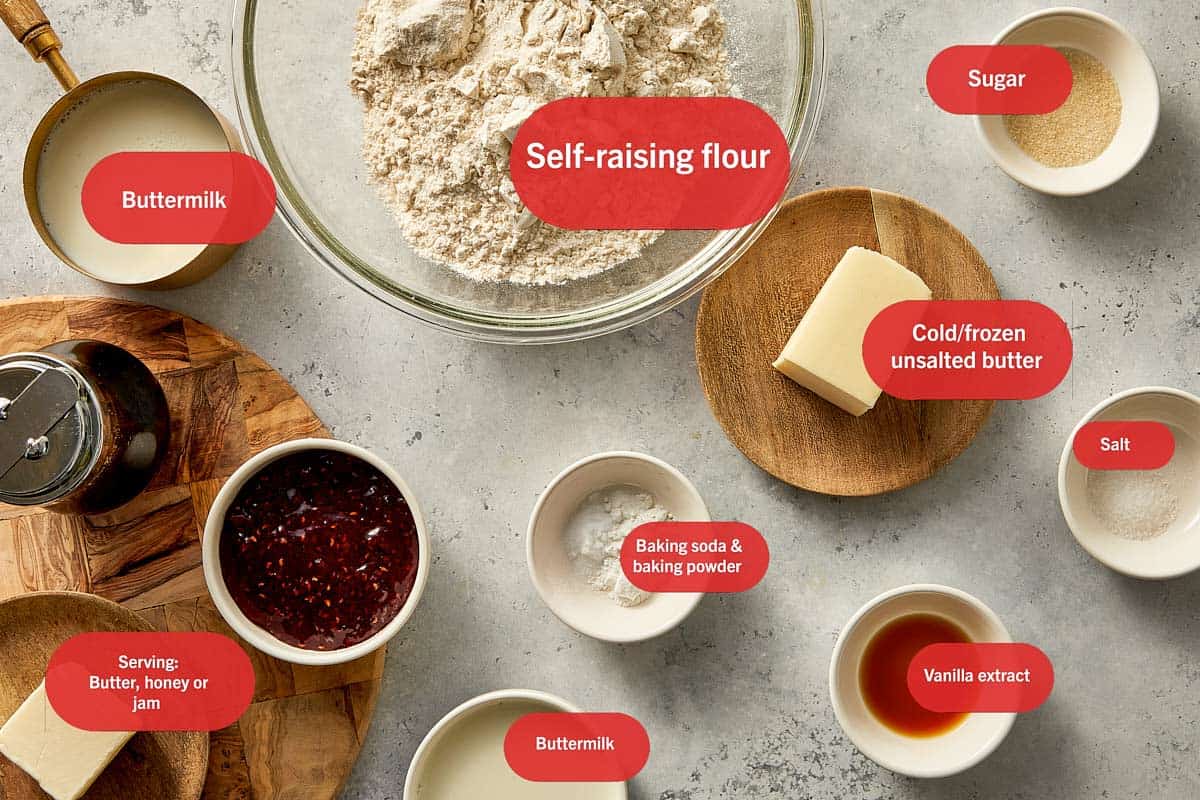
- Self-Raising Flour: I use this because it gives the biscuits their main structure and already contains leavening agents for a reliable, tall rise. You cannot skip the flour. If you need a replacement, the best match is regular all-purpose flour whisked thoroughly with 3 teaspoons of baking powder.
- Unsalted Butter: This is strictly for flavor and texture. Freezing and grating it creates those distinct, flaky layers as the cold fat melts and steams in the hot oven. You cannot skip this. If you need to replace it, salted butter is your best option, but make sure to leave the extra half teaspoon of salt out of the dry ingredients so they do not end up too salty.
- Buttermilk: The acidity in buttermilk is crucial. It reacts directly with the baking powder and baking soda to push the dough upward while baking, and it breaks down the gluten for a softer crumb. You cannot skip the liquid. The absolute best match is a homemade version: stir 1 tablespoon of white vinegar or lemon juice into 1 cup of cold milk and let it sit for 5 minutes before using.
- Vanilla Extract: I like to add a splash of vanilla to give the dough a subtle depth of flavor that tastes incredible when you serve it with butter, jam, or honey. You can absolutely skip this. If you are serving these exclusively with savory sides like sausage gravy or stew, leave the vanilla out entirely. You do not need to replace it with anything else.
Note: Find the full list of ingredients and measurements in the Recipe Card.
How To Make Buttermilk Biscuits
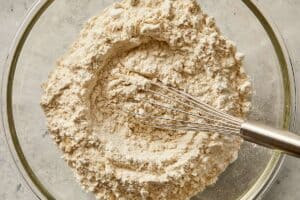
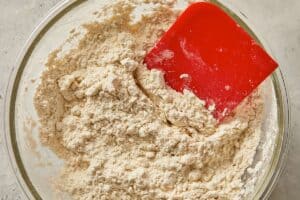
Start by whisking your self-raising flour, baking powder, baking soda, sugar, and salt together in a large bowl. Grab your frozen butter and grate it directly into the bowl. Toss the grated butter in the flour mixture using a pastry cutter just to coat the pieces evenly. Pour in your cold buttermilk and vanilla extract, stirring gently until a shaggy dough forms.
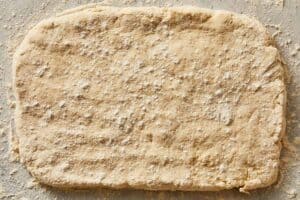
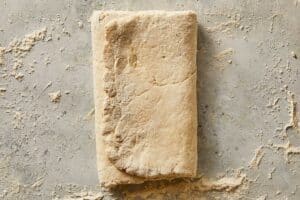
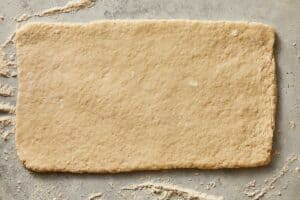
Turn the dough out onto a lightly floured surface and pat it into a rectangle. You want to fold the dough into thirds like a letter by bringing the left side over the center, then the right side over the left. Gather any loose crumbs and place them on top of the dough. Turn the dough 90 degrees, roll it out into another rectangle, and repeat this folding process two more times. This specific folding technique is what builds those distinct, flaky layers inside the biscuits.
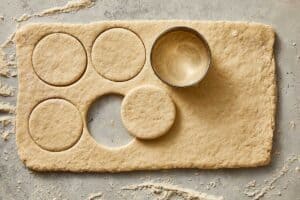
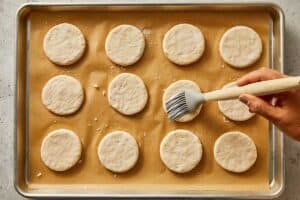
On your final roll, pat the dough to a 3/4 inch thickness. Use a floured round cutter to punch out your biscuits. If you don’t have a cutter, use a simple glass to create the shape. Place them on a lined baking sheet so their edges are barely touching. Keeping them snug against each other helps them rise up tall instead of spreading flat. Brush the tops with your remaining buttermilk and bake until browned on top. Let them cool on the baking sheet for a few minutes before serving.


Tips For The BEST Buttermilk Biscuits
Even with a recipe this simple, a few small handling tweaks make a massive difference in the final result. Here are the tricks I use to get bakery-quality bakes every single time.
- Stack the scraps, do not knead: When you punch out your first round of biscuits, you will have leftover dough. Do not ball it up and knead it together, or your second batch will be incredibly dense and tough. Instead, gently stack the pieces on top of one another and press them down flat. This preserves the flaky layers you already built.
- Flash chill before baking: If your kitchen is warm or the dough feels soft after cutting, put the entire baking sheet into the freezer for 10 minutes before baking. A quick chill firms the grated butter right back up. You need the butter to be ice cold when it hits the hot oven, so it creates steam, giving you a massive rise instead of a greasy puddle.
- The thumbprint trick: Gently press a shallow indent into the top center of each unbaked biscuit with your thumb. It sounds strange, but this helps the center bake evenly with the edges, keeping the tops flat so the biscuits do not topple over as they rise.
- Dip the cutter every time: I keep a small bowl of flour next to my workstation and dip my biscuit cutter into it before every single cut. If the cutter gets sticky, it will drag and pull the edges of the dough down, sealing the sides and ruining your layers.
What To Serve With Buttermilk Biscuits
The best part about these is how versatile they are. I LOVE pulling a tray of these out of the oven because they work for breakfast, lunch, or dinner.
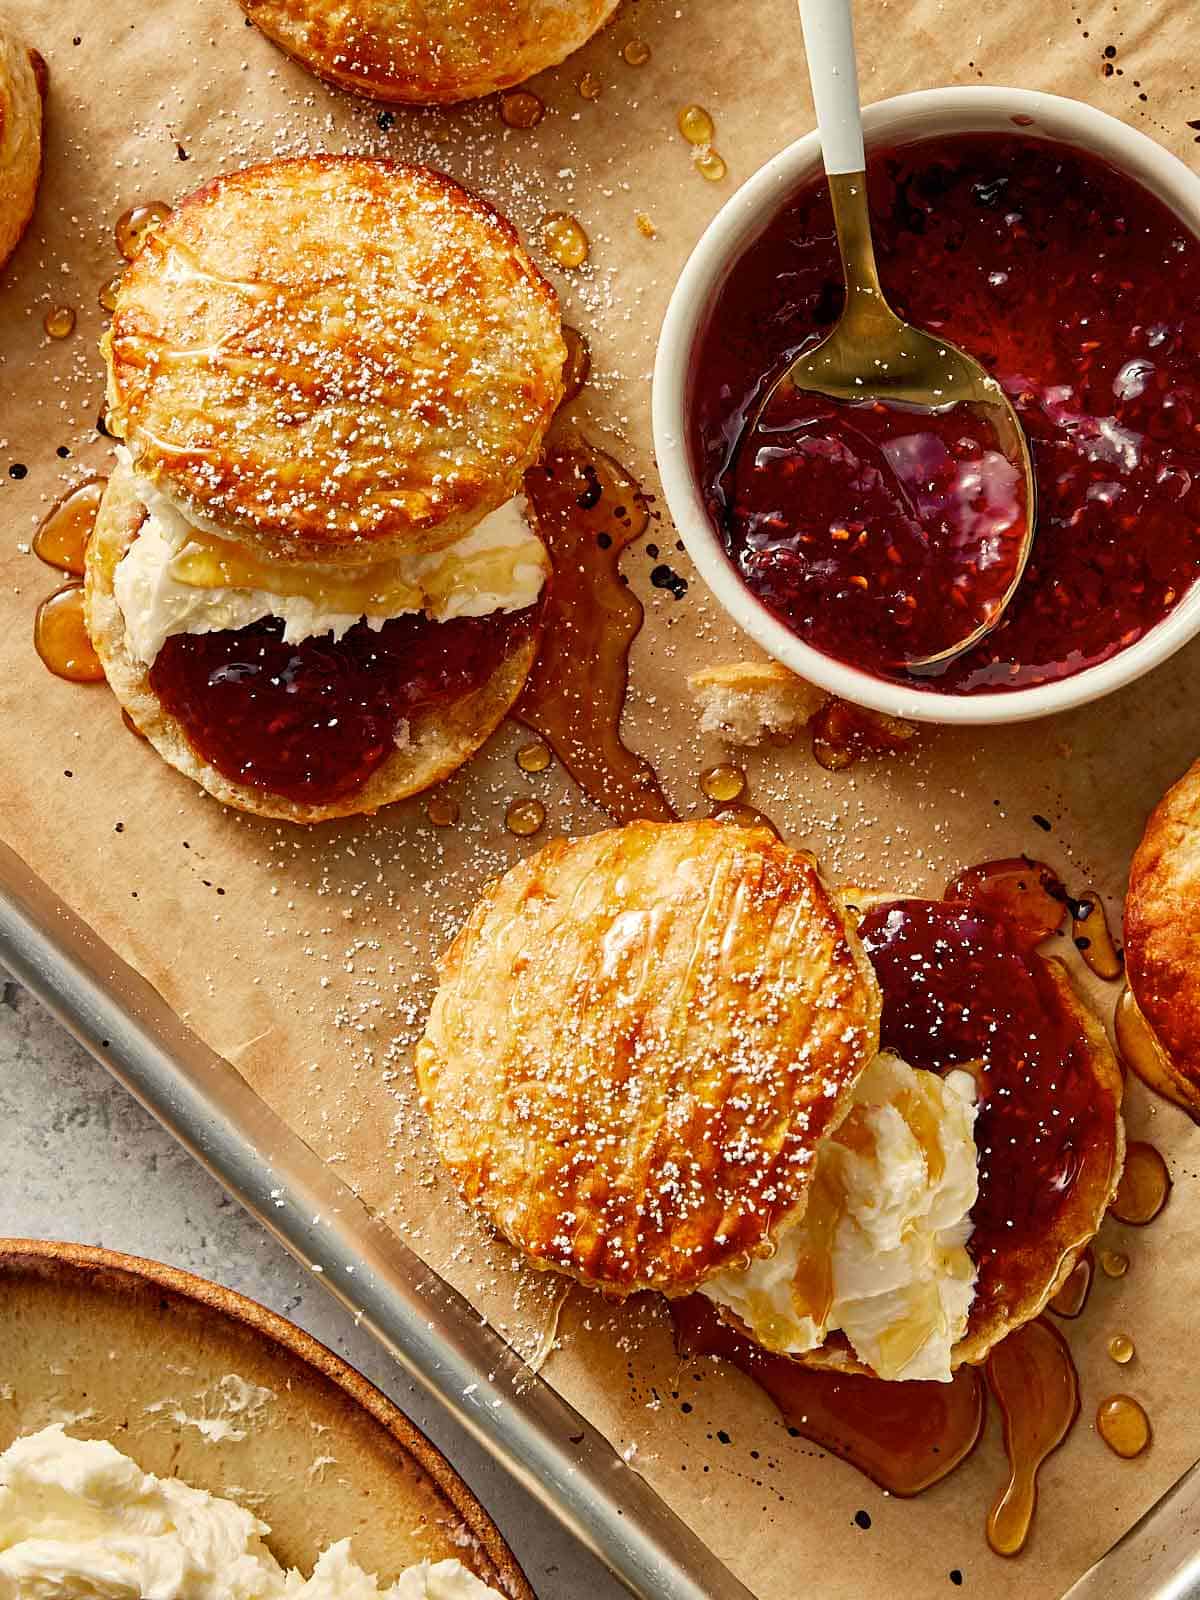
If you want to keep it simple, you really cannot go wrong splitting a warm biscuit open and slathering it with soft butter, honey, or a spoonful of your favorite jam. They are also sturdy enough to hold up as a breakfast sandwich with eggs and bacon (and I personally cannot stop eating them in this way!).
When it comes to dinner, these are my absolute favorite things to serve on the side to soak up every last drop of sauce. I highly recommend pairing them with a bowl of slow-cooked stew or homemade chili. Serve them smothered in sausage gravy for a classic southern-style meal. Also, it can never go wrong with a hot plate of buttery shrimp and grits or a big bowl of creamy potato salad.
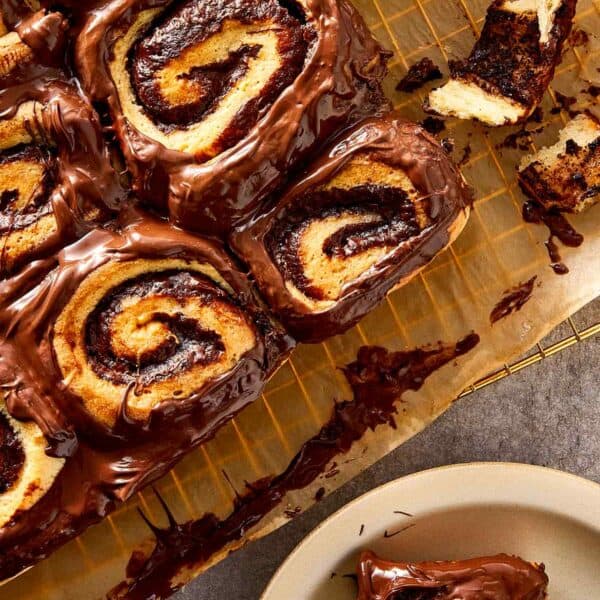
If you want to add more sweet treats to your table, a batch of fudgy red velvet brownies has been my ABSOLUTE obsession lately.
FAQs
Yes. If you do not have buttermilk, you can make a quick homemade substitute with milk and lemon juice or vinegar. Add 1 tablespoon of lemon juice or white vinegar to 1 cup of milk, let it sit for 5 to 10 minutes, then use it in the recipe. It will not be exactly the same as real buttermilk, but it gives the biscuits that slight tang and helps keep them tender.
The secret is very cold butter. Cold butter creates little pockets in the dough, which melt in the oven and help the biscuits rise with flaky layers. For best results, freeze or chill the butter before using it, and avoid overworking the dough once the liquid is added.
Use cold butter, avoid overmixing, fold the dough to create layers, and cut the biscuits straight down without twisting the cutter. Overmixing can make them dry or tough, while twisting the cutter seals the edges and stops them from rising properly. The dough should hold together, but still look a little shaggy before cutting.
You might also like


Get a free eBook!
Subscribe to Cafe Delites FOR FREE and receive recipes straight into your inbox!

Buttermilk Biscuit Recipe
Ingredients
- 2 cups self-raising flour
- 1/2 tsp baking powder
- 1/4 tsp baking soda
- 1/2 tbsp sugar
- 1/2 tsp salt
- 5 tbsp unsalted butter cold/frozen, grated
- 1 tsp vanilla extract
Cold Buttermilk (divided)
- 3/4 cup buttermilk for the dough
- 1 tbsp buttermilk for brushing
Instructions
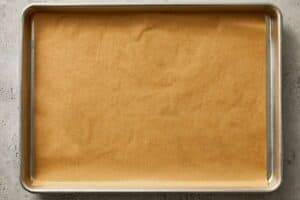
- Line a large baking sheet with parchment paper or a silicone baking mat.

- In a large bowl, whisk together the flour, baking powder, sugar, salt, and baking soda.
- Grate your frozen butter inside the bowl and toss in the flour to coat.
- Gently stir in 3/4 cup buttermilk and vanilla extract until a shaggy dough forms.
- Transfer the dough to a lightly floured surface and pat it into a rectangle about 10 x 8 inches and 1/4 inch thick, with the long edge facing you.
- Fold the dough into thirds like a letter.
- Turn the folded dough 90 degrees so the short side is facing you.
- Roll it out again into a 10 x 8-inch rectangle, about 1/4 inch thick.
- Repeat the folding, turning, and rolling process two more times. On the final roll, gently shape the dough into a thicker 10 x 5-inch rectangle, about 3/4 inch thick.
- Using a floured inch round cutter, cut out 8 to 12 biscuits, re-rolling scraps if desired to cut more biscuits.
- Move them to a baking sheet and brush the tops with the remaining buttermilk.
- Bake for 12 to 15 mins until golden brown on top.
- Serve with your favorite toppings and enjoy! Jam and whipped cream are my personal favorites.


Video
Notes
Storage/Reheating/Make Ahead
My recommendation for this recipe is to serve them warm right from the oven, but they keep well if you have leftovers.- To Store: Keep leftover biscuits in an airtight container at room temperature for up to 3 days.
- To Reheat: Warm them in the oven at 350°F (175°C) for about 5 minutes to crisp up the edges. You can microwave them for 10 to 15 seconds if you are in a rush, but the texture will soften.
- To Make Ahead: Cut the biscuits out and place them unbaked on a baking sheet in the freezer. Once solid, transfer to a freezer bag for up to 3 months. You can bake them straight from frozen, just add a few extra minutes to your oven time.
Nutrition
Nutrition information is automatically calculated, so should only be used as an approximation.


Perfect timing – have been on a quest for the perfect biscuit recipe and I just found it! I love that you include photos with your instructions (visual learner here), makes it that much easier to follow along! Thank you, Karina, for another fantastic recipe! I did want to ask about saving this recipe (as with the many others I have saved over the last several years) to my account, however I just noticed that I don’t see on the top of the page “My Account” or my name anymore – have you changed this option to sign in to our accounts on your website or is this just on my end? I’m not tech savvy, so I’m not sure what happened, as I have a multitude of your recipes saved in the account I created lonbg ago. Appreciate your help!
Hi Lina, thank you so much for your feedback. If you are using a cell phone, to the left of the phone you will see a heart, press twice on it and it will bring up a menu to log in to see your favorites. Or you can press the search (looking glass) on the top of the page, and swipe down to see the sign in on the top right. Hope this helps. Enjoy! Xx
So excited to try this!! if i don’t have buttermilk on hand, could I use a homemade buttermilk substitute (milk + lemon juice) for this?