This post may contain affiliate links. Please read our disclosure policy.
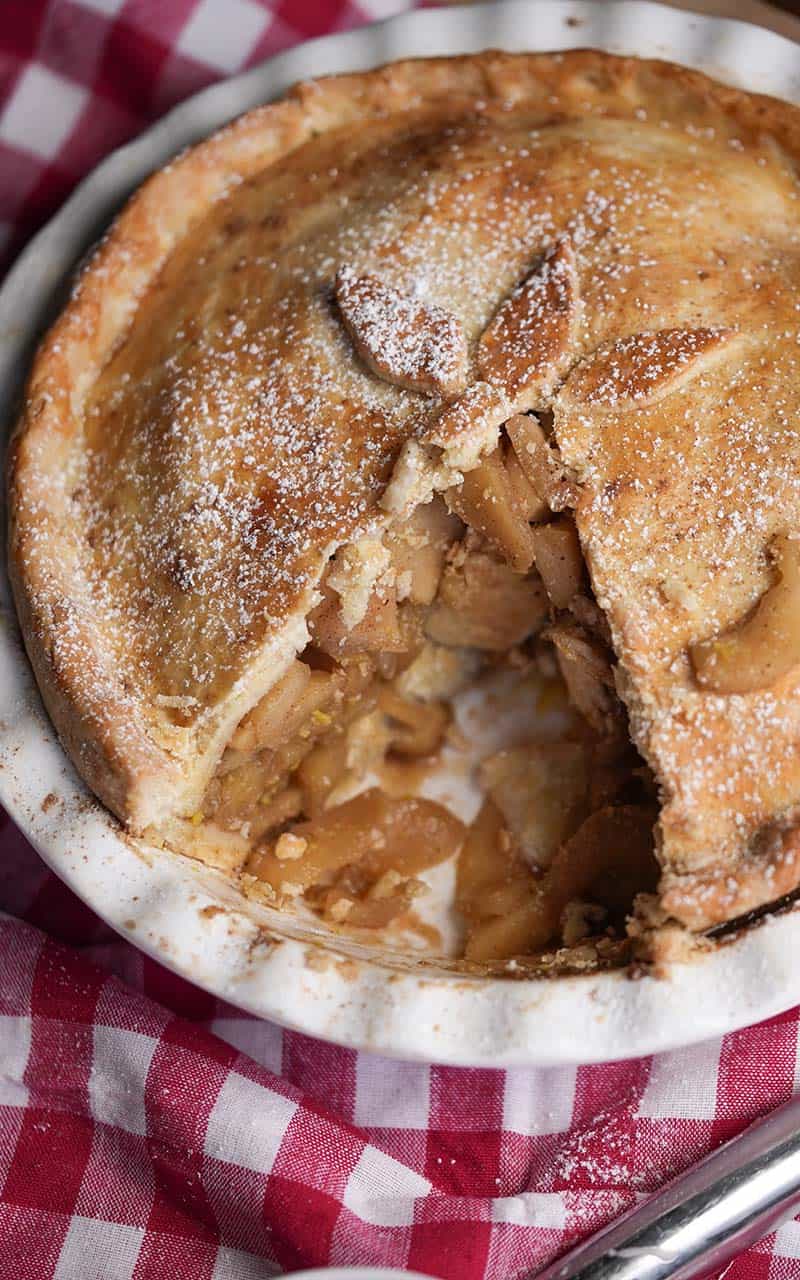
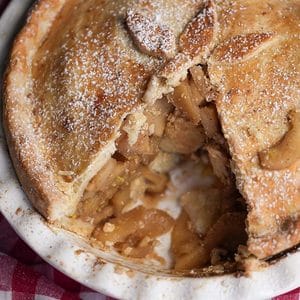
The MOST DELICIOUS and easy apple pie filling recipe you’ll ever make for the holidays. This simple apple pie is full of flavor, and the filling only takes 4 simple steps, with a secret swap that makes this apple pie stand out!
Also, if you want to make everything from scratch, you can pair it right with your own pie crust. No need to look for more recipes; everything is in just one place!
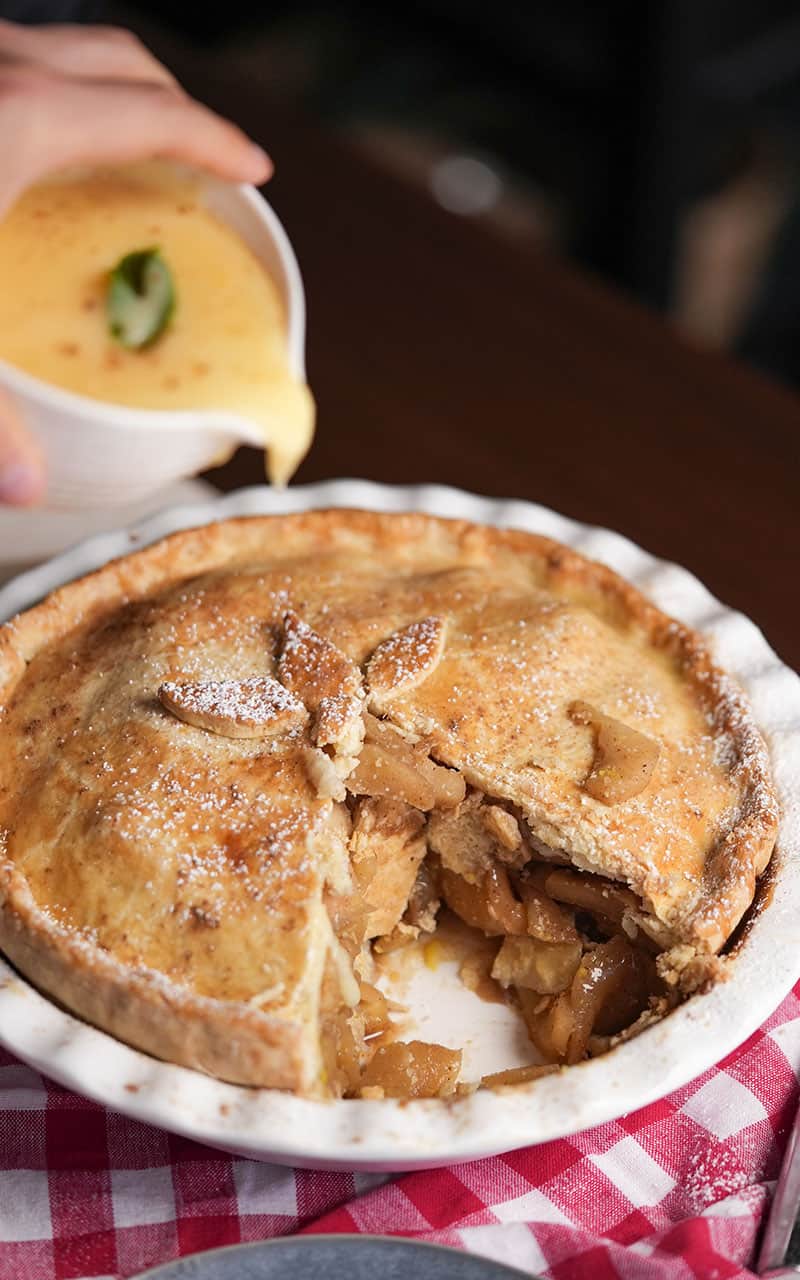
Table of Contents
Homemade Apple Pie Filling
November is that time of the year when the kitchen keeps smelling like Grandma’s house. And one of my favorite parts of Thanksgiving is definitely my mom’s apple pie.
She created the best apple pie filling ever by swapping one of the most popular ingredients, the lemon juice, for orange juice, bringing out the apples’ sweetness in a way you’ve never tried before.
In just ONE POT, you get an amazing apple filling that is going to impress your family for the holidays.
Okay, a little bit of a background story. This apple pie filling was born a few years ago when my mom was cooking apple pie nonstop.
She went through a phase where she cooked apple pie every week, and every single one was better than the last, taller, and more delicious. After testing a few variations of the same pie, she landed on the perfect recipe, and its secret, of course, was the homemade apple pie filling. And I couldn’t find a better moment to share it with you!
Orange Juice vs Lemon Juice
A few years ago, we ordered an apple pie that was loaded with so much lemon juice that it was practically impossible to eat. Sadly, we had to throw the whole thing out, and not even the birds would touch it!
While lemon juice is the traditional choice, it is often way too sour and overpowers the filling instead of letting the natural sweetness of the apples shine.
Even though everyone uses lemon, my mom thought, why not use orange juice instead? And Oh. My. God. Fresh orange juice still gives you that bright citrus balance and keeps the apples from browning, but it adds a natural sweetness that complements the cinnamon and butter without a single sour bite.
From-Scratch vs. Canned Filling
Buying a pre-made can or jar at the store might save 10 minutes, but the texture and flavor don’t even come close.
Store-bought apple filling is mostly thick jelly with a few soft apple slices floating around, and it tastes way too artificial.
When you make it at home in one pot, you get real fresh apples that actually hold their bite, plus a bright sauce made from real butter and fresh orange juice.
ALSO, you control what goes in it, and that’s the best part.
You can keep the clean citrus taste, or stir in a spoonful of brown sugar (or light brown sugar) so the natural molasses gives the liquid a deep caramel note that you will never find in a store-bought jar.
Ingredients
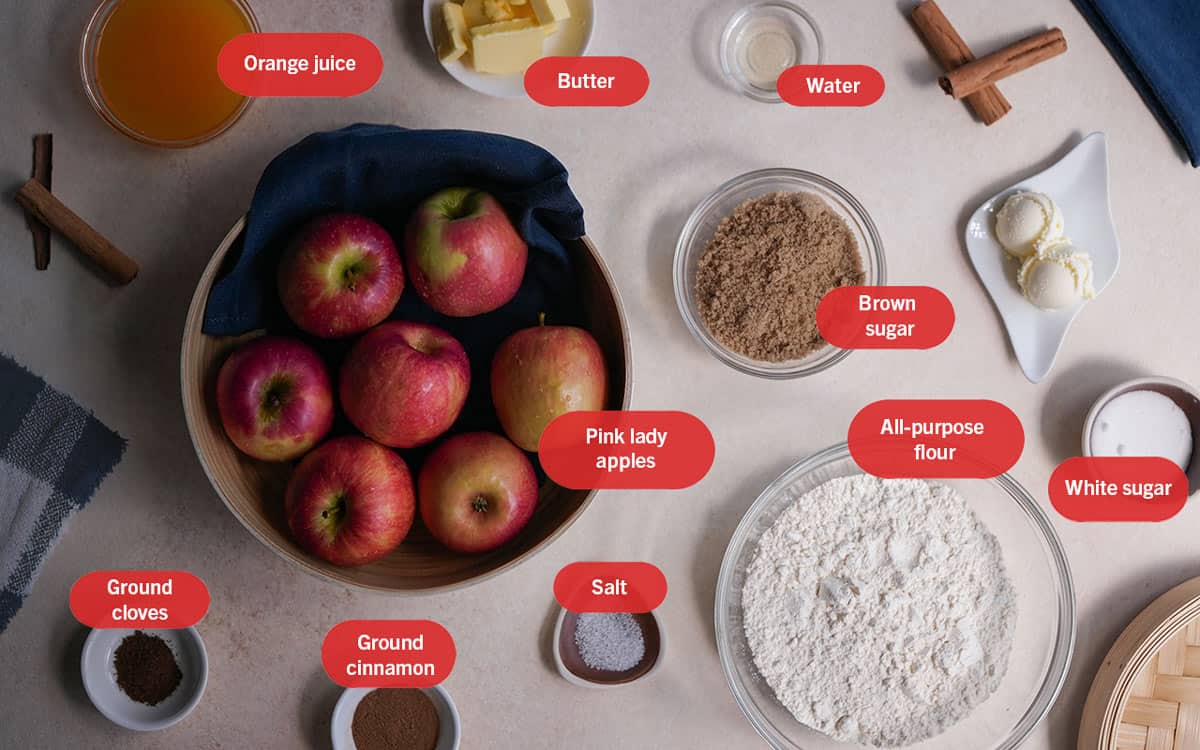
- Pink Lady Apples: The best apples you can choose are Pink Lady apples. These are my favorite because they have the best balance of tart and sweet. The thick wedges hold their texture without breaking down in the pot. I tried softer apple varieties before, and they turned into mush while cooking. Also, the taste! With Pink Lady apples, you have the best flavor, no too sweet, no too sour.
- Fresh Orange Juice: This is my mom’s secret swap! Most recipes use lemon juice or plain water, but orange juice brings out the sweetness and gives the filling the best flavor.
- Cinnamon Stick: Simmering a whole stick in melted butter infuses a clean aroma without making the sauce dark or gritty. You can swap it for ground cinnamon if that is what you have. I’ve made both, and they work!
- All-Purpose Flour: We stir in regular flour at the end to thicken the orange juice and butter into a glossy sauce. You can easily replace it with cornstarch, and both work great to keep the pie crust from getting soggy.
Note: Please see the recipe card for full list of ingredients and measurements.
Additions and Substitutions
- Apples: You can swap them for Honeycrisp apples, which I recommend if you can’t find Pink Ladies. I never cook with Granny Smith apples. Skip them COMPLETELY. They ruin the texture when cooked; granny smith are more sour, which, if you are using lemon juice is not going to complement well. Also, they turn brown very quickly.
- Orange juice: You can replace it with the classic lemon juice and water, though if you want my advice, I would not skip the orange juice because it makes this recipe special.
- Warm Spices: Besides the cinnamon, you can stir in a pinch of nutmeg, ginger, or apple pie spice while the fruit is cooking.
- Crunchy Add-Ins: Toss in a handful of chopped pecans or sweet raisins right after taking the pot off the heat so they soften slightly in the warm sauce.
How to Make Apple Pie
It can sound scary, but it’s easier than you think. Making an apple pie at home works better if you divide it into 3 stages:
- Prep the filling
- Prep the pie crust
- Baking!
How Do You Make Apple Pie Filling
Start slicing the apples. Now, the biggest mistake you can make here is slicing the fresh apples too thin. Peel them and cut them into thick 1 ½-inch wedges/chunks, so they hold their texture and don’t break down into mush while cooking.
Add brown sugar, ground cloves, ground cinnamon, and all-purpose flour to the apples and mix until well covered.
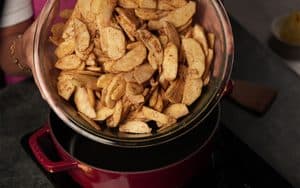
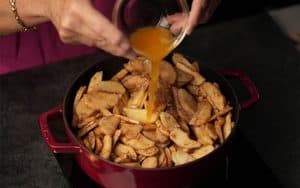
Melt the butter in a pot, toss in the apple slices, and pour in the orange juice.
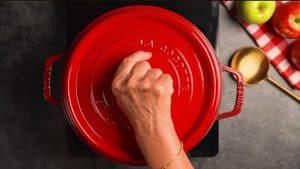
Put the lid on and let it simmer over low heat for 20 minutes so the fruit softens evenly. Once tender, take the lid off; you should have a thick, glossy sauce.
If you use a cinnamon stick, pull it out and scoop the apples into a separate large bowl right away so they don’t dry out. Let it cool completely to room temperature.
Flaky Pie Crust
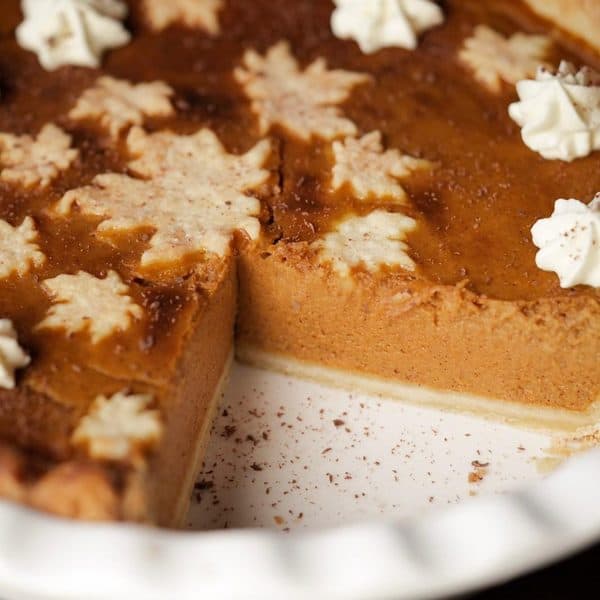
You can use a store-bought pie crust, or if you want a classic homemade one, I already have a different recipe for the one I made when I shared my pumpkin pie.
For this apple pie, though, my mom tried something a little different, and it turned out amazing.
Instead of plain dough, she stirs a splash of vanilla extract straight into the ice water and mixes a touch of sugar into the dry ingredients.
Why we don’t use self raising flour
Save the self-raising flour for cakes!
Because it contains leavening agents, it makes the dough puff up and turn cakey instead of giving you those crisp, flaky layers.
Stick to regular all-purpose flour for the best texture.
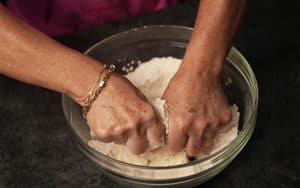
Rub the cold cubed butter into the flour by hand until it feels like coarse sand, then pour the vanilla water in a little at a time so you don’t over-wet the pastry.
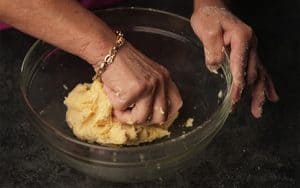
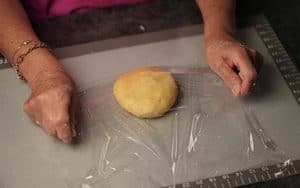
Once a soft dough forms, divide it into two balls, wrap them up, and pop them into the refrigerator for 20 minutes before rolling them out.
Bake
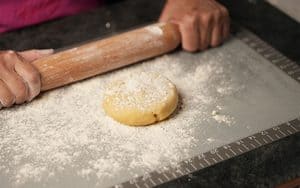
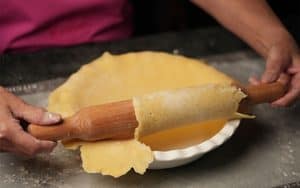
Grab one of the balls. Roll it out with a rolling pin until it’s large enough to fit in the pie pan.
Line the greased pan, prick the bottom with a fork in zig-zag lines, and if you want, brush a thin layer of melted honey over the dough before adding the cooled apple mixture.
That little bit of honey keeps the bottom pie crust from getting soggy.
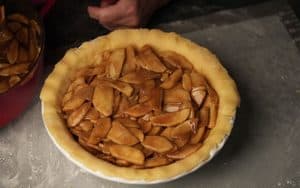
Add half of the apple pie filling. Use the back of a spoon to pull down the filling, making the base ready to add the second half. Add the rest of the apple pie filling and press again before covering.
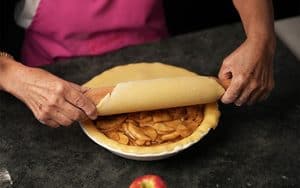
Now, repeat the first step with the second dough ball. Keep in mind that this one needs to be a bit larger than the first one so it covers the mound of apples.
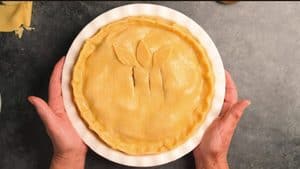
Place the top crust over the fruit, dab a little water around the rim to seal, crimp the edges with a fork or your fingers, and cut a small vent in the center so steam can escape.
Brush the top with beaten egg and sprinkle a little sugar on top.
Because we bake this pie in two stages so the pastry sets without burning, keep this quick guide handy:
| Stage | Oven Temp | Time |
| Stage 1 | 400°F (200°C) | 20 mins |
| Stage 2 | 350°F (180°C) | 15 to 20 mins |
| Cooling | Room temperature | At least 3 hour |
If your oven runs hot, drop the temperature a tiny bit, since every oven is different.
Do not skip cooling before slicing, or all that warm sauce will run right out onto the plate!
Karina’s Tips
- Check your baking powder if making self-raising flour: If you mix your own self-raising flour with all-purpose flour and baking powder, make sure that the tin isn’t expired.
- Cut your butter small and keep it cold: If your hands are warm while rubbing the butter into the sugar and flour, pop the bowl into the fridge for 5 minutes.
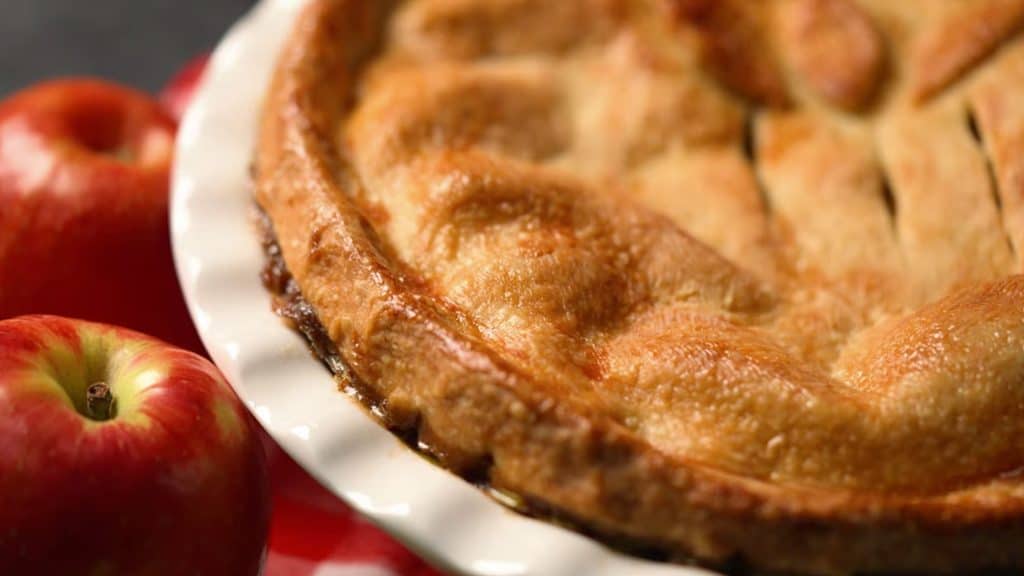
- Shield the edges if your oven runs hot: Since every oven heats differently, check the pie when you lower the heat. If the crimped rim browns too fast, drape a strip of foil around the edge so it doesn’t burn
- EVERY OVEN IS DIFFERENT. Adjust the temperature according to your oven.
What to Serve With It
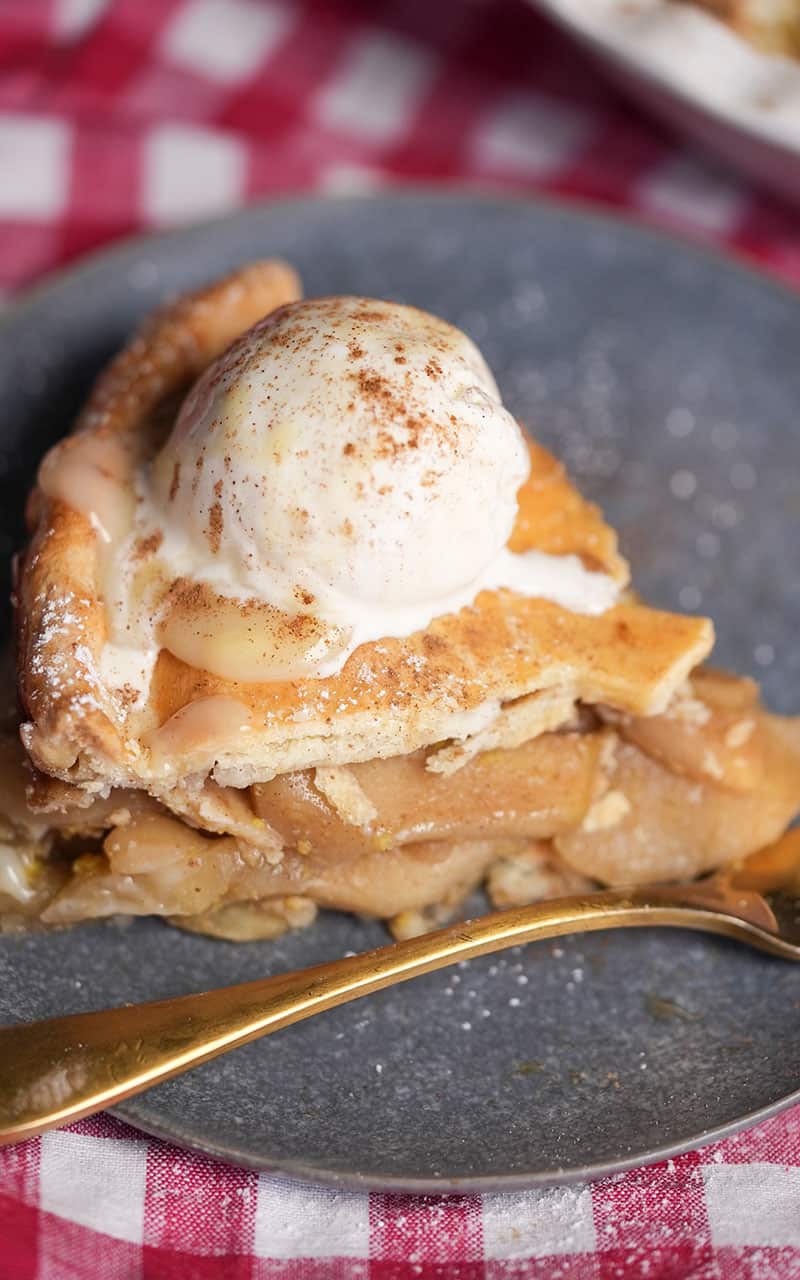
- A Big Scoop of Ice Cream: Nothing beats a fresh slice of apple pie topped with cold vanilla ice cream or custard.
- Extra Caramel or Cream: Drizzle caramel over the top pie crust or add a big spoonful of whipped cream on the side.
- Breakfast Favorites: If you end up with extra apple pie filling (or just want to make a batch on the stove without baking a whole pie), spoon the warmed apples over pancakes, waffles, French toast, morning oatmeal, or a bowl of Greek yogurt.
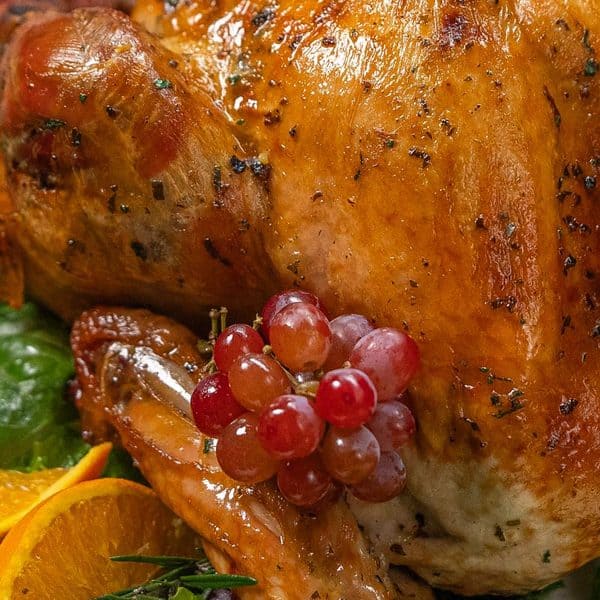
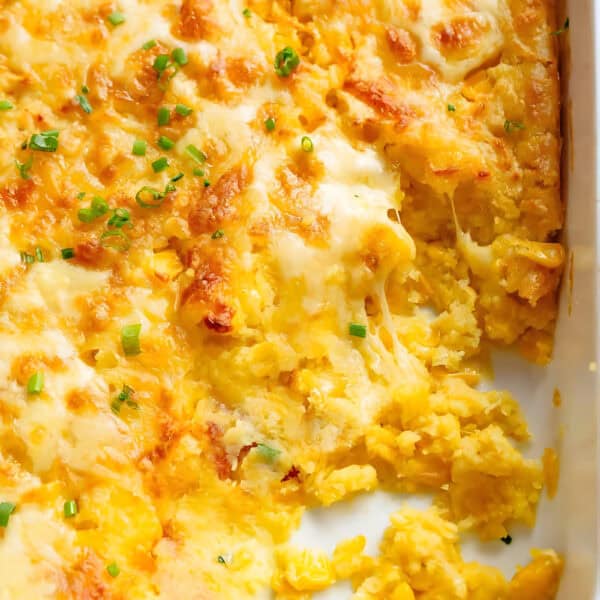
If you are putting together your full Thanksgiving menu, this dessert is the best way to finish off the meal after carving a juicy stuffed turkey and passing around a dish of creamy baked corn.
FAQs
If your apple pie comes out watery, let it rest at room temperature for at least a full hour so the flour and fruit pectin have time to set the liquid. If the apple filling is still runny while it is in the pot on the stove, mix one teaspoon of cornstarch with a splash of cold water and stir it in over low heat until thick.
Yes, you NEED to peel the apples before cooking them. Leaving the skins on makes the texture tough and chewy once baked. Also, the skin is going to start falling off the apples, which ruins the texture.
Wait until the filling cools completely to room temperature, then pipe a ring of frosting around the edge of the cake layer to act as a barrier. Spoon the thickened apple slices and sauce right inside that border so the filling stays in place when you stack the next layer.
You might also like

Get a free eBook!
Subscribe to Cafe Delites FOR FREE and receive recipes straight into your inbox!
Best Homemade Apple Pie Recipe
Equipment
- 1 pie pan 23cmx9cm
- 1 Rolling Pin
Ingredients
- Baking oil spray
Filling
- 60 oz Pink lady apples peeled and cut in wedges 1 ½ inch → they cannot be too thin since they can be undone while cooking. About 12 medium-sized apples.
- 2 tbsp butter melted
- 2 tsp ground cinnamon or 1 stick
- ½ tsp ground cloves
- ⅓ cup orange juice fresh
- 1 ½ tbsp all purpose flour
- ½ cup brown sugar
Pastry
- 2 cups all purpose flour
- 2 tbsp sugar
- 5 ¼ oz butter chilled and cubed
- 1 tsp vanilla extract
- 4 tbsp iced water
- ¼ tsp salt
- 1 egg for egg wash
Optional
- 1 tbsp melted honey for the bottom
- 1 tsp sugar for sprinkling on top
Instructions
Apple Pie Filling
- Mix the sliced apples with the sugar, cloves, cinnamon and all-purpose flour. Mix well until combined.

- In a pot, melt the butter and incorporate the apple mix. Add the orange juice to the mixture.
- Cover with a lid and cook over low heat for 20 minutes. Cook until a thick, glossy sauce forms. Take the pot off the heat, and allow the filling to cool before assembling the pie.

Pastry
- In a bowl, combine the butter, flour, and sugar until mixed. Work with your hands until the mixture resembles coarse sand.
- Slowly add the water-vanilla mixture a little at a time, mixing by hand between additions until a soft dough forms.
- Divide the pastry in half and shape into 2 balls. Wrap each in plastic wrap and refrigerate for 20 minutes.
Assembly
- Roll out with a rolling pin until large enough to fit your pie pan.
- Lightly grease the pie pan with baking spray and line it with the rolled pastry.
- Add half of the cooled apple pie filling. Use the back of your spoon to lightly press it down before adding the second half, and press again before covering.
- Roll out the second pastry ball in the same manner. Place it over the filling and seal the edges with the bottom crust, trimming off any excess dough.
- Make three small cuts to create a small vent in the center to allow steam to escape while baking. Beat the egg and brush it evenly over the top crust.
- Bake for 20 minutes at 400°F (200°C). Then lower the temperature to 350°F (180°C) and bake for another 15–20 minutes.
- Allow the pie to cool and rest for at least 3 hours before serving.


Notes
- Refrigerator: Let the filling cool completely to room temperature, then store it in an airtight container in the fridge for up to 4 days. If you already baked the whole pie, cover it loosely and keep it in the fridge for up to 4 days as well.
- Freezer: Because this recipe thickens with flour instead of cornstarch, the sauce won’t turn spongy or separate when thawed. Spoon the cooled filling into a freezer bag, press out the extra air, and freeze it flat for up to 3 months. Thaw it overnight in the refrigerator before spooning it into your pie crust.
- Reheating: Warm individual slices in the oven at 350°F (180°C) for about 10 minutes so the pastry crisps back up. If you are just reheating the filling by itself, warm it in a small pot over low heat with a tiny splash of water or orange juice to loosen the sauce.
Nutrition
Nutrition information is automatically calculated, so should only be used as an approximation.