This post may contain affiliate links. Please read our disclosure policy.
Stop searching for more breakfast recipes, because you just found the BEST and QUICKEST easy Homemade Waffle recipe. It only takes one bowl, so your Sunday mornings are about to get a whole lot faster.
EXTRA CRISPY ON THE OUTSIDE. FLUFFY ON THE INSIDE. READY IN 5 MINUTES. And it’s SOO easy, exactly like my pancake recipe.
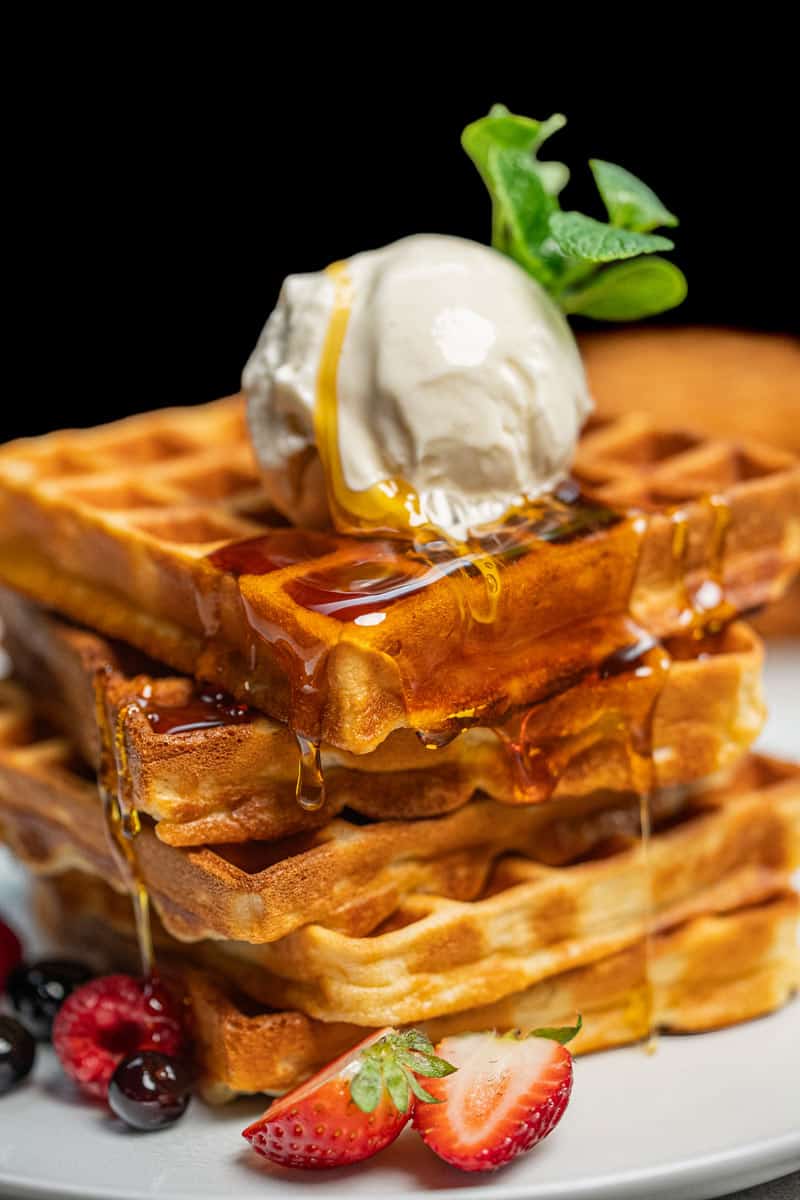
Quick Homemade Waffles
A good weekend needs to start with an easy and fast breakfast. Breakfast waffles are a classic in every kitchen, and these are EXACTLY what you picture when you hear the word. With extra crispy edges and a soft, fluffy inside, every bite is a perfect mix of textures and flavors that you can pair with sweet or savory toppings.
Skip the store-bought boxes. Learning how to make waffles from scratch only takes 5 minutes and 1 bowl, leaving you with barely any dishes to clean.
Waffles vs Pancakes
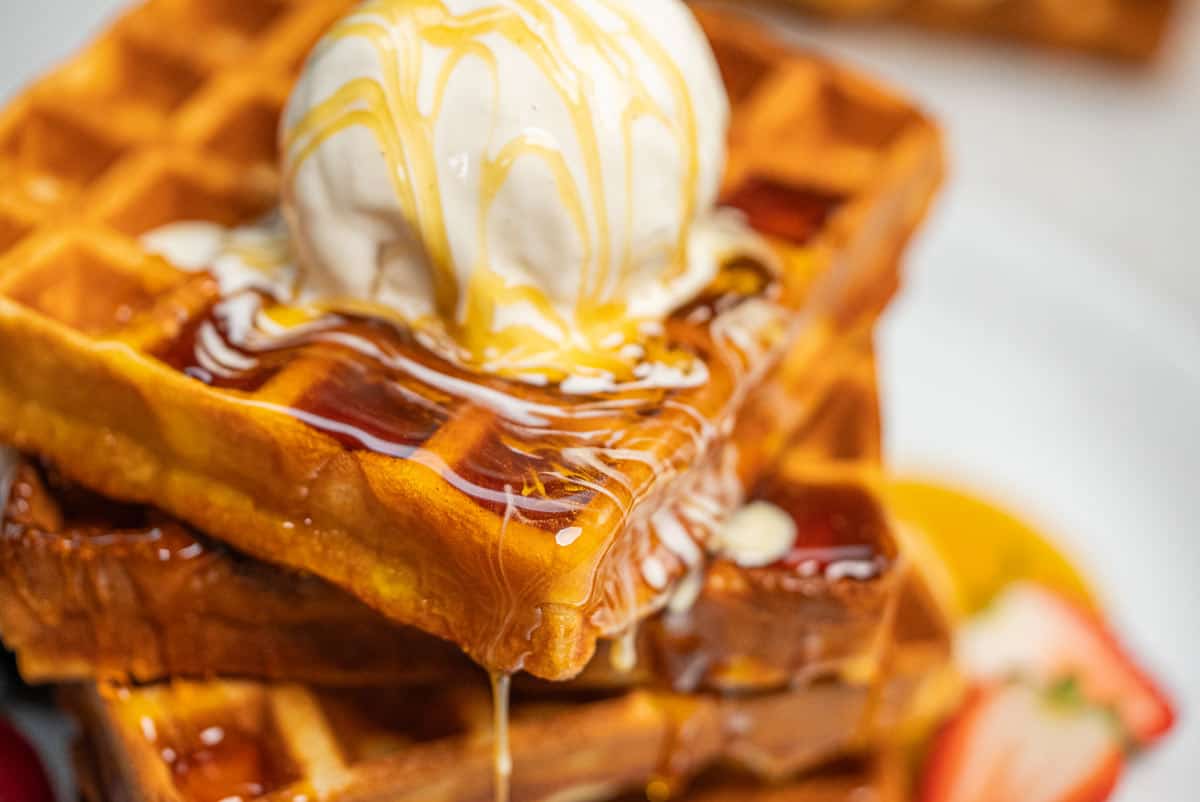
Okay, this is a common question. I get it. A lot of people think waffles and pancakes are the same thing, just cooked differently. The truth is, even if they have the same ingredients, it is more than just putting pancake mix in the waffle maker.
I actually tested this and tried making waffle pancakes, but they were not what I was looking for in classic waffles. The main difference is the butter. A true waffle batter recipe requires a much higher fat content to fry against the hot iron. That extra butter is the exact secret to getting perfectly crispy waffles instead of soft, flat cakes.
My secret for basically every pancake recipe on my website always involves baking soda. With homemade waffles, I skip this ingredient entirely. Baking soda actually prevents the exterior from getting crispy. That is exactly why I love adding it to pancakes to get that signature softness, but I leave it out of this batter to ensure a solid crunch.
Ingredients
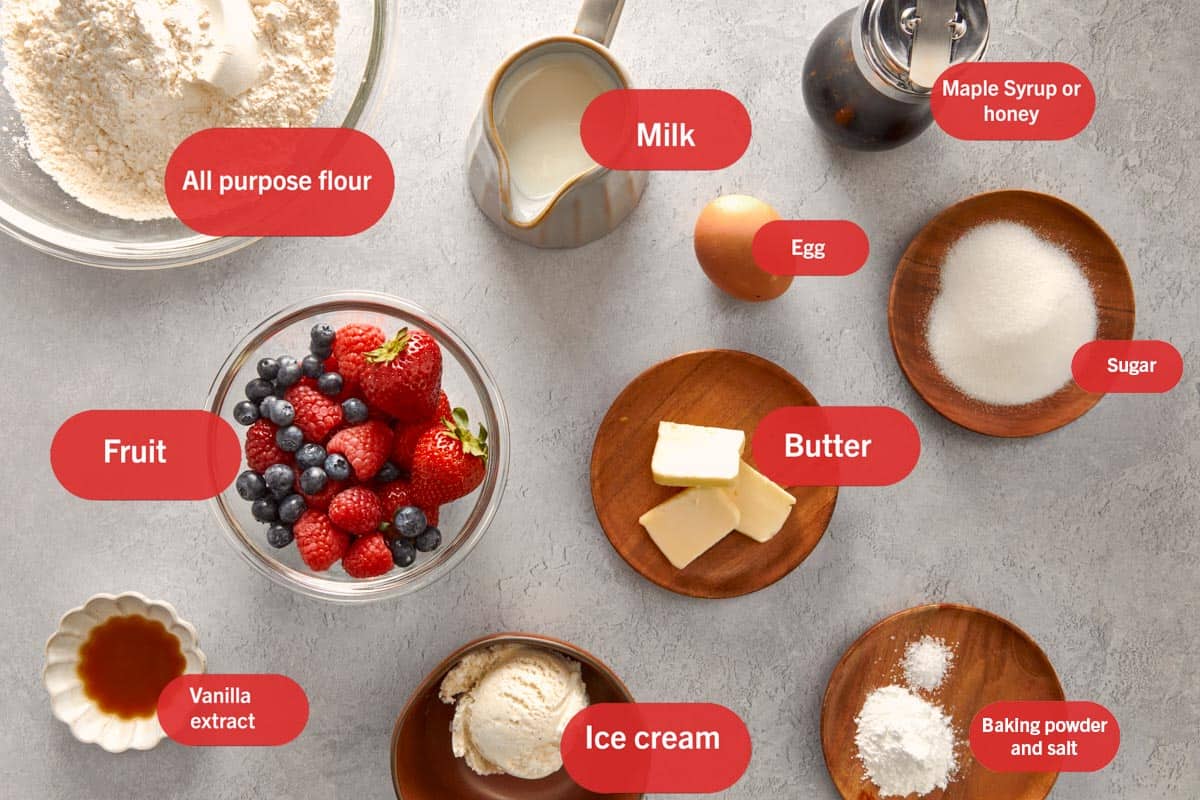
- All-Purpose Flour: All-purpose flour provides the essential base for the batter. It has the exact amount of protein needed to hold the shape without making the inside too dense. You can substitute this with a gluten-free baking flour if needed. Standard flour still gives the best structural crunch.
- Melted butter: The fat from the butter is the key to a perfect crunch. When the waffle batter hits the hot iron, the milk solids and fat literally fry the outside of the waffle. This process creates a golden crust that holds up to heavy syrups.
- Warm milk: Temperature is EVERYTHING for a smooth batter. You have to warm up the wet ingredients, like heating the milk for 30 to 40 seconds in the microwave. If you pour warm melted butter into cold milk, the butter instantly hardens into tiny lumps. A lumpy mixture cooks unevenly and ruins the final texture of your homemade waffles. Do not heat the milk too much. You just want it warm, because hot milk will accidentally cook the eggs.
- Room Temperature Egg: Eggs bind everything together and help the batter rise. It is very important that they are at room temperature so they do not chill your warm milk and butter mixture. Cold eggs cause the exact same lumpy butter problem.
Note: Please see the recipe card at the bottom for the full ingredient list.
Substitutions and Additions
- Buttermilk: Since this recipe uses regular milk to keep things fast, people often ask if they can use buttermilk instead. You absolutely can. Just replace the milk with equal parts buttermilk for a tangier flavor.
- Dairy free oat flour waffles: Swap the regular flour for oat flour and use almond or oat milk. Oat flour absorbs liquid differently, so add a tiny extra splash of liquid if the batter looks too thick.
- Flavor additions: Add a little orange or lemon zest directly into the mix to elevate the flavor.
This specific batter is made for a standard waffle maker. If you only have a deep grid iron, you can still use this batter to make Belgian-style waffles. Just keep in mind that a true classic Belgian waffle recipe is slightly different and uses a specific batter designed to perfectly fill those larger pockets.
How to Make Waffles From Scratch
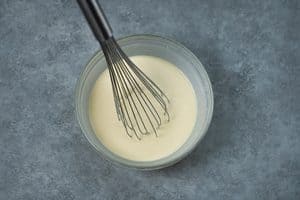
When I make homemade waffles batter, it all comes down to batter consistency. I actually use the exact same technique from my fluffy pancakes post to test this. You want to lift a little batter with your spoon and watch how it falls. It needs to be heavy enough to hold its shape on the hot iron, but fluid enough to pour slowly and smoothly. If it is too thick, the center stays doughy. If it is too runny, it spreads out and you lose that crispy edge.
How to Make Waffle Mix
When combining your wet and dry ingredients, please never overmix. A few lumps are completely fine. Just stir the batter gently with a wire whisk until it just comes together. Overworking the gluten ruins the fluffy center.
You can prep this entire waffle batter in just one bowl. Add your flour, baking powder, sugar, and salt into a large mixing bowl.
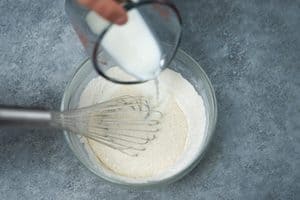
Now this is important, WARM YOUR MILK and slowly drizzle all directly over the dry ingredients. You want to whisk gently while you pour to prevent any major dry clumps from forming.
It is very important that both the milk and the butter are a little warm so the butter does not curdle and clump.
Finally, add your melted butter, eggs, and vanilla extract. Give the mixture a few light stirs until it is all combined.
- Overnight waffles: You can prepare the batter exactly as instructed, cover the bowl tightly, and store it in the fridge overnight. Resting the mixture gives the flour time to hydrate for an even softer center. In the morning, give it one very gentle stir before pouring it onto the hot iron.
How to Cook Waffles
Heat your waffle iron on medium to high heat. You need the iron to be very hot before the batter even touches it. Once it reaches temperature, skip the cooking spray. Instead, melt a little extra butter and use a pastry brush to coat the grids. The batter will never stick and gives the exterior a crispier finish. DO NOT SKIP THIS STEP, even on nonstick pans.
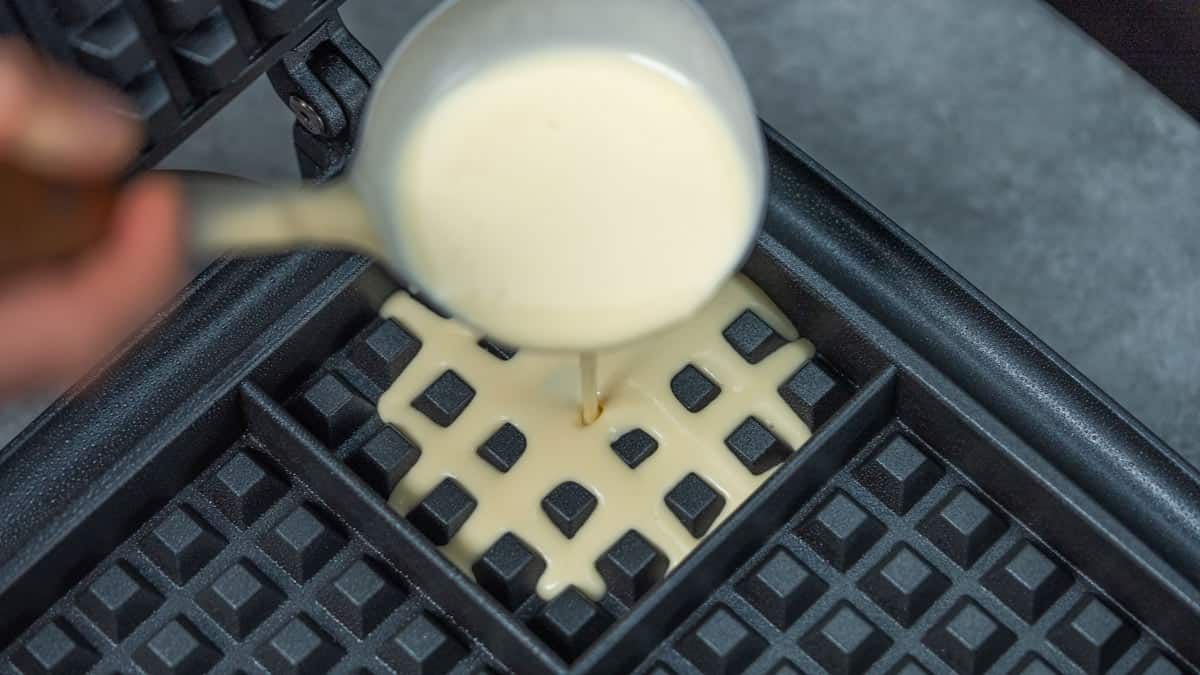
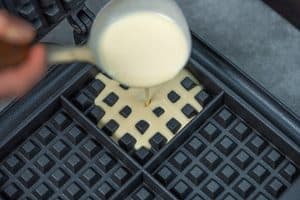
Use a ladle to scoop your mixture so you get consistent, evenly sized portions. Pour the batter directly into the center of the lower grid, but make sure to leave about a quarter-inch gap around the outer edges. The batter will rise and expand significantly as it cooks.
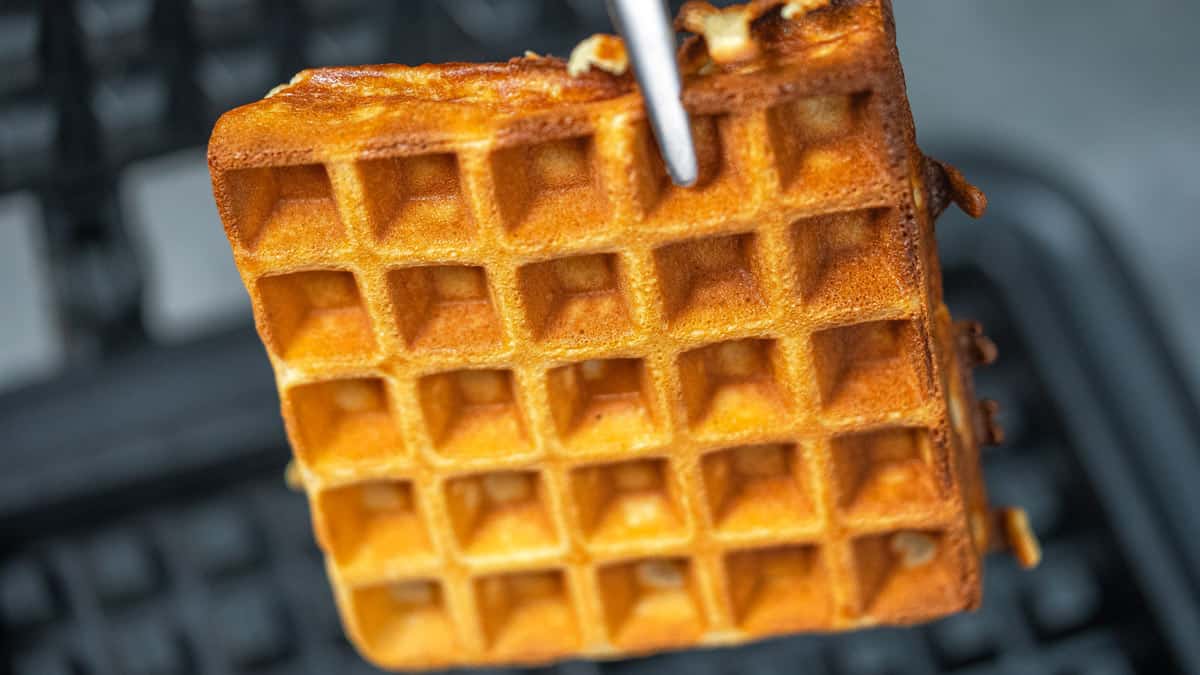
Close the lid and allow the waffles to cook properly. Do not rush the process or peek too early. Let them cook undisturbed for about 3 minutes. You will know they are ready when the steam stops billowing out and you can open the iron easily without any resistance. The outside should be golden brown and slightly crispy on both sides. Grab a silicone fork or tongs to gently lift them out without ruining that crust.
You end up with a perfectly cooked batch, soft in the center and crunchy on the outside. Ready to devour!
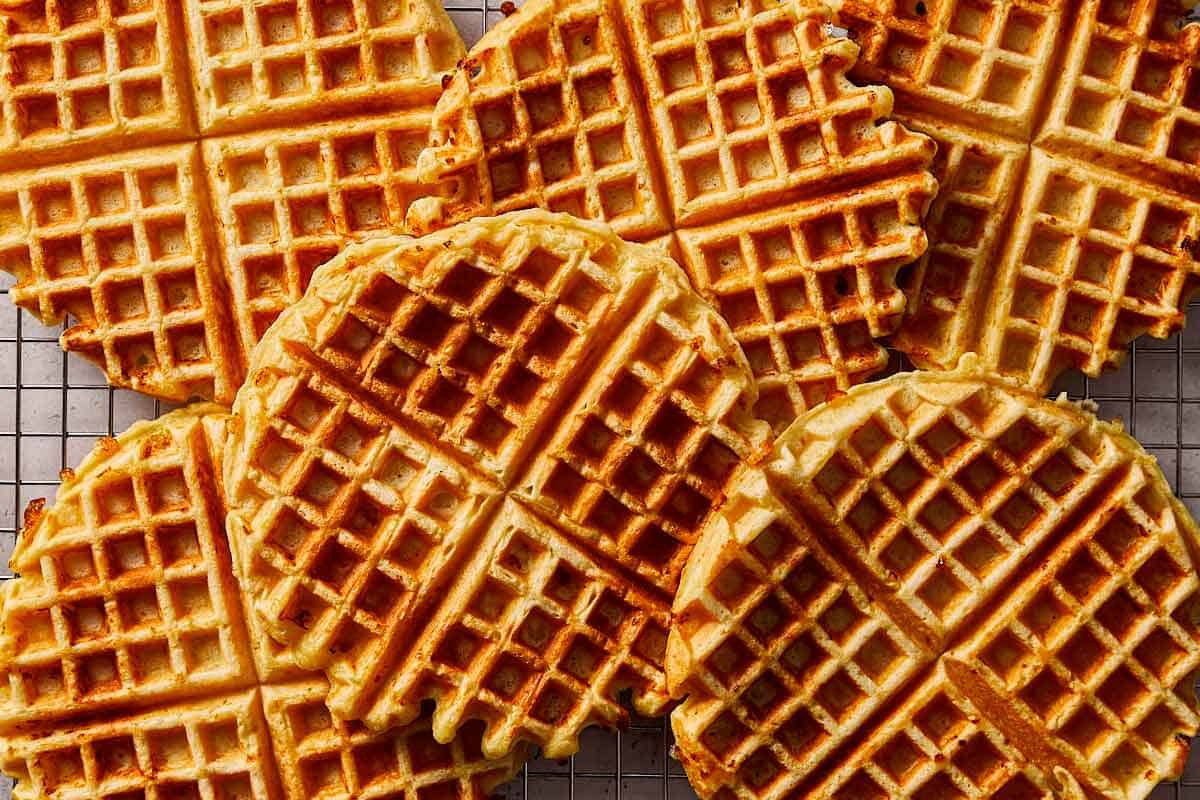
- How to keep waffles crispy: This recipe is designed to create a crunchy exterior straight out of the iron. If you are cooking a large batch, the only rule is to never stack the finished ones on a plate. Stacking traps the hot steam escaping from the center, which turns the crust soggy in minutes. Just place them in a single layer on a wire cooling rack on your counter while you finish the rest of the batter. The air circulation underneath keeps the edges perfectly crisp.
Tips and Tricks for Waffles
Nobody wants to wait to eat breakfast. The best part about this recipe is how quick and easy it is to make. You can get the batter ready in minutes, but a fast recipe still needs the right technique. If you want a batch that is crispy on the outside and fluffy on the inside, keep these kitchen secrets in mind:
- Heat the iron completely: The biggest mistake people make is pouring batter onto a warm iron. You need it fully heated, PLEASE. That initial sizzle is what sears the outside to create a crunchy crust while trapping all the moisture inside to keep the middle of the waffle fluffy.
- Whip the egg whites: If you want a soft and airy interior, separate your eggs. Mix the yolks into your wet ingredients just like normal. In a separate glass bowl, whip the egg whites until soft peaks form, then gently fold them into your finished batter right before cooking.
- Do not open the lid: Resist the urge to peek. Opening the waffle maker too early releases the steam that cooks the inside and drops the temperature of the plates.
- Let the batter rest: For an extra fluffy center, try leaving the batter in the fridge overnight. The flour hydrates fully while it sits. If you are running out of time, do not worry about it. You can use the mixture immediately, and the inside still comes out moist and delicious.
Cooking homemade waffles has never been easier!
What to serve with waffles
You can take this base recipe in a few different directions depending on what you are craving. Here are a few great ways to top them:
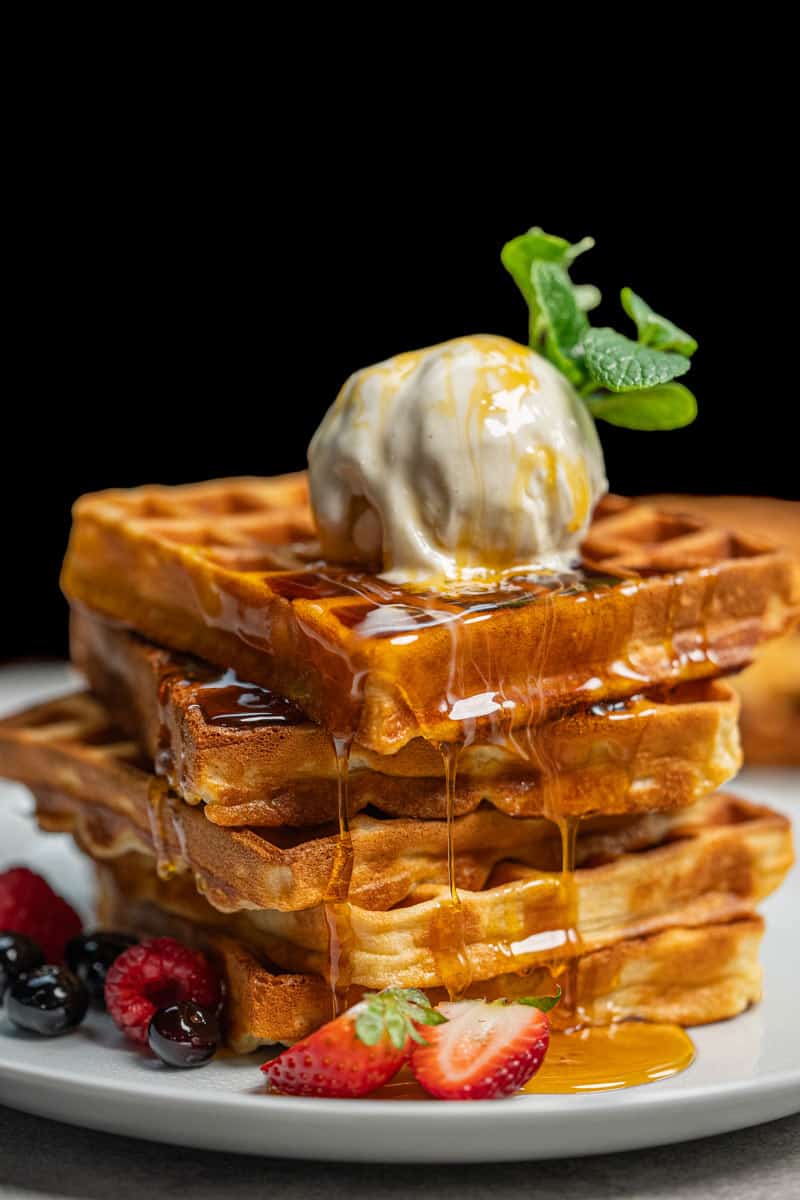
- Classic toppings: Stick to the basics with a handful of fresh strawberries and mixed berries. Top that with a thick scoop of high protein Greek yogurt to add flavor while keeping the calories low.
- Sweet options: You can keep your breakfast completely balanced without missing out on the syrup. Pour on some sugar-free maple syrup, or drizzle sugar-free caramel and chocolate sauce over the warm waffles so it feels like a dessert. Also, spreading Nutella and adding whipped cream never fails.
- Savory twist: If you are not in the mood for sweet, skip the syrup entirely. Add a few slices of smoked salmon, a poached egg, and a spoonful of hollandaise sauce to transform your plate into a delicious eggs Benedict.
- Lunch option: Throw a piece of fried chicken on top to make a classic plate of chicken and waffles. Turning this base into a quick chicken waffle is a VERY easy lunch when you want something that really hits the spot.
FAQs
Yes. While they share similar base ingredients, a standard waffle recipe contains a higher percentage of fat and sugar. The extra melted butter creates that signature crispy exterior in the hot iron. Pancake mixtures have less fat and usually rely on baking soda to stay soft and pillowy.
Early versions were cooked directly over open fires. Cooks used heavy cast-iron plates attached to long wooden handles to press the dough over the flames. These traditional irons stamped deep grids into the batter to help it bake evenly and hold hot syrups.
The most common reason for a soggy breakfast waffle is trapped steam. If you stack them on a plate right out of the machine, the heat escaping from the center turns the crust mushy in minutes. Always place them in a single layer on a wire cooling rack so the air can circulate underneath.
Dry interiors usually happen when the mixture is overmixed or left in the iron for too long. Overmixing develops the gluten in the flour, making the inside tough and dry instead of fluffy. Also, if you leave your crispy waffles in the machine long after the steam stops escaping, the hot plates will bake all the remaining moisture right out of the center.
You might also like





Get a free eBook!
Subscribe to Cafe Delites FOR FREE and receive recipes straight into your inbox!

Crispy Homemade Waffles Recipe
Ingredients
- 1 cup All purpose flour
- 1 teaspoon Baking powder
- 1 ½ tbsp White sugar
- 1 Egg
- 1 cup Milk
- ¼ cup Butter melted
- 1 teaspoon Vanilla extract
- ⅛ teaspoon Salt a pinch
Instructions
- In a large mixing bowl add flour, baking powder, sugar and salt.

- Drizzle slowly all the milk into the bowl, whisk gently at the same time to prevent any lump in the mixture.
- Add melted butter and vanilla extract to the mixture and whisk well until well combined and smooth.
- Using a ladle, take some of the waffle mixture and pour into the waffle maker by leaving a ¼ inch gap at the top, as the waffle batter will rise during cooking and could overflow from your waffle maker.
- Close the waffle maker and cook the waffles for about 3 minutes, until you can open the iron easily and the waffle is golden brown and slightly crispy on both sides.
- Serve waffles on a plate with any type of your preferred toppings, enjoy.


Video
Notes
Storage, Reheating, and Make Ahead
I know you love easy breakfast recipes, and I wanted to give you a tip on storage and reheating. Making a big batch is much cheaper than buying store-bought frozen boxes, and it works so well for early mornings with the kids. (Trust me, I know about it) Always let them cool completely on a wire rack first to prevent condensation from making them soggy.- Storage: Place the fully cooled pieces directly into large freezer bags.
- Fridge & Freezer: You can keep them in the fridge for a few days, but they freeze perfectly for up to three months.
- Reheating: Skip the microwave entirely. Just pop them straight out of the freezer bag and into the toaster. They heat up quickly and retain their signature crispy edges.
Nutrition
Nutrition information is automatically calculated, so should only be used as an approximation.