Sticky buns are JUST what you need on a cold morning or for a holiday breakfast. Deliciously soft, sweet and sticky, these buns are so much fun to make!
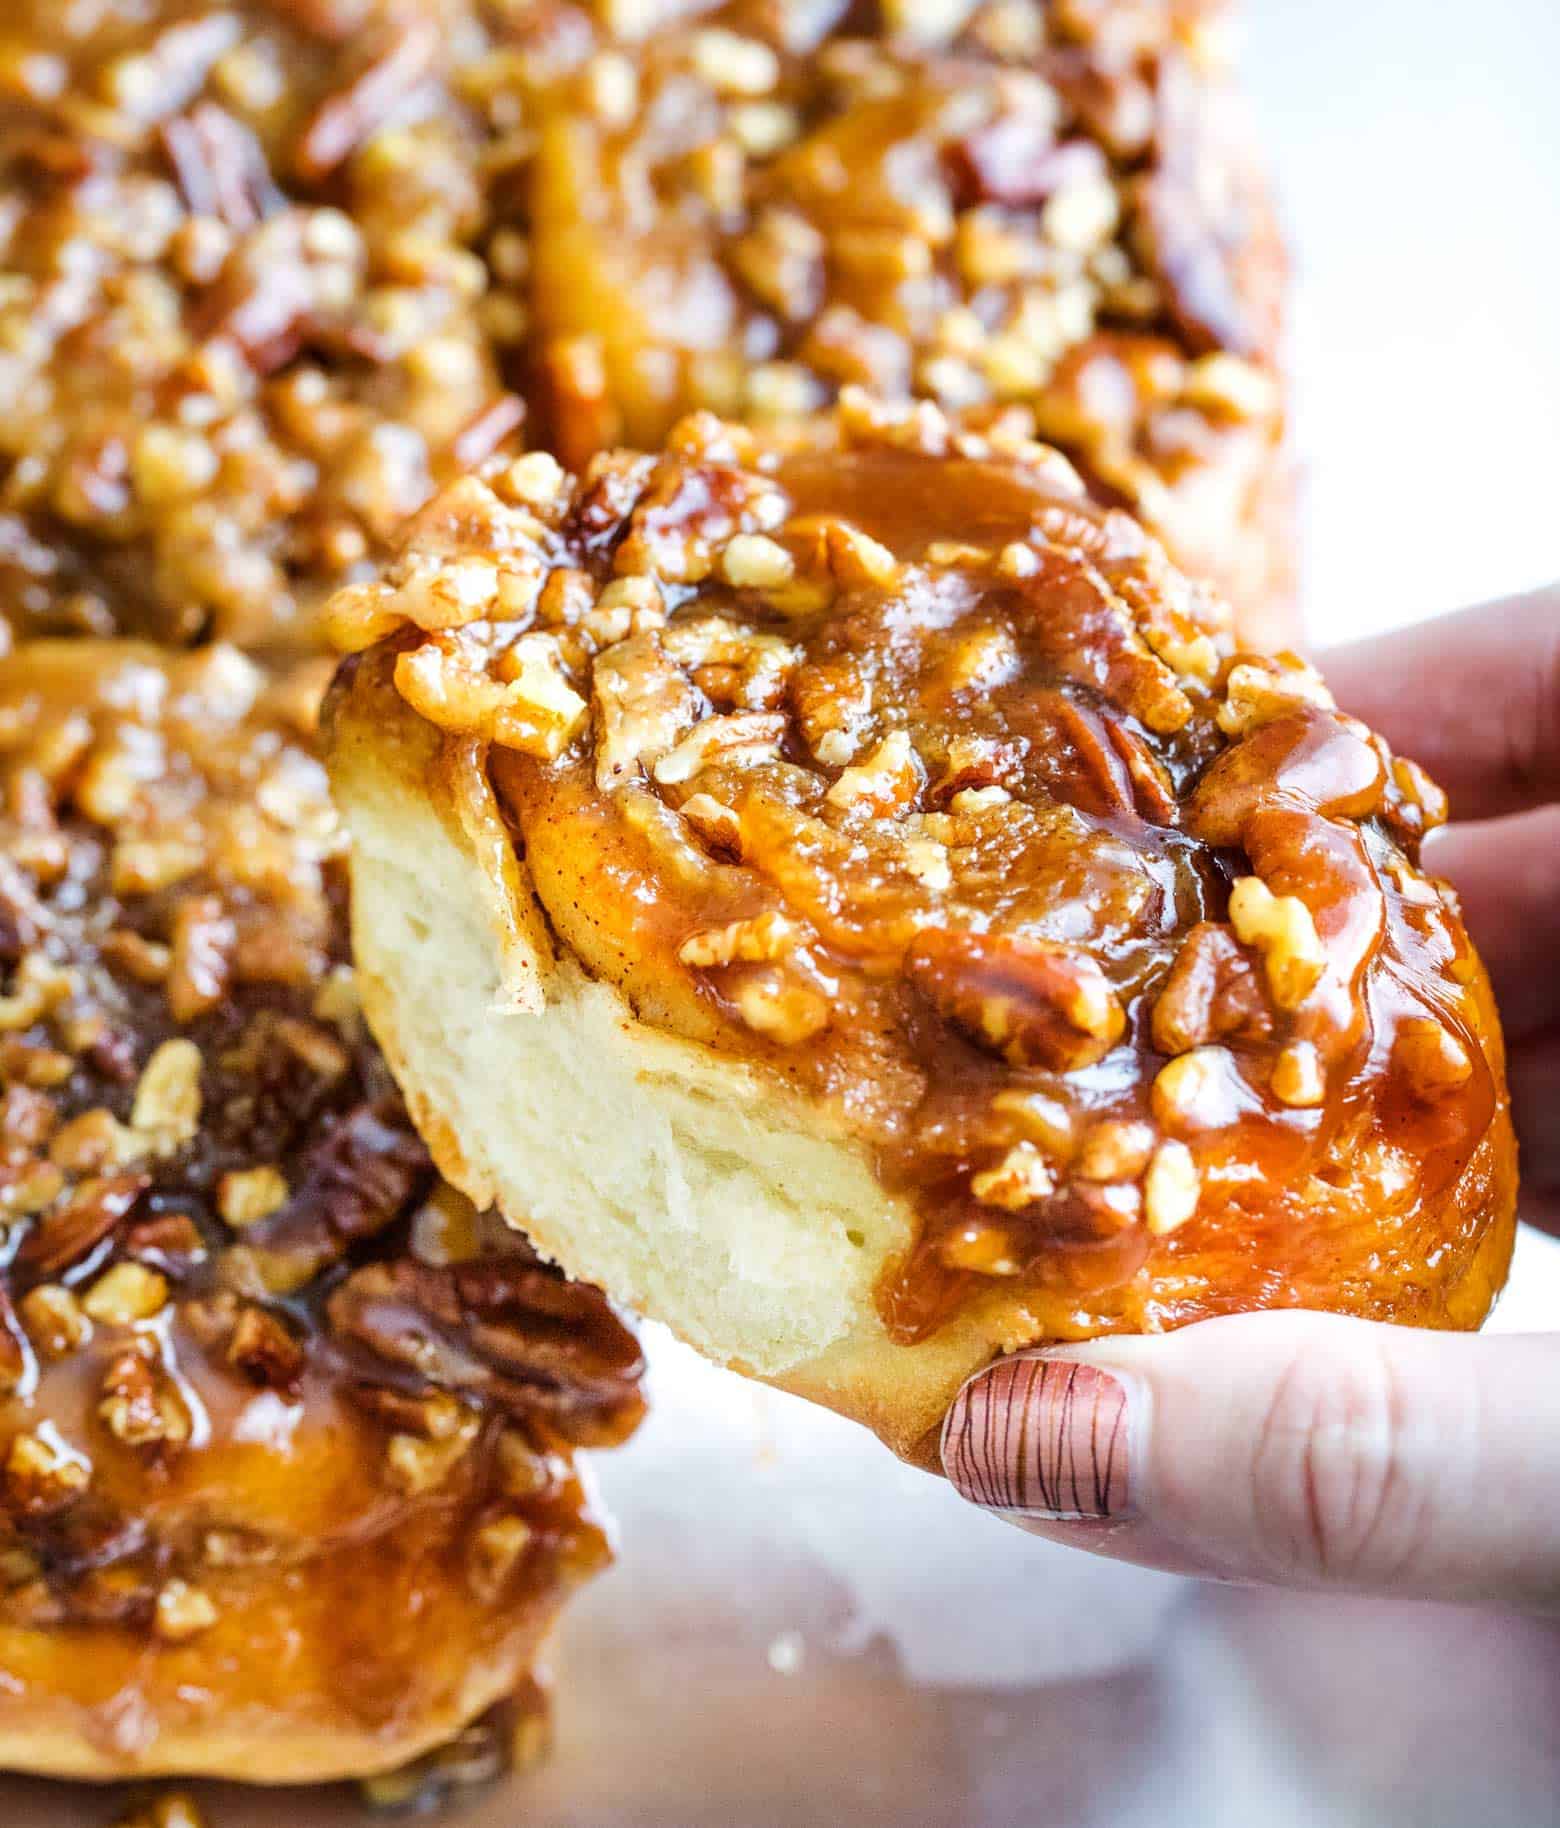
Is there anything better than sinking your teeth into a warm, gooey cinnamon roll? YES! Sinking your teeth into a warm, gooey, sticky bun! Sticky buns are like cinnamon rolls more delicious cousin… full of buttery cinnamon sugar, but topped with homemade maple caramel and toasty pecans!
MAPLE PECAN STICKY BUNS
Hey guys, it’s Amanda from The Chunky Chef, a recipe blog that focuses on comforting family recipes. I’m a self-taught home cook who loves whipping up fabulous comfort food that everyone loves…like these maple pecan sticky buns!
WHAT’S THE DIFFERENCE BETWEEN A CINNAMON ROLL AND STICKY BUN?
The main difference here is in the topping. Both sweet rolls are filled with a butter, brown sugar and cinnamon filling, but cinnamon rolls are generally topped with a cream cheese or vanilla icing glaze. Sticky buns are traditionally topped with caramel and pecans or other nuts.
Also, with cinnamon rolls, the topping is added after the rolls have been baked. With sticky buns, the topping is added to the bottom of the baking dish, then the rolls are baked on top of that. You invert the pan after baking to give them that glorious topping.
HOW DO YOU STORE STICKY BUNS?
Even though you may WANT to eat the entire batch… odds are, you’ll have some leftover. Sticky buns will keep at room temperature for about 2 days, covered tightly to prevent them from drying out too much. For longer storage, keep them refrigerated, also covered tightly, for up to a week.
CAN STICKY BUNS BE FROZEN?
Absolutely! I’ve not tested freezing them unbaked, but baked buns can be frozen for 2-3 months. Make sure to wrap them tightly with foil and place in an airtight container for freezing. Thaw them overnight in the refrigerator, then warm them up and enjoy!
TIPS FOR MAKING STICKY BUNS
- First of all, don’t be intimidated! Working with yeast usually has people intimidated, but it’s really not that complicated.
- If you have a stand mixer, definitely use it! Kneading the dough can be tedious, and letting the mixer do the work for you is awesome. If you don’t have one, no worries, you can absolutely make it without one. You’ll just get an arm workout!
- Make sure to proof your yeast. This is covered in the recipe below, but it’s an important tip. Sometimes yeast can be older than we think, and it just won’t activate and work. Proofing means you don’t have to make the whole dough before finding out the yeast was dead!
- If you don’t have a warm spot in your kitchen (or don’t know where one is), don’t panic. Here’s what I do all the time, especially in the colder months. I preheat my oven to about 200°F degrees, then turn it off once it comes up to temperature. Put the covered bowl with the dough in there and shut the door. Works every time! Just make sure you shut the oven OFF.
- Slicing the sticky bun dough into wheels can be tricky. Use a very sharp serrated knife, or some unflavored dental floss (seriously, make sure it’s UNflavored – no one wants spearmint flavored buns!). Slide the floss underneath the log, bring both sides up, cross them over each other, and pull tight. Perfect slices!
- Make sure you let the buns rest after baking before you try to invert the pan. 5 minutes or so is all it takes, but if you don’t let it rest, the caramel will be too runny and you won’t have much left on top after you flip them.
I hope you all give these maple pecan sticky buns a try, I’m sure you’ll love them! Hope to see you around The Chunky Chef too!
Looking for more desserts? Try these!
Apple Pie Cinnamon Rolls
Soft Cinnamon rolls
Hot Cross Buns with Chocolate Chips
Maple Pecan Sticky Buns
Ingredients
DOUGH
- 1 cup whole milk
- ⅔ cup granulated sugar
- 2 packets instant yeast or active dry, about 1 ½ Tbsp
- ½ cup butter softened to room temperature and cut into bite sized pieces
- 2 large eggs
- ½ teaspoon kosher salt
- 4 ½ cups all purpose flour
FILLING
- ⅓ - ½ cup butter softened to room temperature
- ½ cup light brown sugar
- 1 ½ teaspoon ground cinnamon
TOPPING
- 6 tablespoon butter
- 1 ¼ cup light brown sugar
- 1 teaspoon vanilla
- ¼ cup maple syrup
- 3 tablespoon heavy cream
Instructions
MAKE THE DOUGH
- Lightly grease a large mixing bowl with a drizzle of vegetable oil and set aside. In a small saucepan, heat milk over MED heat until warmed. Pour warm milk into the bowl of a stand mixer and stir in the granulated sugar and yeast. Let mixture sit about 5 to 10 minutes. Yeast mixture should be foamy looking and smell “yeasty”.
- Mix on LOW speed and add butter, eggs and the salt. Gradually add in the flour, in about 1 cup increments. When all the flour has been added, increase mixer speed to about MED, and mix about 5 minutes, or until a soft dough forms.
- Lightly flour your counter or other flat surface and transfer dough onto it. Dust your hands with flour and knead by hand about a minute or so, or until the dough comes together. Form the dough into a ball and transfer to prepared mixing bowl. Cover bowl with plastic wrap, loosely, and a clean kitchen towel. Place in a warm spot for about 2 hours, or until doubled in size.
- Once dough has doubled in size, turn it out onto a lightly floured surface and roll into a rectangle, roughly 12x18 inches in size. Use the rolling pin to make sure the dough is an even thickness.
MAKE THE FILLING AND ROLL THE BUNS
- Spread dough rectangle with softened butter, then top with brown sugar and cinnamon. Gently use your fingers to pat the sugar/cinnamon mixture to help it stay in place during the rolling process.
- Starting at the top, roll the dough tightly towards you. I find starting to roll at one side and rolling towards you once, then moving down the line slightly and doing the same thing, repeating until you’re all the way across gives you the most even rolling.Once you have an 18 inch long log, carefully slice the log in 12 evenly sized rolls.
MAKE THE TOPPING, RISE, AND BAKE
- In a small saucepan, heat butter, brown sugar, maple syrup and vanilla over MED heat until melted and smooth. Remove from heat and whisk in cream. Set aside.Butter or grease a 9x13 inch baking dish. Pour caramel sauce into bottom of baking dish, lifting and tilting dish to make sure caramel is evenly coating the bottom.Sprinkle pecans over the top of the caramel.
- Arrange rolls on top of the caramel and pecans, then cover tightly with foil and let rise again for about 45 minutes, or until large and puffy.
- Preheat oven to 375 F degrees, and once fully heated, bake sticky buns about 25 minutes. If you find the tops of the rolls are getting TOO golden brown, cover loosely with foil during the second half of baking.
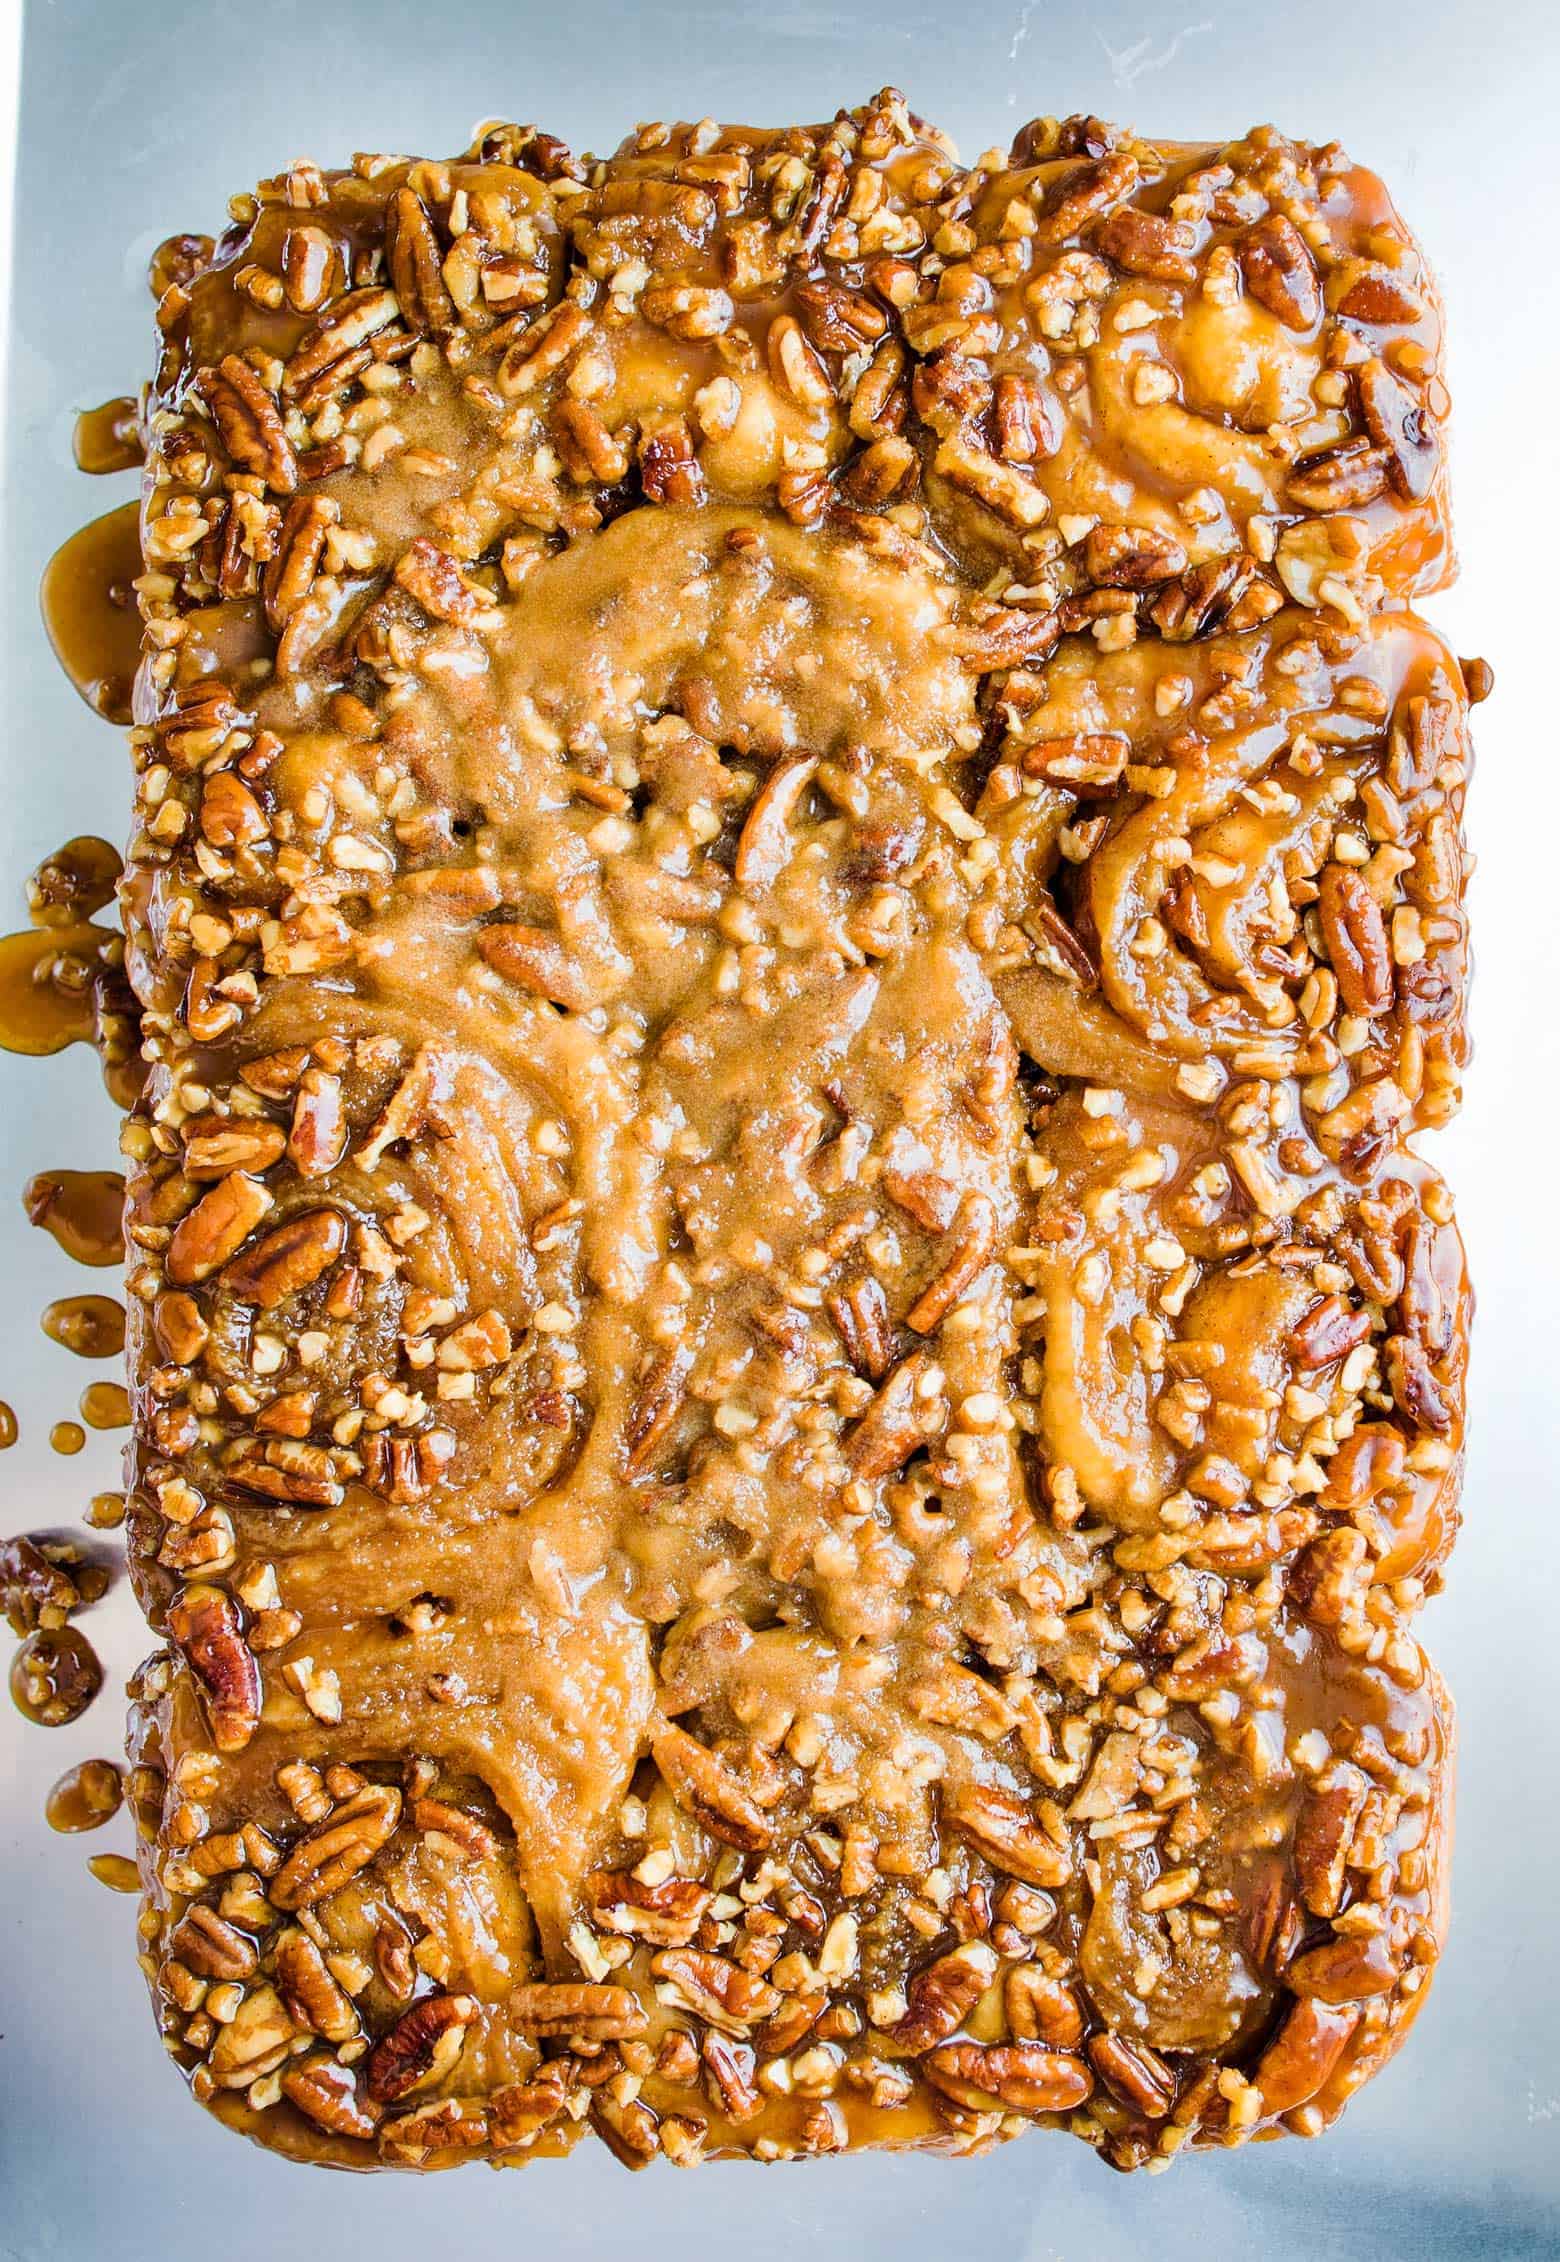
- Remove pan from oven and let cool 7-10 minutes, then place a large serving tray or sheet pan over the top of the baking dish. Carefully, and using oven safe gloves, hold onto both the tray and the dish and flip it over to invert the rolls. Lift up the baking dish and set aside.
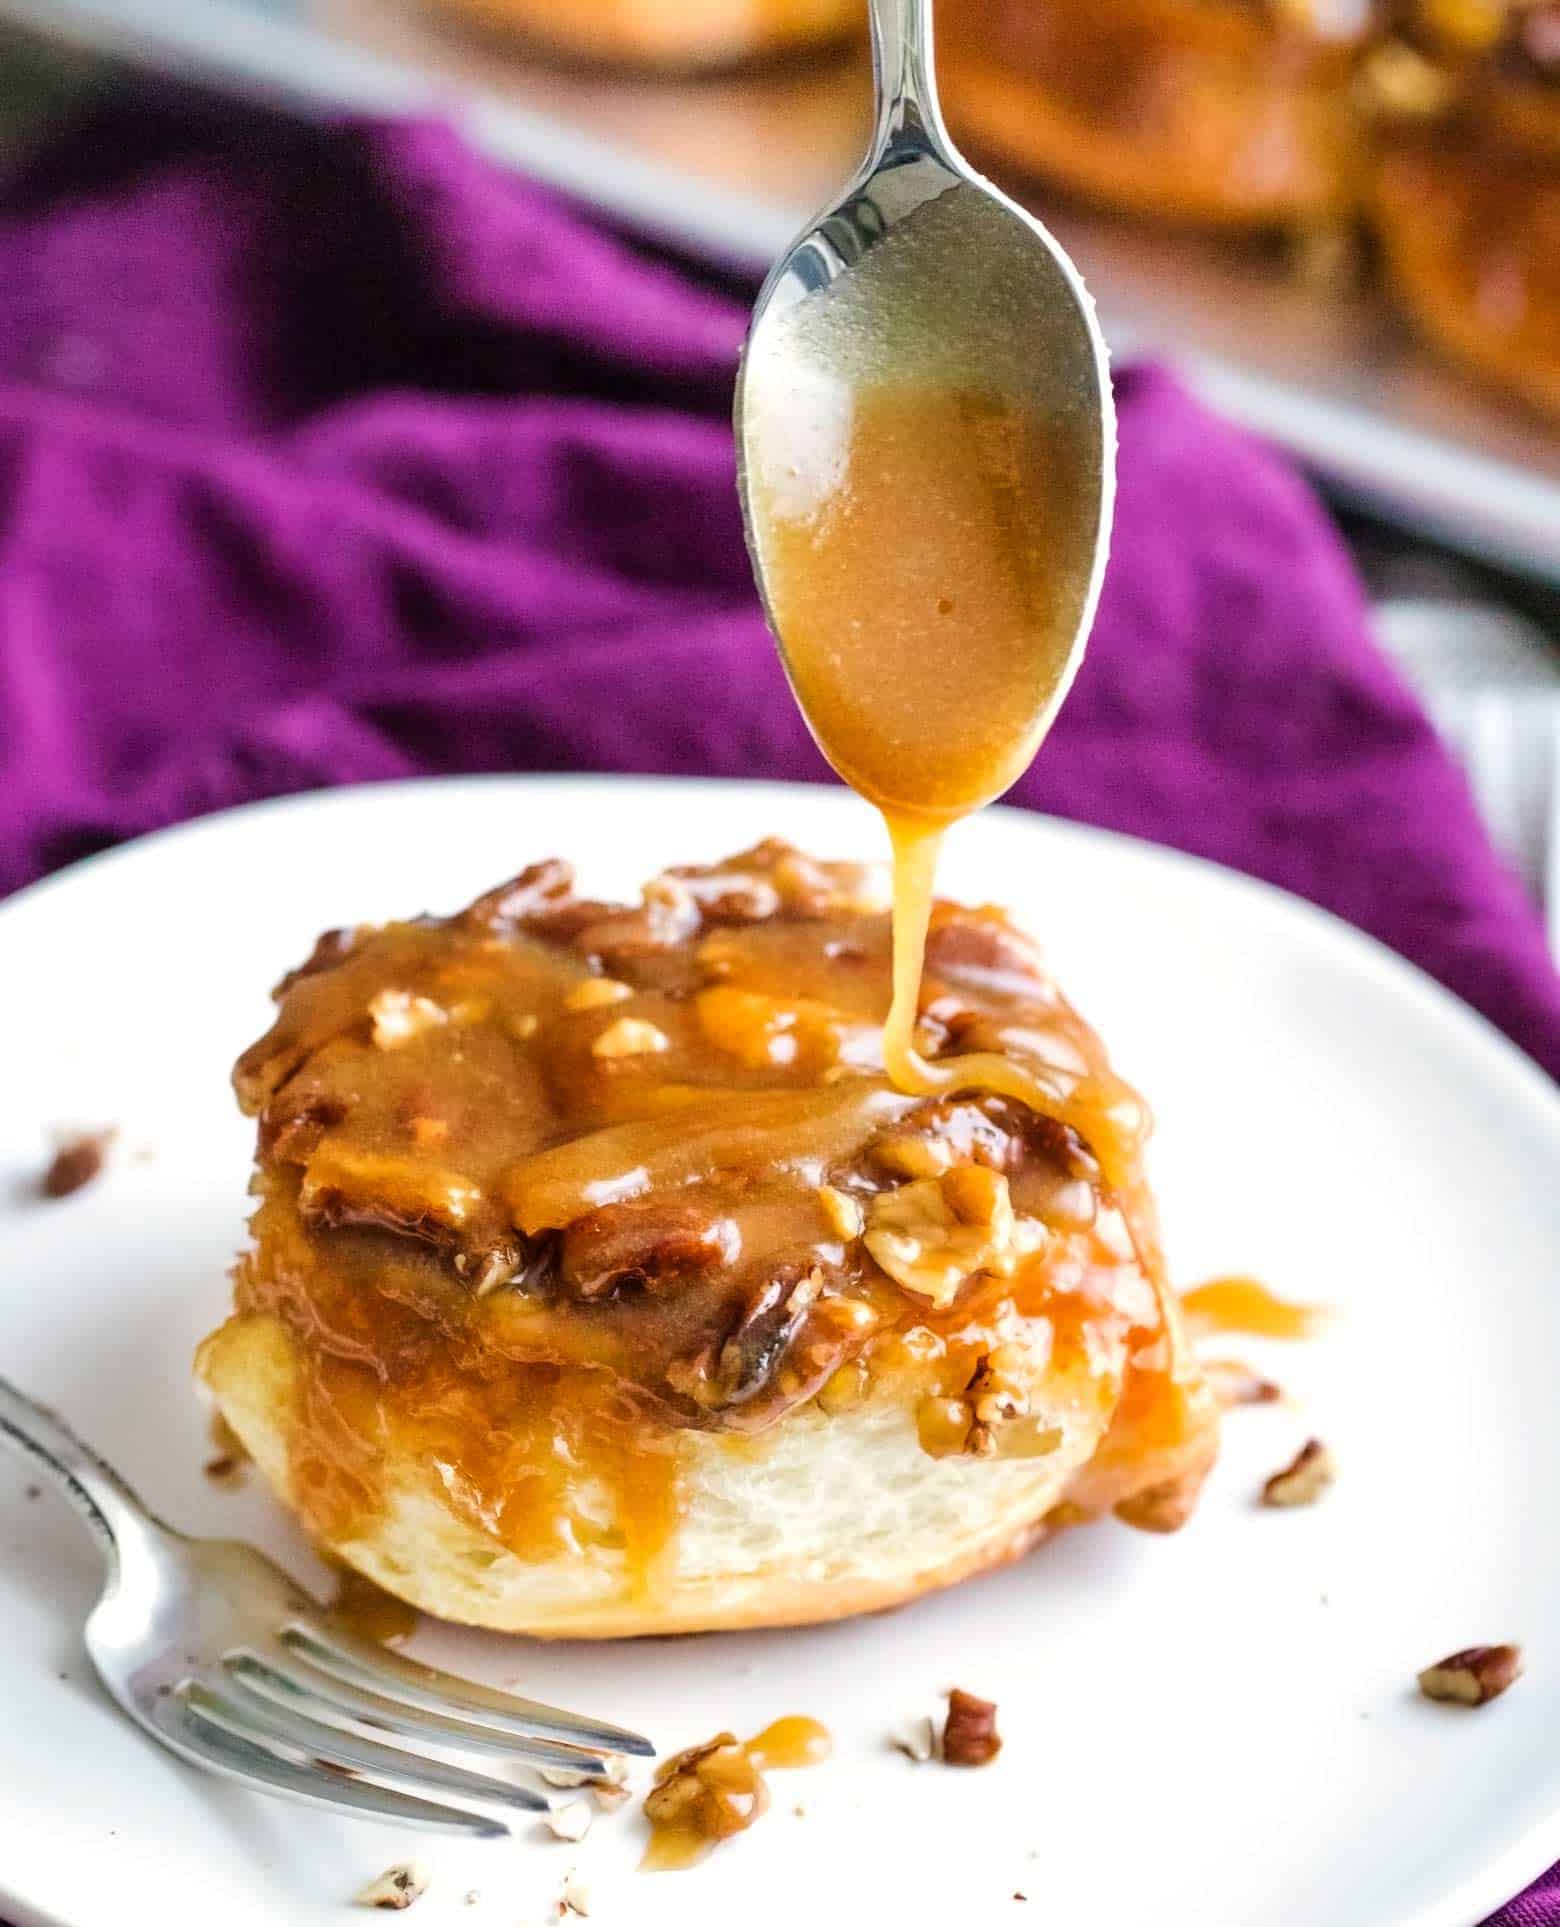
- Serve rolls warm with additional caramel sauce if desired.
Notes
- If you have a stand mixer, definitely use it! Kneading the dough can be tedious, and letting the mixer do the work for you is awesome. If you don’t have one, no worries, you can absolutely make it without one. You’ll just get an arm workout!


Maggie says
PERFECT…I cut this recipe in half, followed the ingredients list and directions as written, the ONLY thing I did different was substitute the flour with sifted white SPELT flour as I am gluten intolerant but do use Spelt flour for my cooking and baking. Consequently I need to adjust flour versus liquids with any recipe so I ended up using a little more flour to get the correct dough consistency. In addition I placed my dough into a warmed oven with hot water beside the bowl and changed the hot water after one hour as well as turning the oven back on to the lowest temp on my oven which is 170 just until the oven came to temp and then turned it off and allowed the dough to finish rising… I also put the rolled buns back into this warmed oven for their final rise. I did have to place the foil on the top of the buns at the half way mark as they were getting brown…These turned out perfect…
Dyanne says
Would love to make these for Christmas morning. Can these be put in the fridge before/for the final proof? If so, do I let them come to room temp befor baking?
Karina says
Yes, that would work. Let me know how it turns out! Enjoy and happy holidays! XO
Nicole Krause says
Quantity of pecans?
Karina says
It is more of a preference but I like to use about a cup to 2 cups to cover the top.
Jillaine Gallagher says
Karina:
Since joining this site I have downloaded enough recipes to start a notebook. BUT, I have also made a number of them and told everyone about your fantastic site. Now they are also using these recipes. Love the basic mushroom cream sauces with spices from my garden. Several of us are cutting down on fats and using fat free half & half ( not sure how they make that). We love the one pan roasting everything in the oven. Will be great this winter as we live in the Northern Great Lakes Region with lots of snow. So far the very best is your moist and ooey gooey chocolate brownies. We agree they are the best yet. I am a scratch cook and have baked a lot of “best brownies” over the years. BUT – you win the prize.
Jill
Karina says
AW! Thank you so much! You are so sweet and I am so glad that you have found so many recipes that you love and have saved. Thank you for sharing and following along with me! XO